技術情報
XamppのMariaDBをMySQLに置き換える方法(2)
開発/検証環境を手軽に構築するためにはXamppの導入は有効ですが、Xamppに含まれるDBが本番サーバーのDBと異なる場合、同じものにあわせて検証をおこなう必要があります。
今回は本番サーバーのDBがMySQLと仮定して、Xamppに含まれているMariaDBをMySQLに置き換える方法をシェアしたいと思います。
本記事は前回の「XamppのMariaDBをMySQLに置き換える方法(1)」の続きです。

nishida at 2021年10月21日 10:00:00
- 2021年10月15日
- 技術情報
Flutter – Turtle
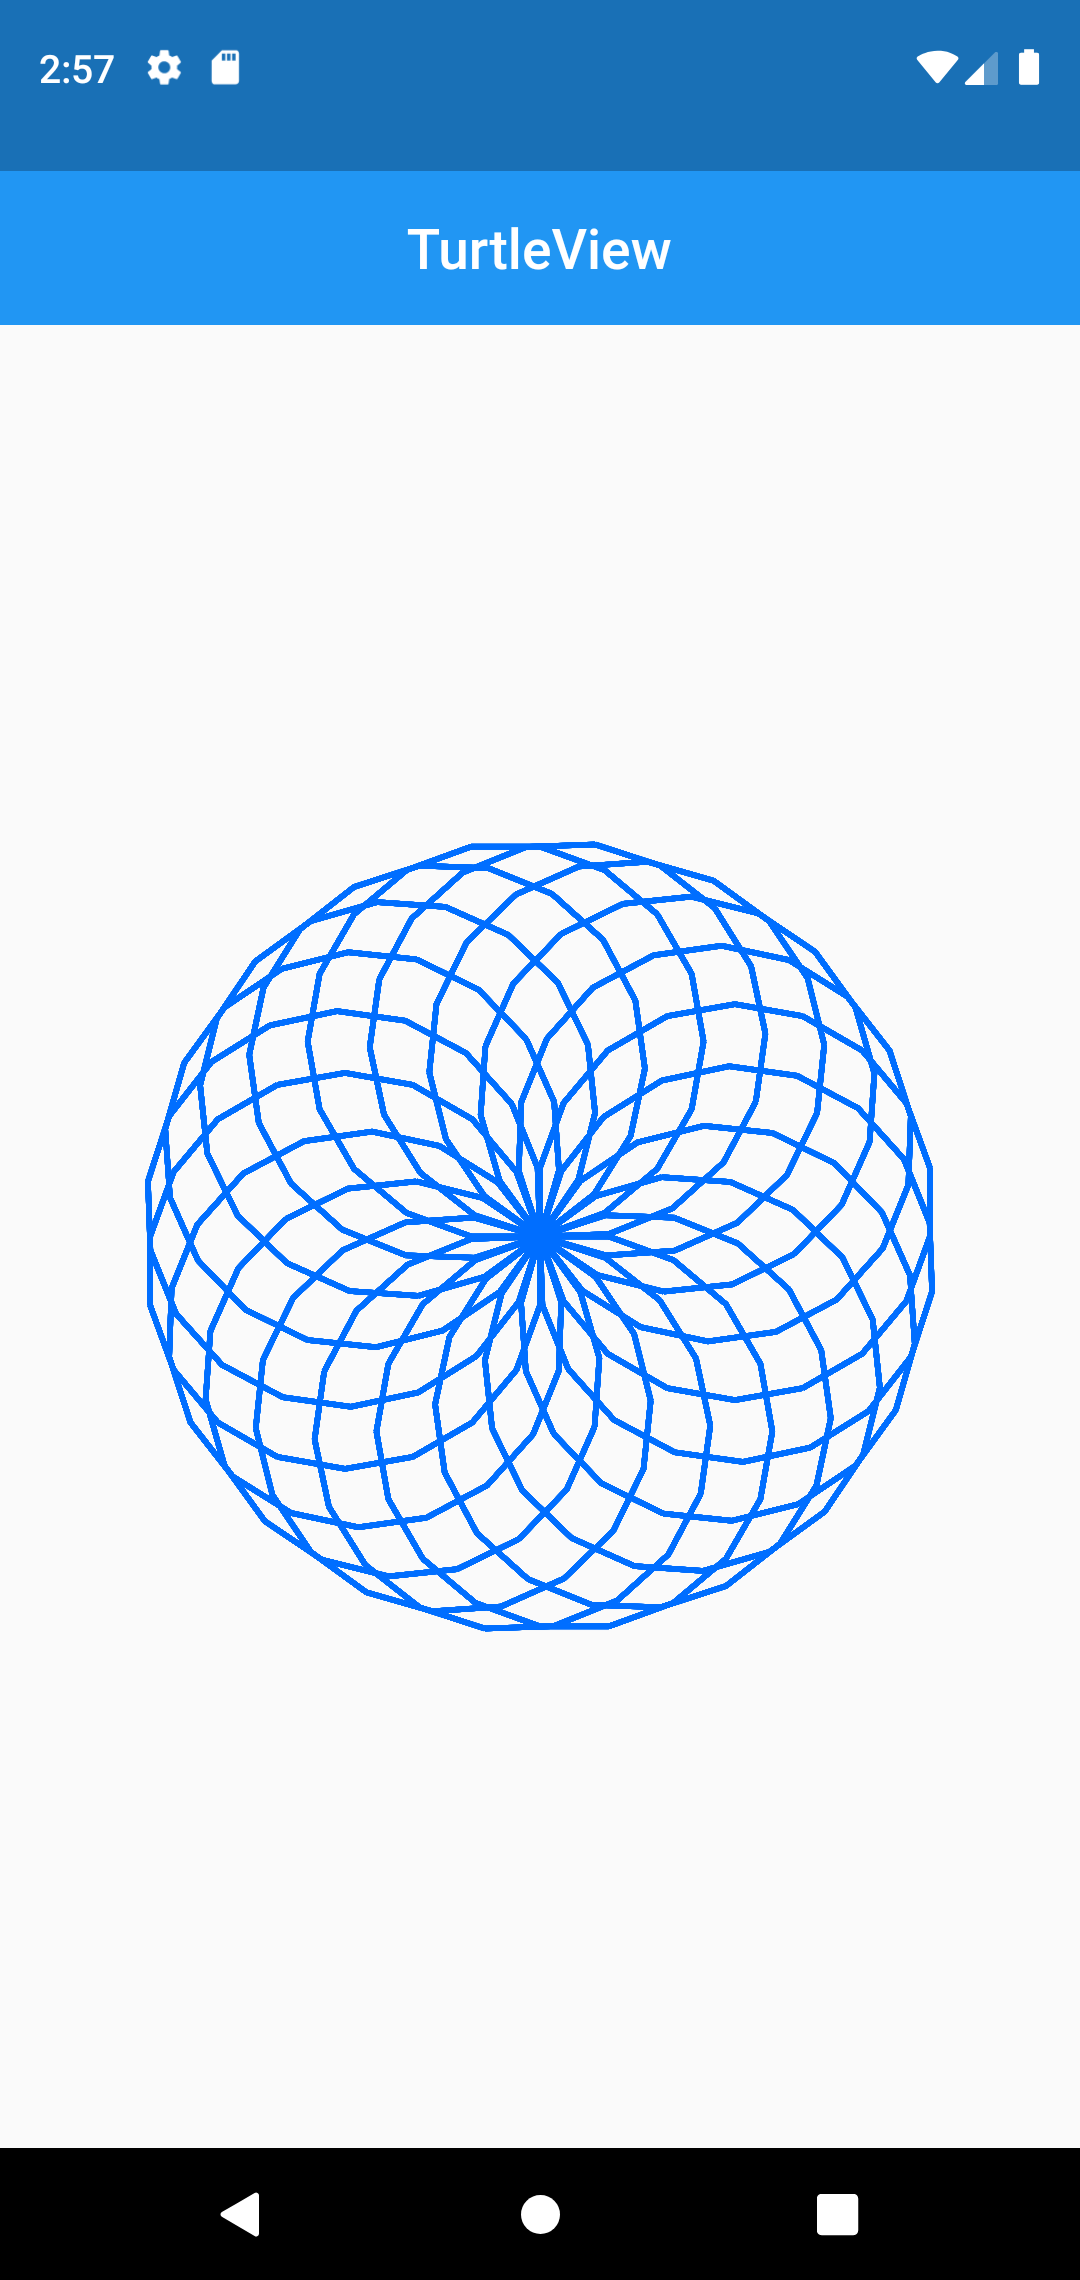
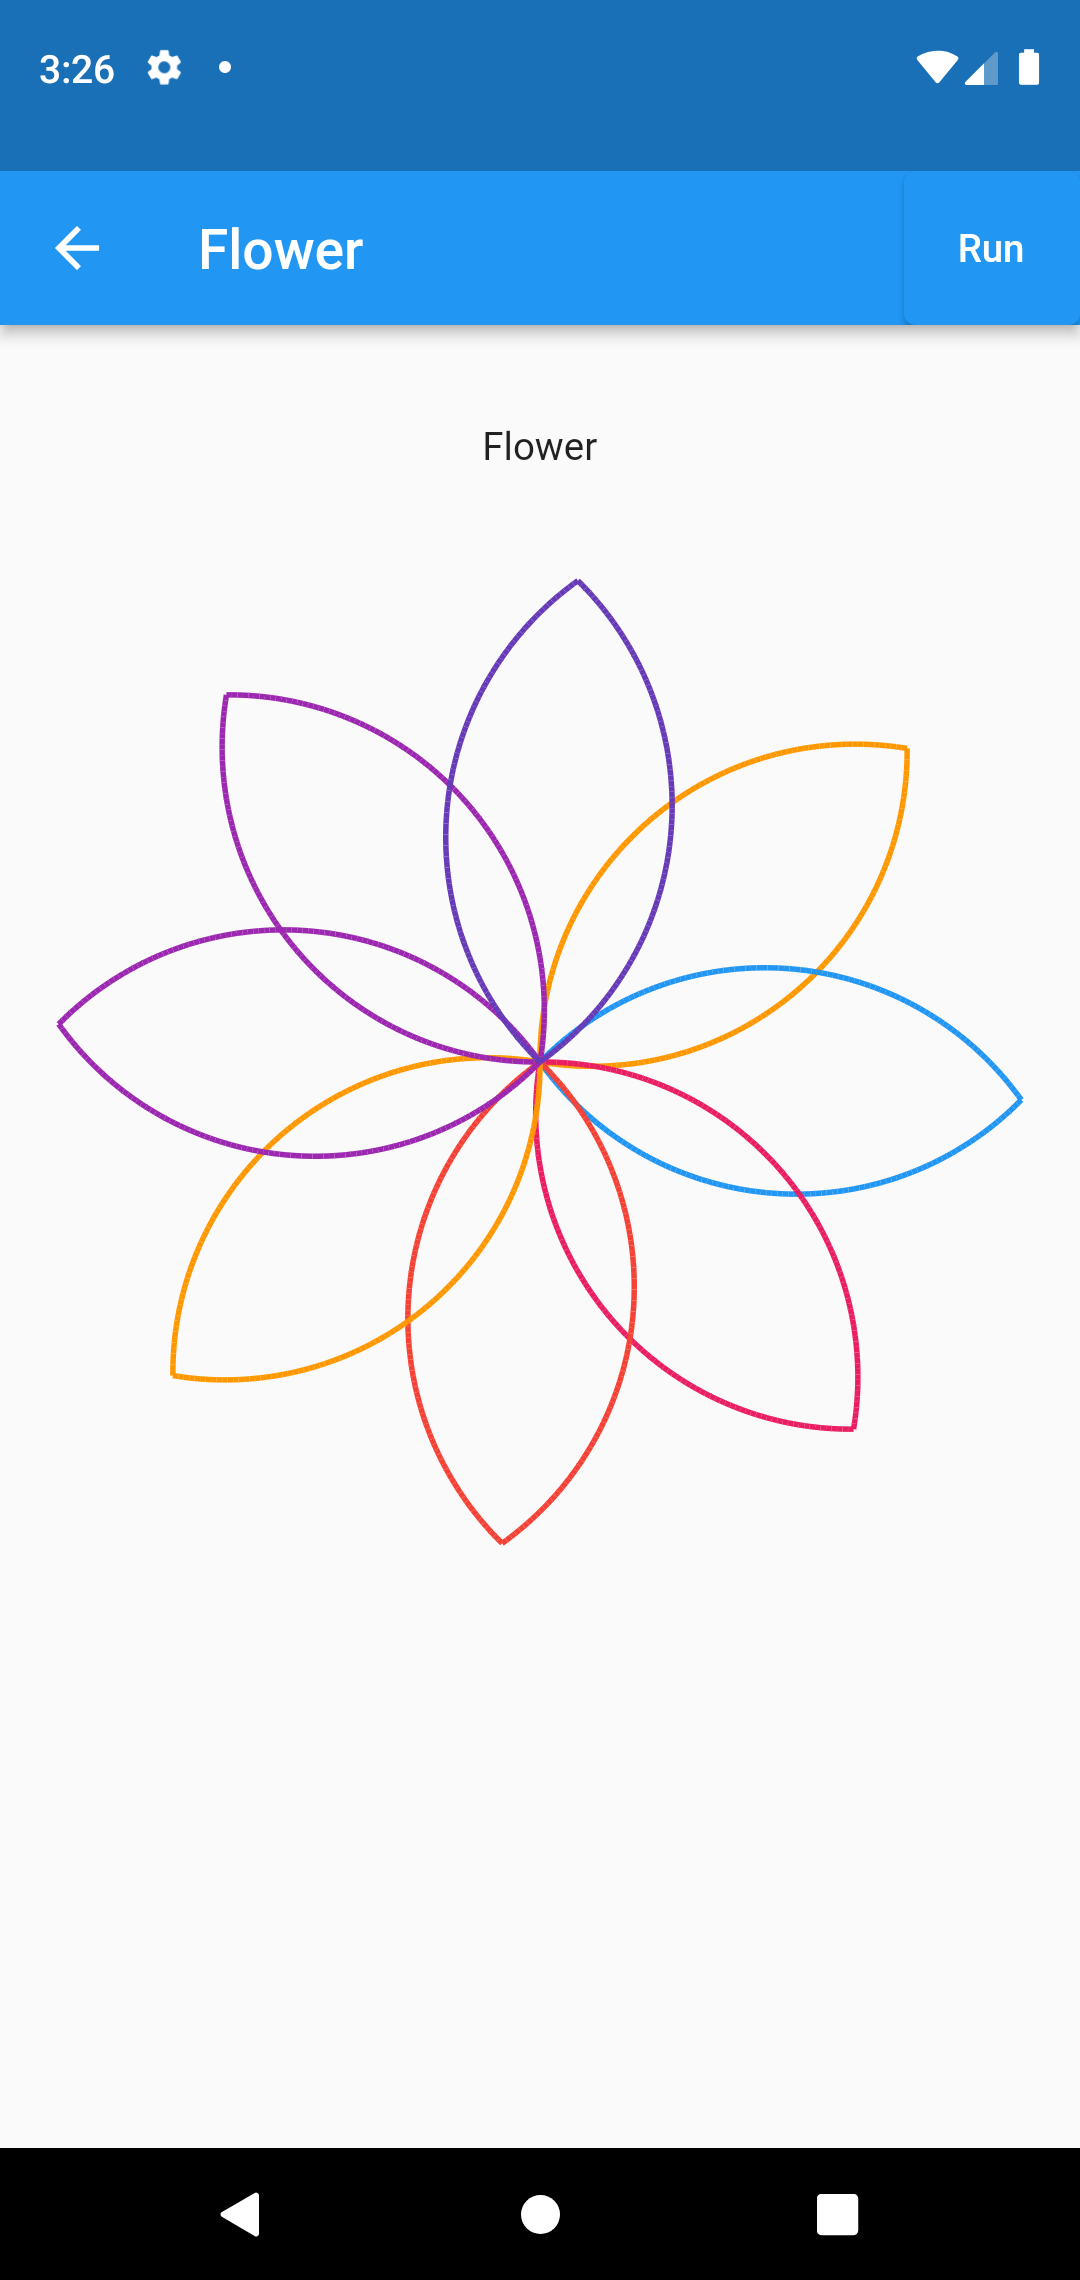
What is flutter turtle? This is a simple presentation of turtle graphics for flutter. It can simply apply to draw graphics with a custom painter like a logo language.
Flutter turtle is two classes, named with TurtleView and AnimatedTurtleView. To create a turtleView, both of classes require commands parameter. If you want your logo to repeat 5 times and forward 100 , right 200. You can use like this using commands parameter.
[
  Repeat((_) => 5, [
    Forward((_) => 100),
    Right((_) => 200),
  ]),
];
With more information about flutter turtle, check on flutter pub.dev.
Example code :
Widget build(BuildContext context) {
  return Scaffold(
    appBar: AppBar(
      title: const Text('TurtleView'),
      centerTitle: true,
      elevation: 0,
    ),
    body: TurtleView(
      child: Container(),
      commands: [
        PenDown(),
        SetColor((_) => const Color(0xFF006EFF)),
        SetStrokeWidth((_) => 2),
        Repeat((_) => 20, [
          Repeat((_) => 180, [
            Forward((_) => 25.0),
            Right((_) => 20),
          ]),
          Right((_) => 18),
        ]),
        PenUp(),
      ],
    ),
  );
}
Hop you enjoyed this article!
By Ami
kishimoto at 2021年10月15日 10:00:00
XamppのMariaDBをMySQLに置き換える方法(1)
開発/検証環境を手軽に構築するためにはXamppの導入は有効ですが、Xamppに含まれるDBが本番サーバーのDBと異なる場合、同じものにあわせて検証をおこなう必要があります。
今回は本番サーバーのDBがMySQLと仮定して、Xamppに含まれているMariaDBをMySQLに置き換える方法をシェアしたいと思います。
nishida at 2021年10月14日 10:00:00
- 2021年10月08日
- 技術情報
Flutter – Navigation drawer
Output:
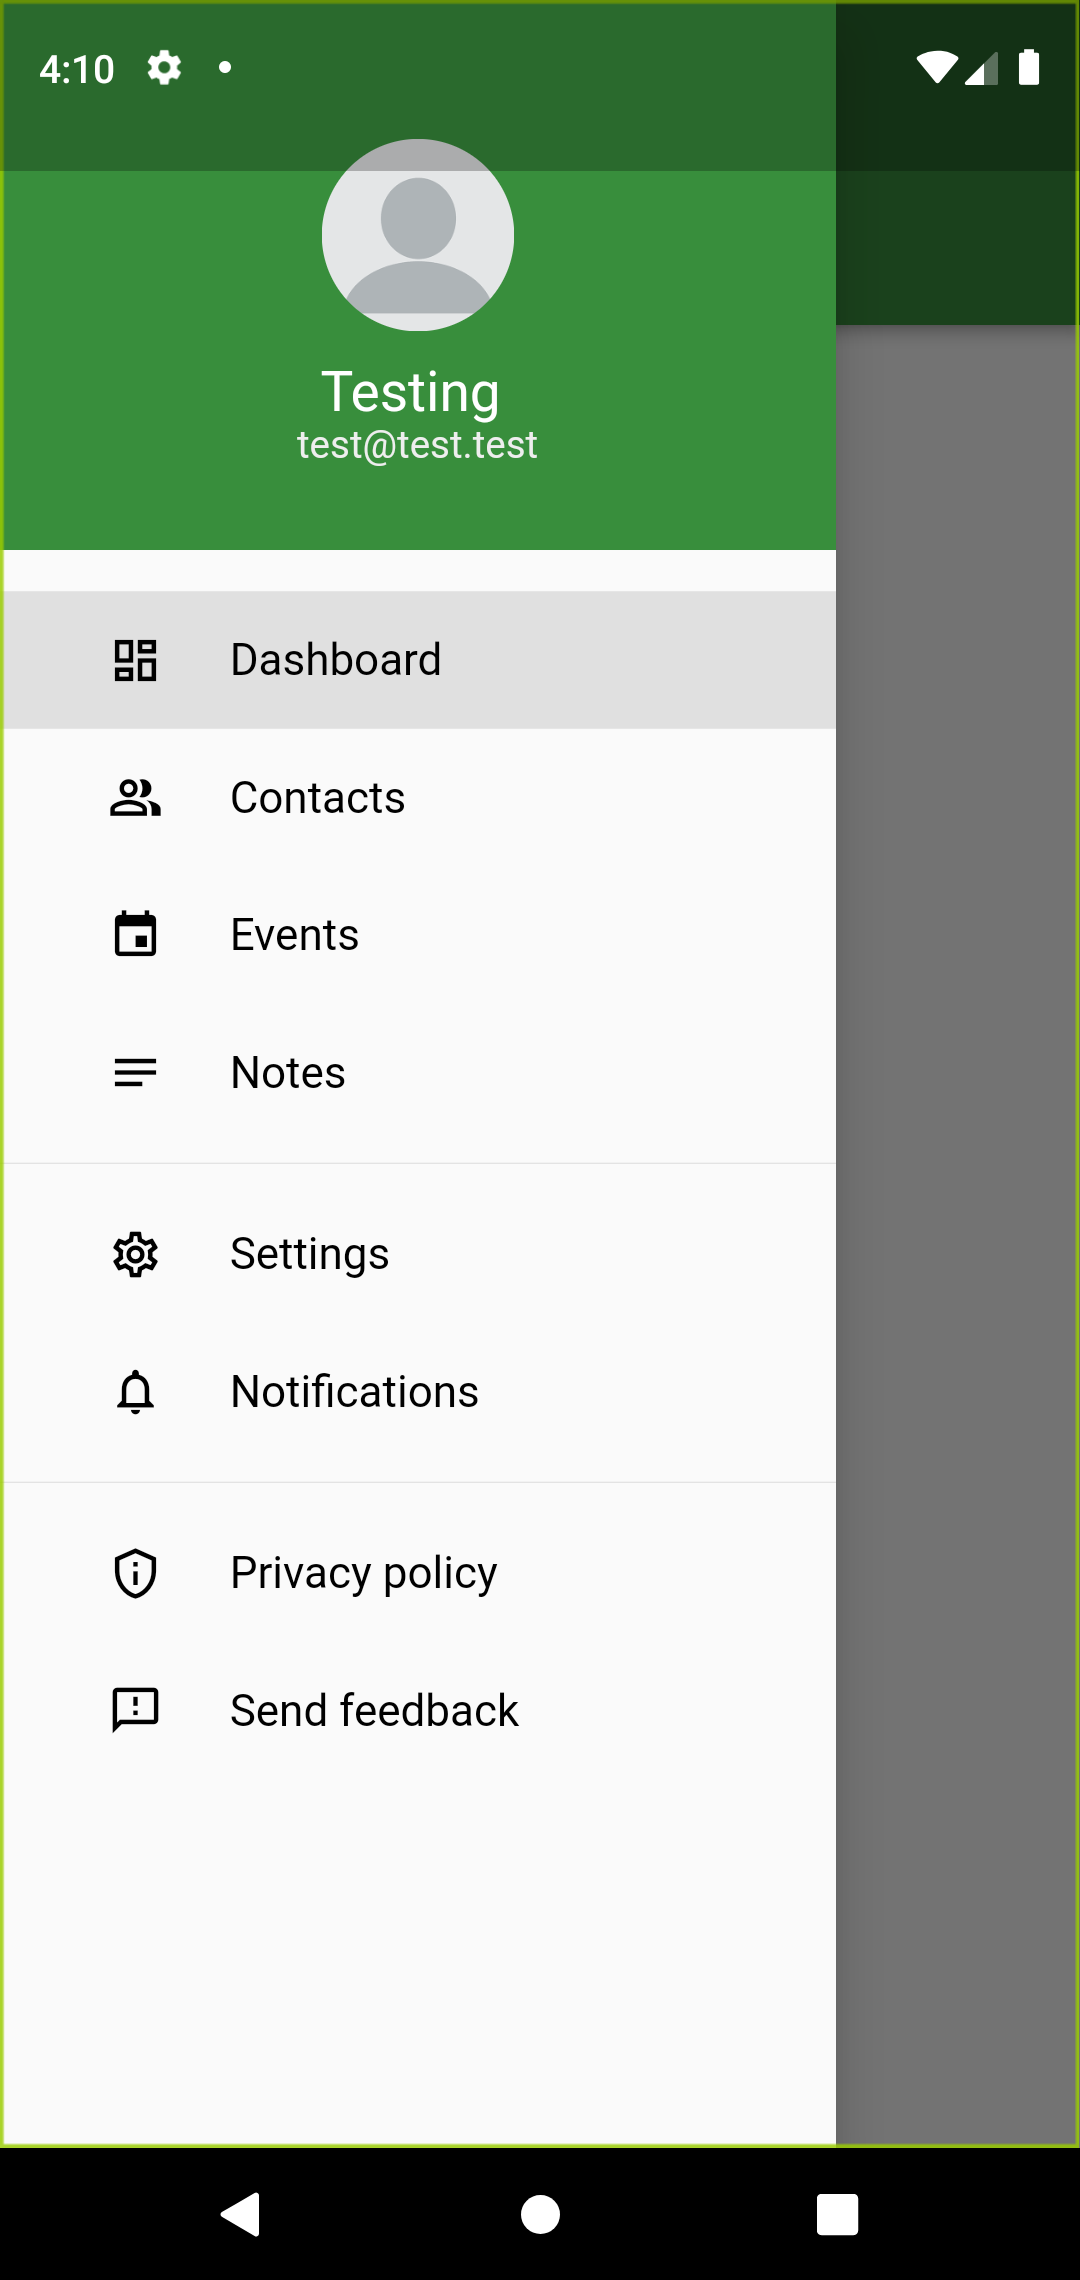
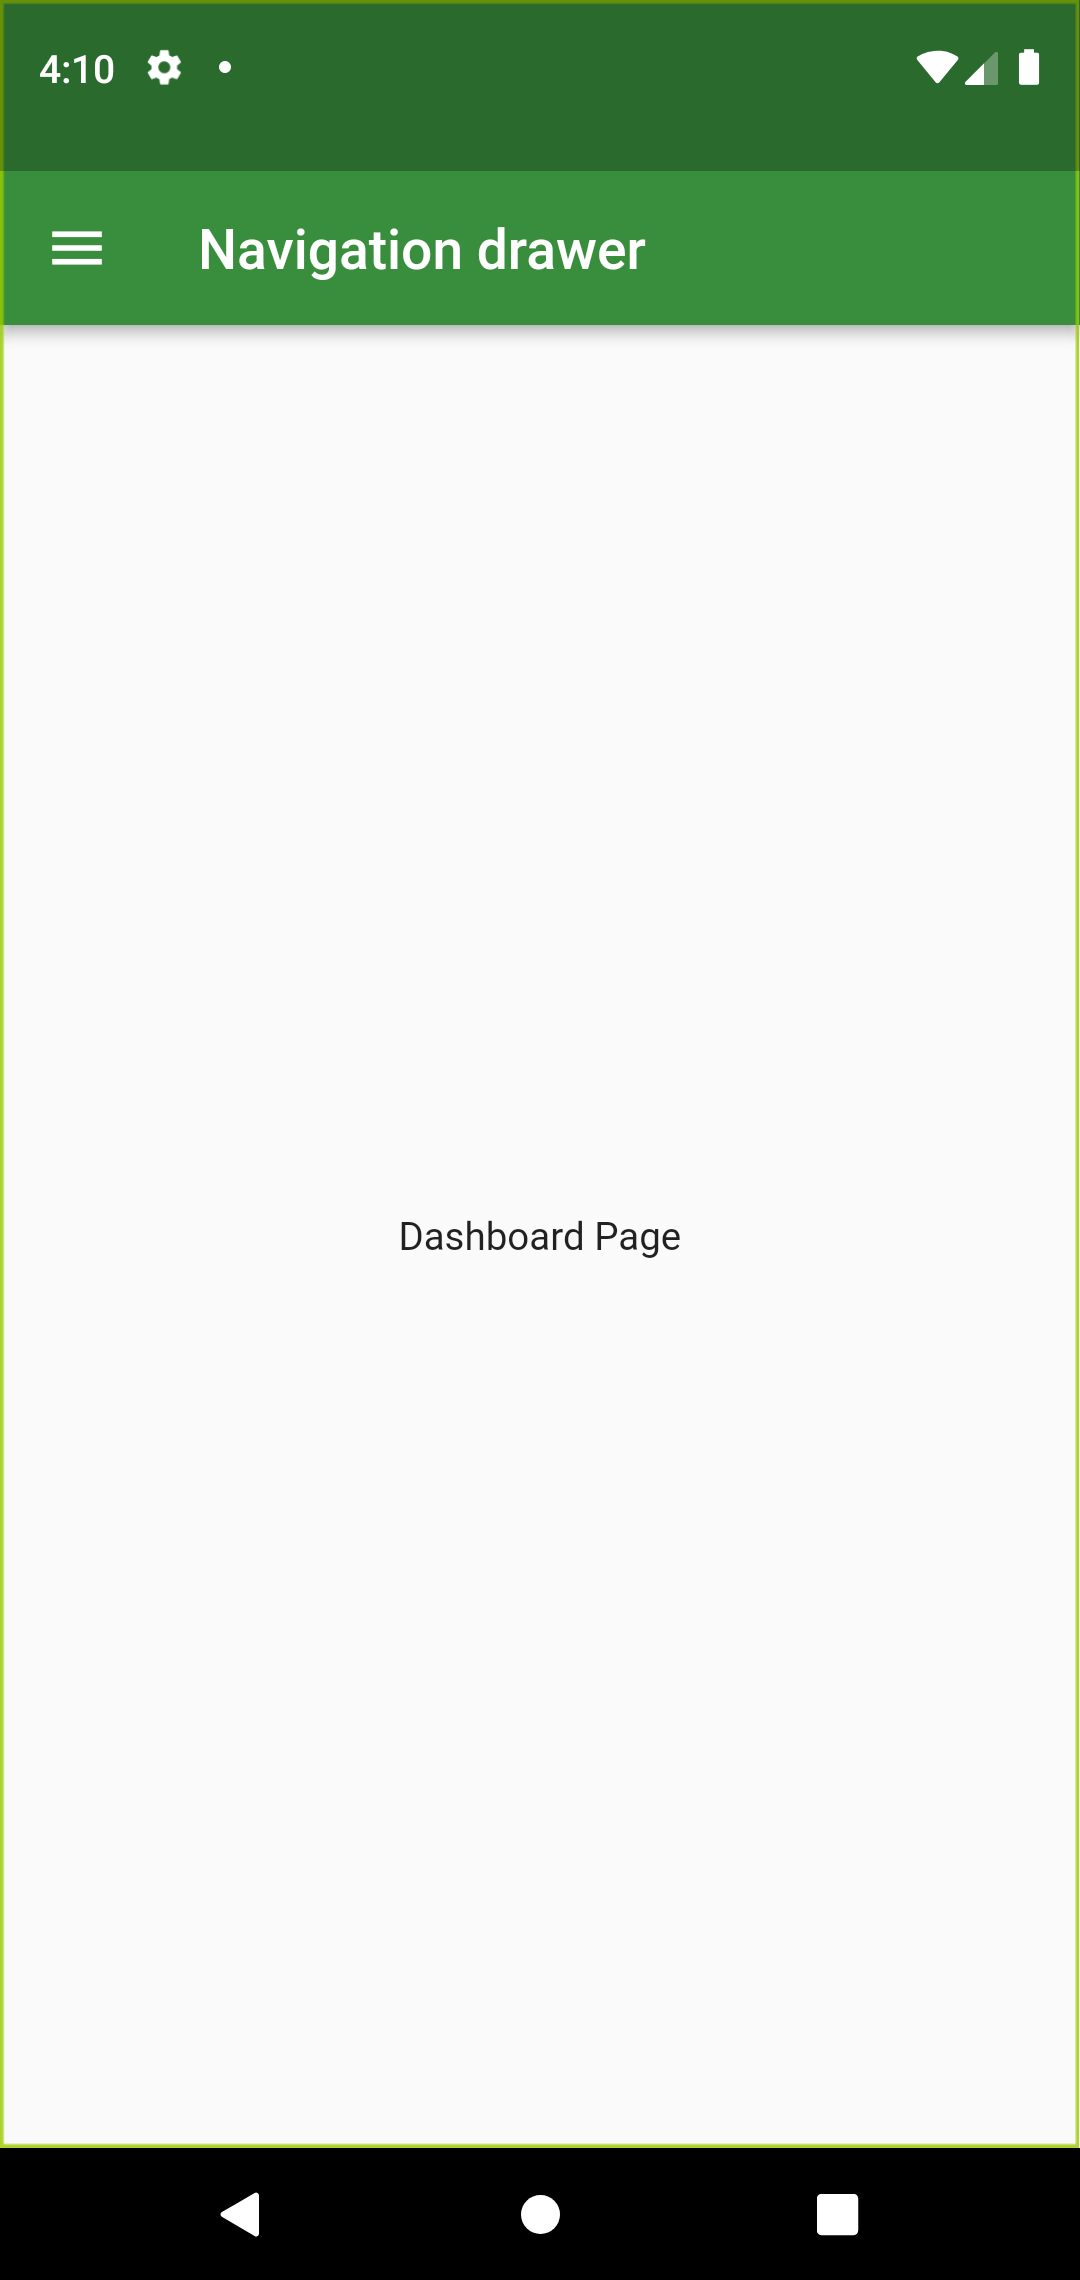
This week I would like to share about navigation drawer from Drawer widget. We can create navigation drawer by calling the constructor of the drawer class. Drawer widgets show us navigation drawer that slides to horizontally from edge fo the screen.
When we tap app bar, it will display the drawer. In this article we will create DrawerSection and eight navigation links. The links Dashboard, Contacts, Events, Notes, Settings, Notifications, Privacy policy and Send feedback are created using Column widget. Let’s design the drawer part first. I am creating drawer widget named MyDrawerList. And I am creating other drawer in a separate file so that we can reuse it in other pages.
Basic implementation of navigation drawer:
MyDrawerList(
        child:Column(

         children: [
             menuItem(1, "Dashboard", Icons.dashboard_outlined,
              currentPage == DrawerSections.dashboard ? true : false),

              menuItem(2, "Contacts", Icons.people_alt_outlined,
              currentPage == DrawerSections.contacts ? true : false),
etc..

          ],
        ) ,
   ),
At first dashboard page is wanted to see, we can assign currentPage to DrawerSection.dashboard.
var currentPage = DrawerSections.dashboard;To display a navigation drawer we have to provide Drawer widget to scaffold’s drawer property.
Scaffold(
      appBar: AppBar(
        backgroundColor: Colors.green[700],
        title: const Text("Navigation drawer"),
      ),
      body: container,
      drawer: Drawer(
        child: SingleChildScrollView(
          child: Column(
            children: [
              const MyHeaderDrawer(),
              MyDrawerList(),
            ],
          ),
        ),
      ),
    );
If you want to navigate to another route first we have to dismiss the drawer by using below line of code
Navigator.pop(context);Now we have to navigate to another route using menuItem like below, in above we assign current page to dashboard page and menuItem widget is called in MyDrawerList widget.
Widget menuItem(int id, String title, IconData icon, bool selected) {
    return Material(
      color: selected ? Colors.grey[300] : Colors.transparent,
      child: InkWell(
        onTap: () {
          Navigator.pop(context);
          setState(() {
            if (id == 1) {
              currentPage = DrawerSections.dashboard;
            }
        }
etc..
}
Hope you enjoyed this post.
By Ami
kishimoto at 2021年10月08日 10:00:00
- 2021年10月01日
- 技術情報
Laravel – Jetstream
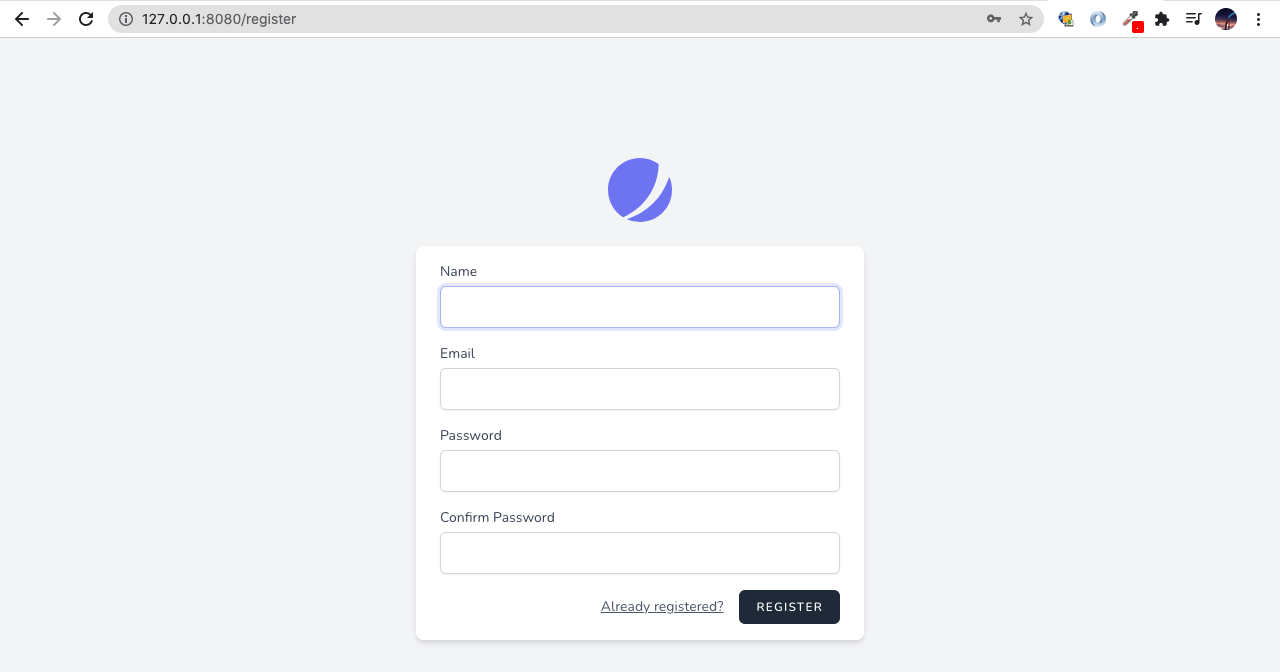
After Laravel version 7, Laravel version 8 introduced new features, this is the implementation of application’s login, registration, email verification, two-factor authentication, session management, and optional team management features.
This week I would like to share about using Jetstream how to set up in your project.
Firstly, it is better to install Jetstream into new Laravel project. Attempting to install Jetstream into an existing Laravel applicaiton will result in unexpected behavior and issues.
Installing Jetstream
You can install Jetstream via composer.
composer require laravel/jetstreamAfter installation is successful, you can choose one frontend stack from two of these Liveware and Intertia.js. This time I will set up using Liveware.
php artisan jetstream:install livewireAfter the installation is finished, you may install NPM dependencies and migrate the database. So, you may create new database, this name will be same from your .env file DB_DATABASE name.
npm install
npm run dev
php artisan migrate
After running all of the commands, there will be finished the installation using Jetstream. The last thing is need to start the development server to see the result.
php artisan serve --port=8080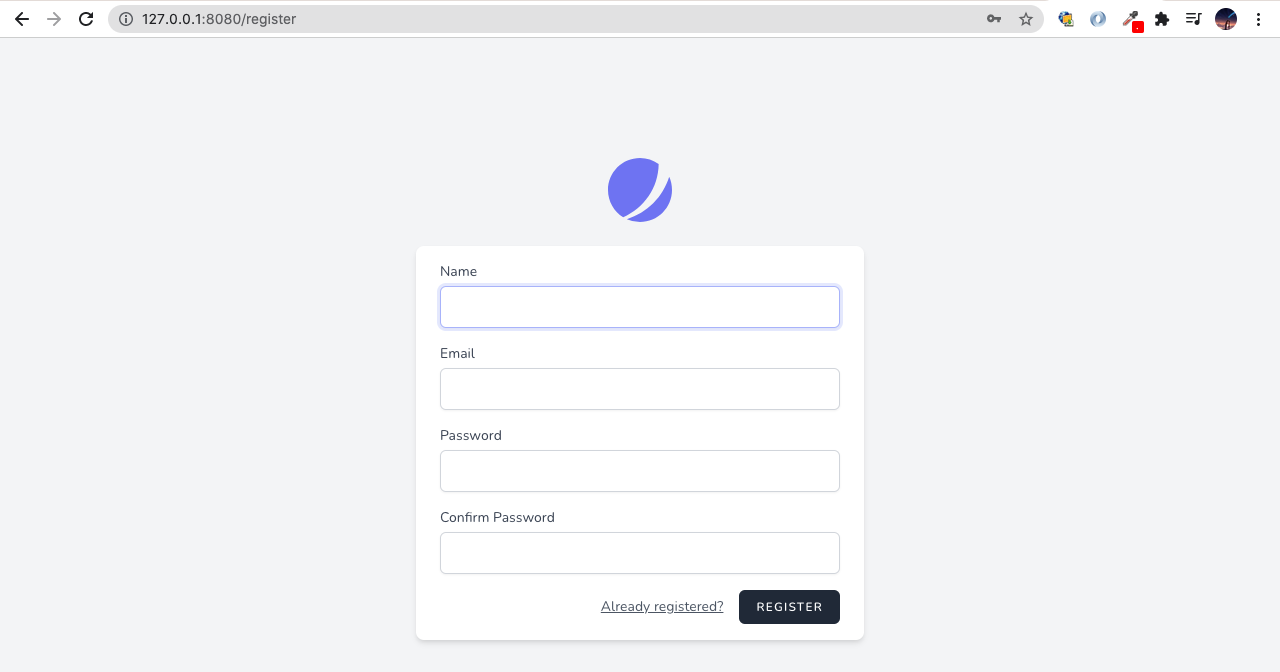
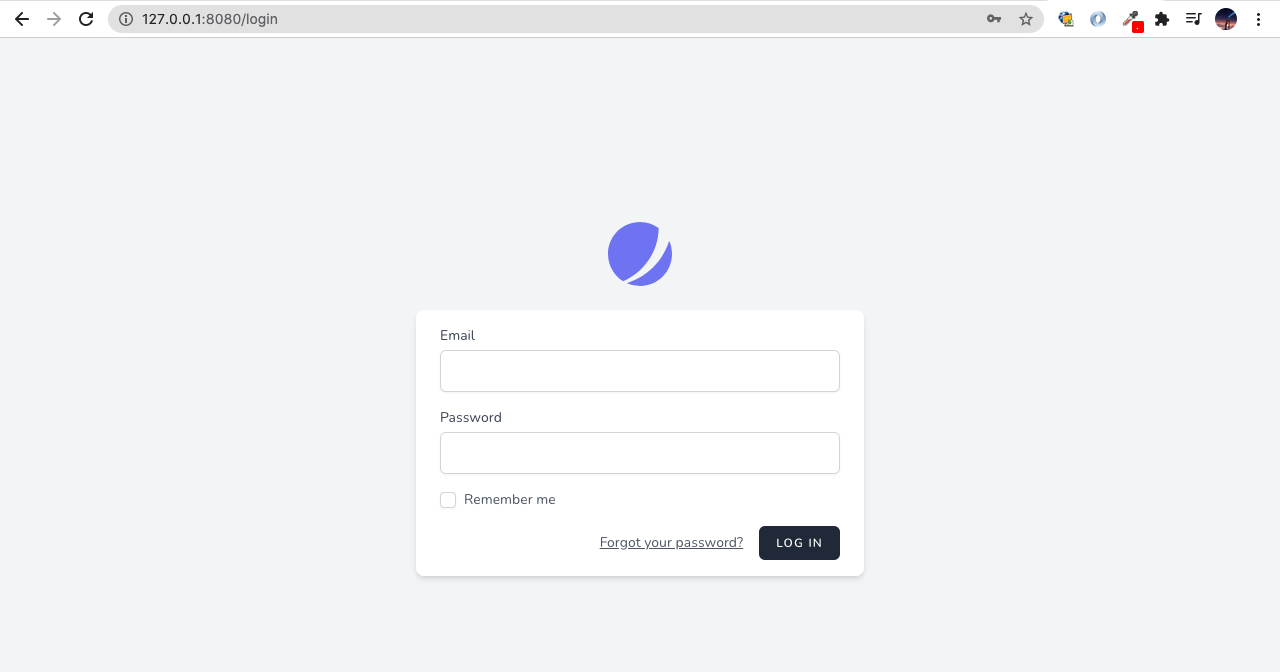
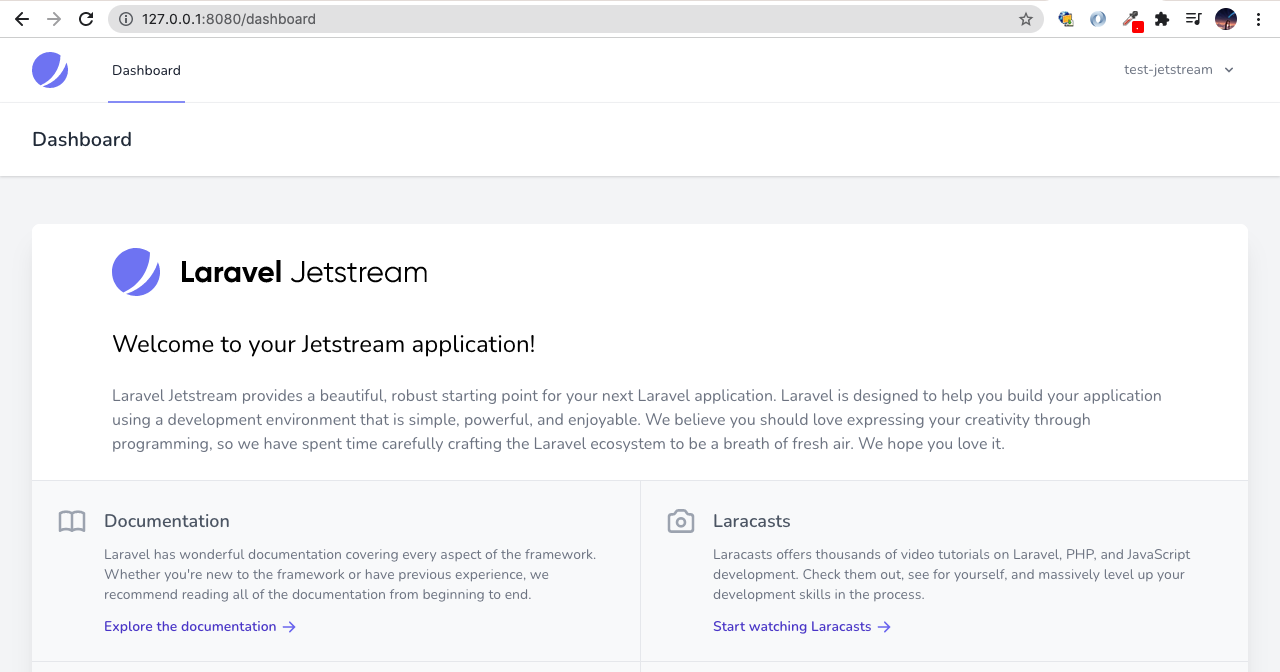
I hope you’ll enjoy reading it.
By Ami
kishimoto at 2021年10月01日 10:45:00
 大人が楽しめるヒーリング絵本河童のカパと静かな森
 パワースポット 日本三大神滝布引の滝
 佐藤・広幸ドイツ魂
 Himeji Castle姫路城
 ボイドタイムお知らせアプリVoid Time 〜月を無視できない〜
 撮った写真をカレンダーに撮りカレ
 ライブ壁紙竹田城ライブ壁紙
 赤ちゃんにっこりBaby+Smile
 電子書籍[for iPhone]ターラのアストロロジー
 WindowsのターミナルにもローカルAI―「Intelligent Terminal 0.2」
 Vue.js コンパイルするときのポイント