技術情報
- 2021年09月27日
- 技術情報
Zero day attack
This is a common term for security vulnerabilities , discovered recently that attackers can use to attack systems. The term “zero-day” refers to the fact that the owner/developer has just become aware of the flaw which means there is zero day to fix the flaw.
If an attacker exploits a flaw before the developer addresses the issue, a zero-day attack will occur.
Zero-day is sometimes referred to as 0-day. The terms vulnerability, exploit, and attack are commonly used in conjunction with zero-days to help you understand the difference.
Zero day vulnerability
This is a software vulnerability discovered by an attacker before the vendor is aware of it. Since the vendor does not know, there is no patch for the zero-day vulnerability and the attack is more likely to be successful.
Zero day exploit
This becomes a method used by hackers to attack systems with previously unidentified vulnerabilities.
Zero day attack
A zero-day attack is the use of a zero-day exploit to damage or steal data from a vulnerable system.
How this happened
Attackers might be able to detect vulnerabilities before software developers. While the vulnerability is still open, they can write and implement code that exploits it. This is known as exploit code.
Exploit code can target software users, for example through the theft of personal information or other forms of cybercrime. Once an attacker has identified a zero-day vulnerability, they need a way to reach the vulnerable system. They often send this through socially designed emails, other messages that appear to be from known or legitimate correspondents, but are actually from attackers. This message attempts to convince the user to take actions such as opening a file or visiting a malicious website. By doing so, it downloads the attacker’s malware, breaks into user files and steals sensitive data.
If the vulnerability is known, the developer will try to patch it for the flaw. However, security vulnerabilities are often not immediately discovered. It can take days, weeks, or even months for developers to identify the vulnerability that caused the attack. Also, even after a zero-day patch is released, not all users are in a hurry to update the patch.
Exploits can be sold on the dark web for large sums of money. Once the exploit is discovered and repaired, it is no longer called a zero-day threat.
Zero-day attacks are especially dangerous because only the attacker knows the that flaw. Once they gain access, criminals can attack immediately or sit down and wait for the best time to get most advantages.
Identifying the zero day vulnerabilities
Zero-day vulnerabilities can take many forms, including missing data encryption, missing authorization, broken algorithms, bugs, and password security issues, and can be difficult to detect. Due to the nature of these types of vulnerabilities, detailed information about zero-day exploits will only be available after the exploit has been identified.
Organizations which had been attacked by zero-day exploits can experience unexpected traffic or suspicious scanning activity originating from customers or services. Machine learning is increasingly used to detect data from previously recorded exploits and to establish a safe system behavior baseline based on data from past and present interactions with the system.
Examples of zero day vulnerability
2021: Chrome zero-day vulnerability
In 2021, Google’s Chrome was hit by a series of zero-day threats, urging Chrome to publish updates. This vulnerability was caused by a bug in the JavaScript V8 engine which is used in web browsers.
2020: Zoom
A vulnerability has been found in a popular video conferencing platform. In this zero-day attack example, attacker was remotely accessing a user’s PC while running an older version of Windows. If the target is an administrator, attacker could completely hijack your machine and access all files.
2020: Apple iOS
Apple’s iOS is often said to be the most secure of the major smartphone platforms. However, in 2020, it was the victim of at least two sets of iOS zero-day vulnerabilities, including a zero-day bug that allowed an attacker to compromise the iPhone remotely.
Yuuma
yuuma at 2021年09月27日 10:38:00
- 2021年09月20日
- 技術情報
Handling Japanese characters in PHP
We know we have manipulate strings, characters in PHP using various function depending on what we need. For example – cutting strings, counting strings length, replacing strings etc. We can directly use built-in PHP function like substr, str_replace, str_length etc. But we can’t directly use these functions for Japanese characters, Why ?
Everyone knows that a “bit” is 0 or 1, nothing else, and a “byte” is a group of eight consecutive bits. Since one byte has eight of these dual value points, the byte can consist of a total of 256 different patterns (2 power 8). Different characters can be associated with each possible 8-bit pattern.
It is working fine as long as the language characters can be represented by 256 or less.
But what if you can’t represent a language with just 256 characters? Obviously Japanese characters need more than that. Nowadays , 256 characters isn’t enough anywhere. Fortunately, the new super character sets use anywhere from 1 to 4 bytes to define characters. Unicode, a scheme that uses multiple bytes to represent characters. There are several version of it like UTF-32, 26 8.
Unicode (including UTF-8) uses multiple byte configurations to represent characters. UTF-8 uses 1 to 4 bytes to generate 1,112,064 patterns that represent different characters.
We can’t still directly use string related functions by declaring UTF-8. PHP isn’t really designed to handle multibyte characters, so using standard string functions to handle these characters can have uncertain results. If you need to handle these multibyte characters, you need to use a special set of functions, the mbstring function. Use the --enable-mbstring compile-time option to enable the mb function and set the run-time configuration option mbstring-encoding_translation.
The next thing is HTTP header might covers the communication also contains the character set ID, so we need to declare the header also like this.
mb_internal_encoding("UTF-8");
Finally we can use mb string related function instead of directly using string function.
For example we can use mb_strlen instead of strlen .
You can see various mb functions here.
That’s all for today.
Yuuma
yuuma at 2021年09月20日 10:00:00
- 2021年09月17日
- 技術情報
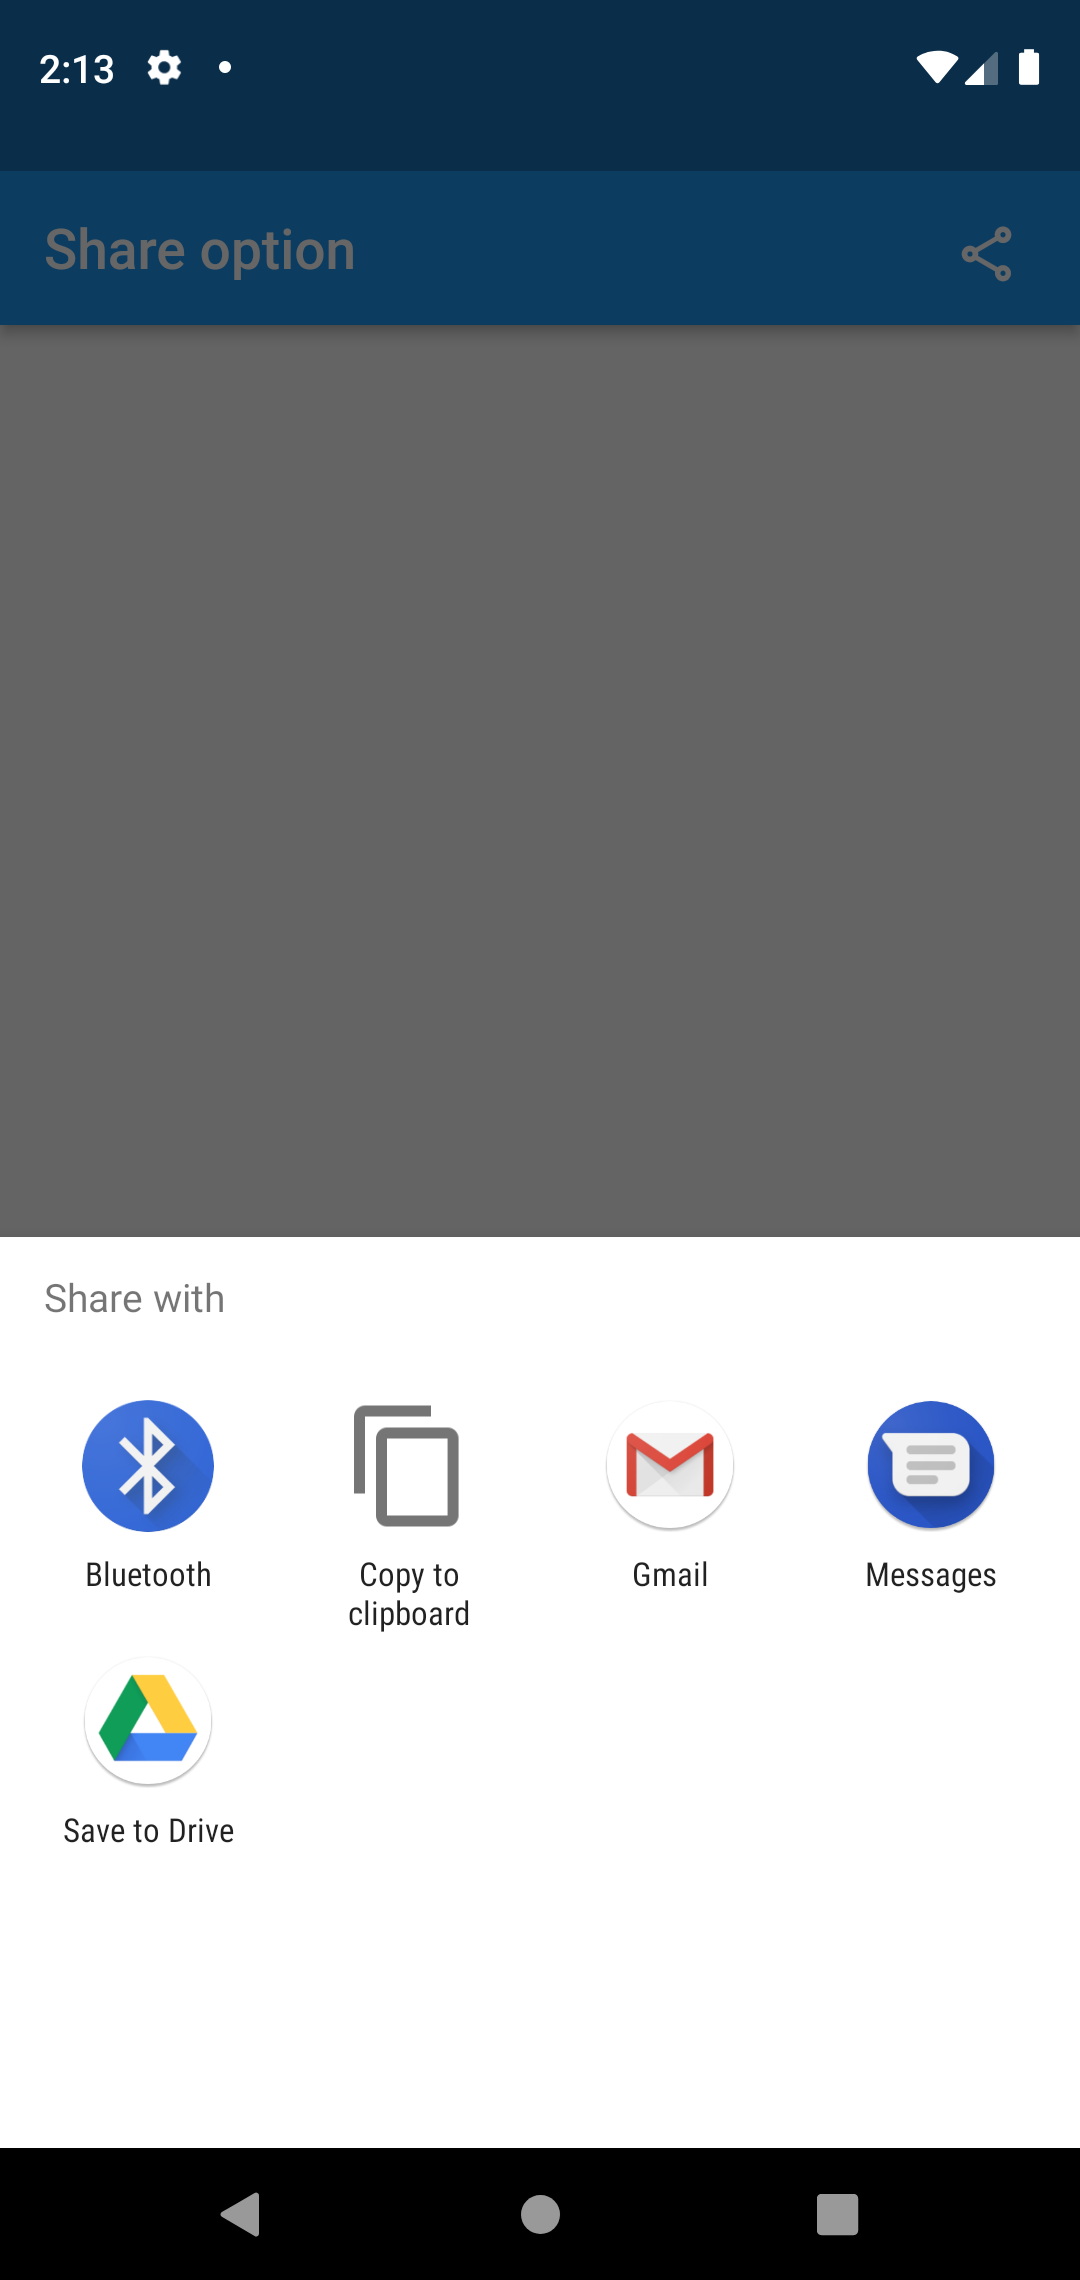
Flutter – share option button
This week I would like to share you about how to add share option button in flutter. Let’s get started!
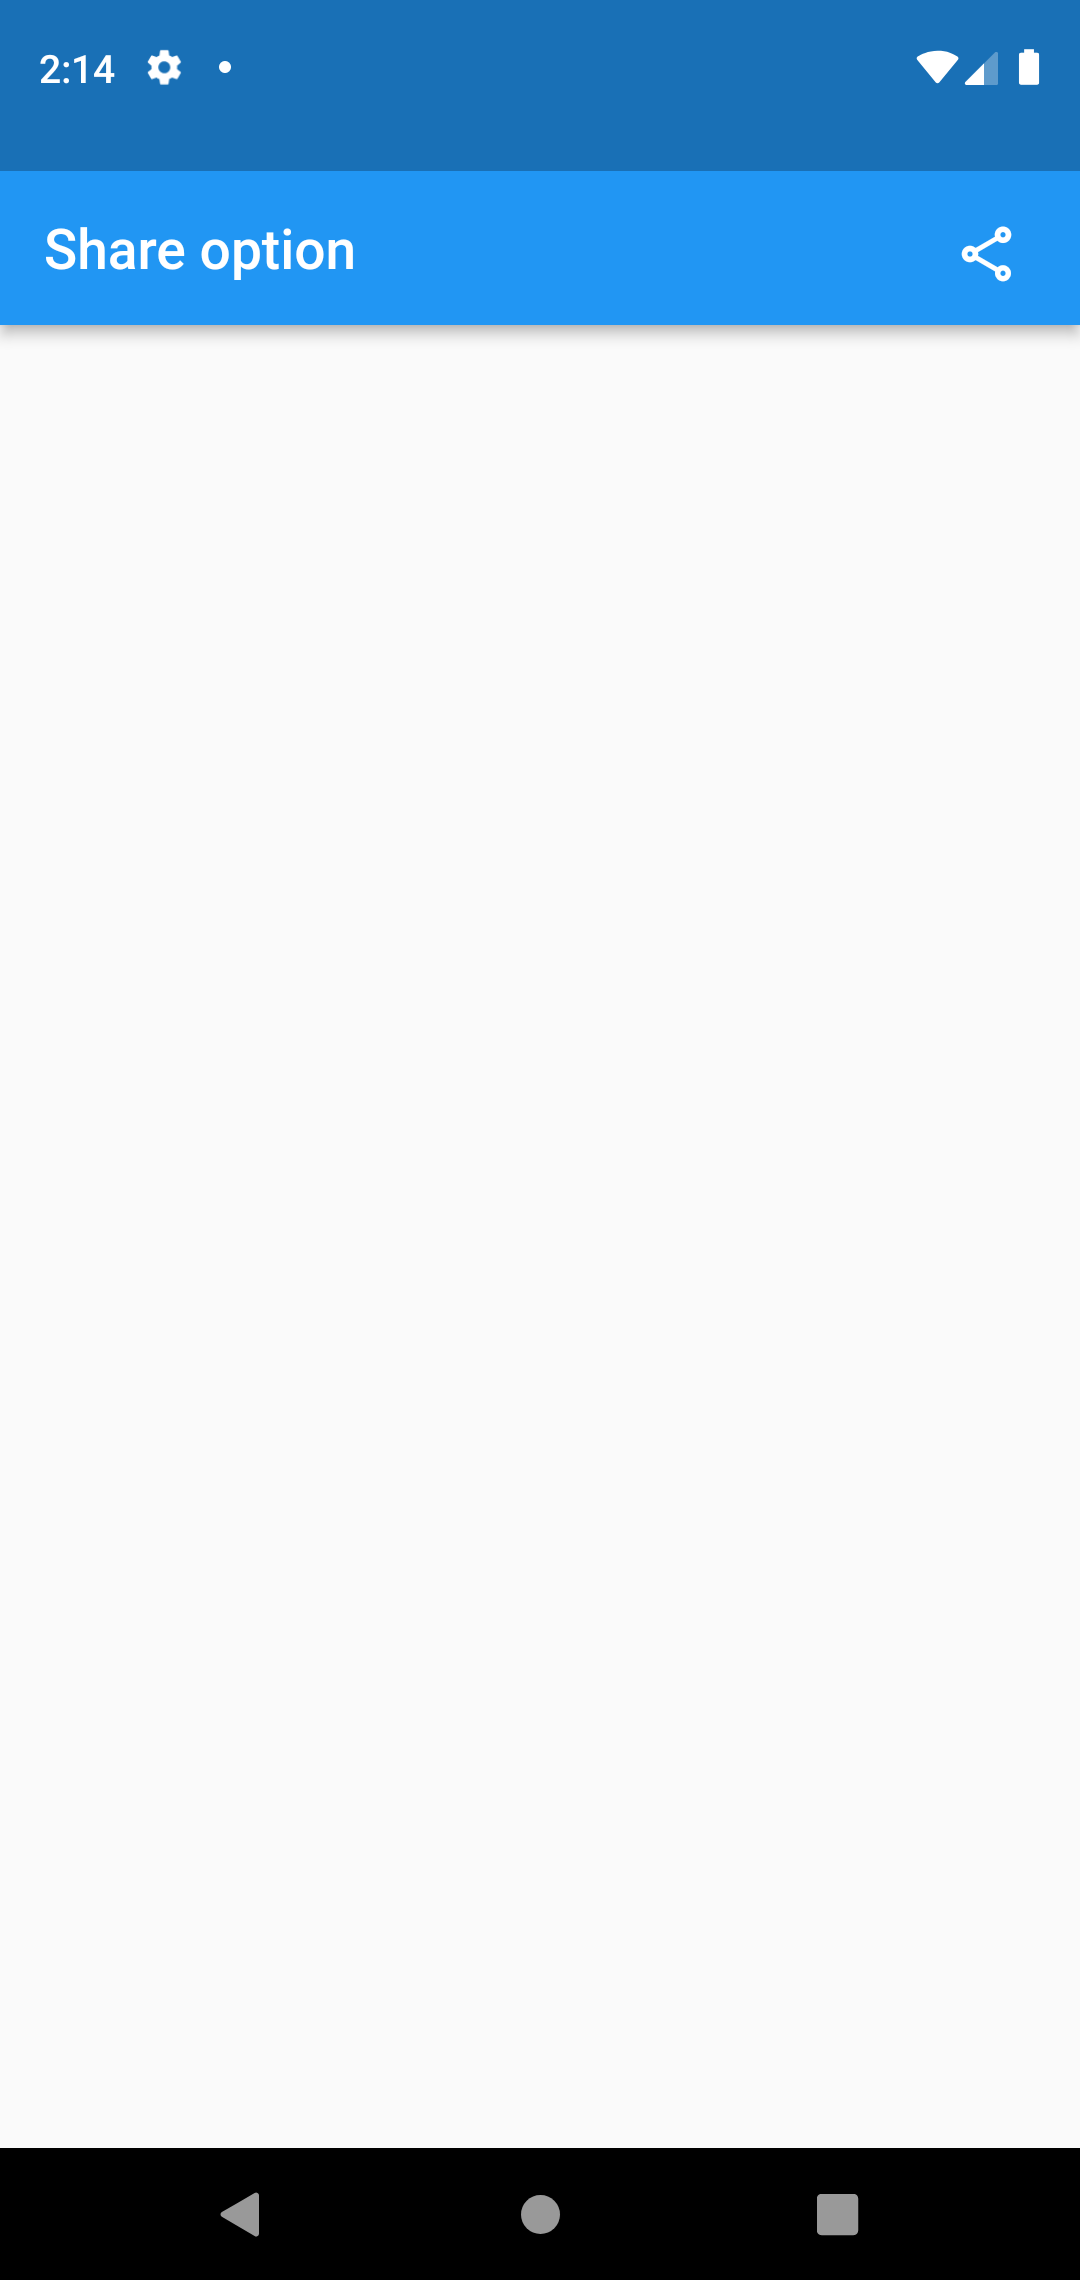
First thing we need to do is to add this share pub in your pubspec.yaml file.
dependencies:
  share: ^2.0.4
We can simply apply the share pub in the code.return Scaffold(
appBar: AppBar(
title : const Text('Share option '),
actions: [
Padding(padding: const EdgeInsets.all(10),
child: IconButton(
icon : const Icon(Icons.share_outlined),
onPressed: () {
Share.share("https://dummy~~~~~~~.com");
},
)
)
],
),
);Hope you enjoyed this article!
By Ami
asahi at 2021年09月17日 10:00:00
- 2021年09月10日
- 技術情報
Flutter – Clipboard
This week also let’s learn flutter new things. I will show you how to copy and paste a text with flutter. Let’s start coding.


First thing we need to do is add this clipboard package in pubspec.yaml file.
flutter pub add clipboardCopy to clipboard
FlutterClipboard.copy(field.text).then(( value ) => print('copied'));Paste from clipboard
FlutterClipboard.paste().then((value) {
    // Do what ever you want with the value.
    setState(() {
      field.text = value;
      pasteValue = value;
    });
  });
For text editing field :
TextEditingController field = TextEditingController();
TextFormField(
                controller: field,
                decoration: const InputDecoration(
                    hintText: 'Enter text'
                ),
              ),
Hope you enjoyed this article!
By ami
asahi at 2021年09月10日 10:00:00
- 2021年09月03日
- 技術情報
Flutter – Scrollbar
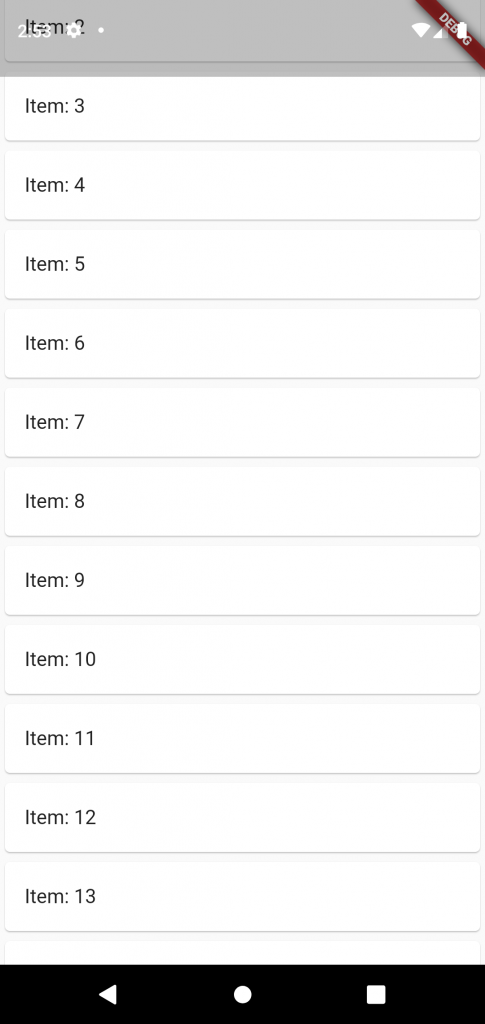
This week I would like to share about scrollbar widget and how to use it. Let’s go and start code!
By default scrollbar widget in flutter don’t show a scrollbar. But that’s fine in many cases but in others, you do want to display a scrollbar. Scrollbars show the users how far they’ve scrolled, and they allow things like jumping to a particular point in the list.
To show scrollbar use the widget called Scrollbar!
Make sure the scrollbar widget is finite. For example, it’s a ListView.builder, make sure itemCount is defined.
return MaterialApp(
      home: Scaffold(
        body: Center(
          child: Scrollbar(
            child: ListView.builder(
              itemCount: 20,
              itemBuilder: (context, index) {
                return Card(
                  child : ListTile(
                    title: Text("Item: ${index + 1}"),
                  )
                );
              }
            )
          ),
        )
      )
    );
Hoped you enjoyed this article!
By Ami
asahi at 2021年09月03日 10:00:13
 大人が楽しめるヒーリング絵本河童のカパと静かな森
 パワースポット 日本三大神滝布引の滝
 佐藤・広幸ドイツ魂
 Himeji Castle姫路城
 ボイドタイムお知らせアプリVoid Time 〜月を無視できない〜
 撮った写真をカレンダーに撮りカレ