Laravel – Jetstream
- 2021年10月01日
- 技術情報

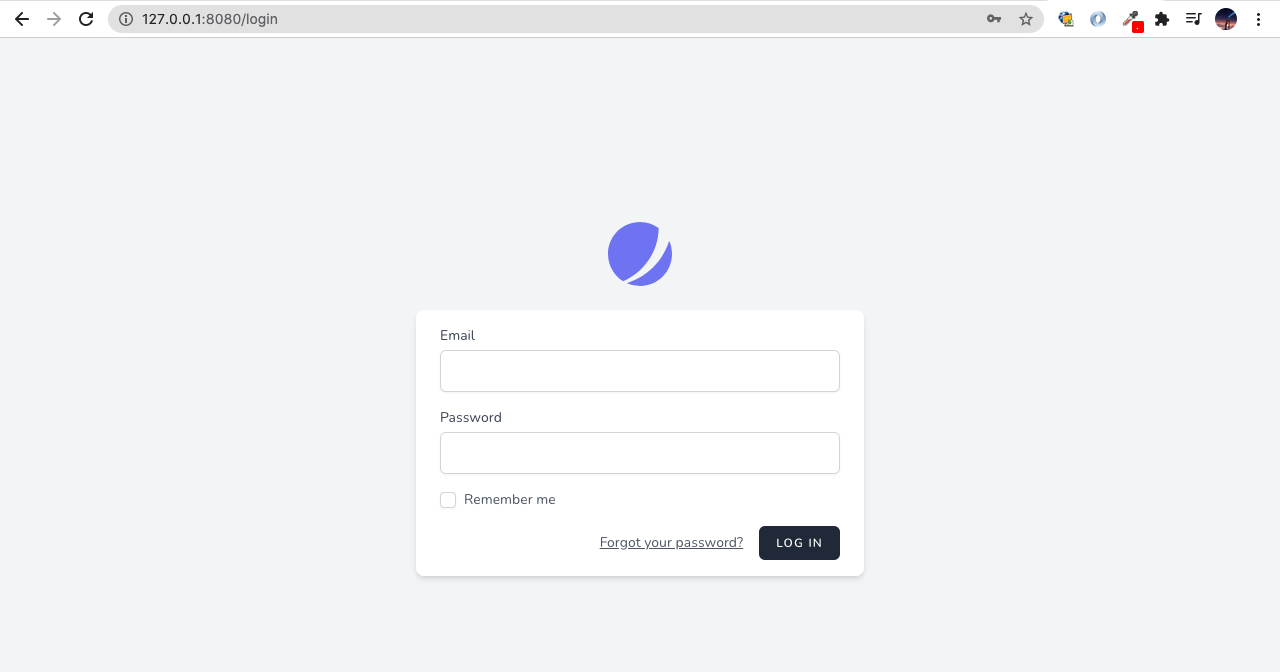
After Laravel version 7, Laravel version 8 introduced new features, this is the implementation of application’s login, registration, email verification, two-factor authentication, session management, and optional team management features.
This week I would like to share about using Jetstream how to set up in your project.
Firstly, it is better to install Jetstream into new Laravel project. Attempting to install Jetstream into an existing Laravel applicaiton will result in unexpected behavior and issues.
Installing Jetstream
You can install Jetstream via composer.
composer require laravel/jetstreamAfter installation is successful, you can choose one frontend stack from two of these Liveware and Intertia.js. This time I will set up using Liveware.
php artisan jetstream:install livewireAfter the installation is finished, you may install NPM dependencies and migrate the database. So, you may create new database, this name will be same from your .env file DB_DATABASE name.
npm install
npm run dev
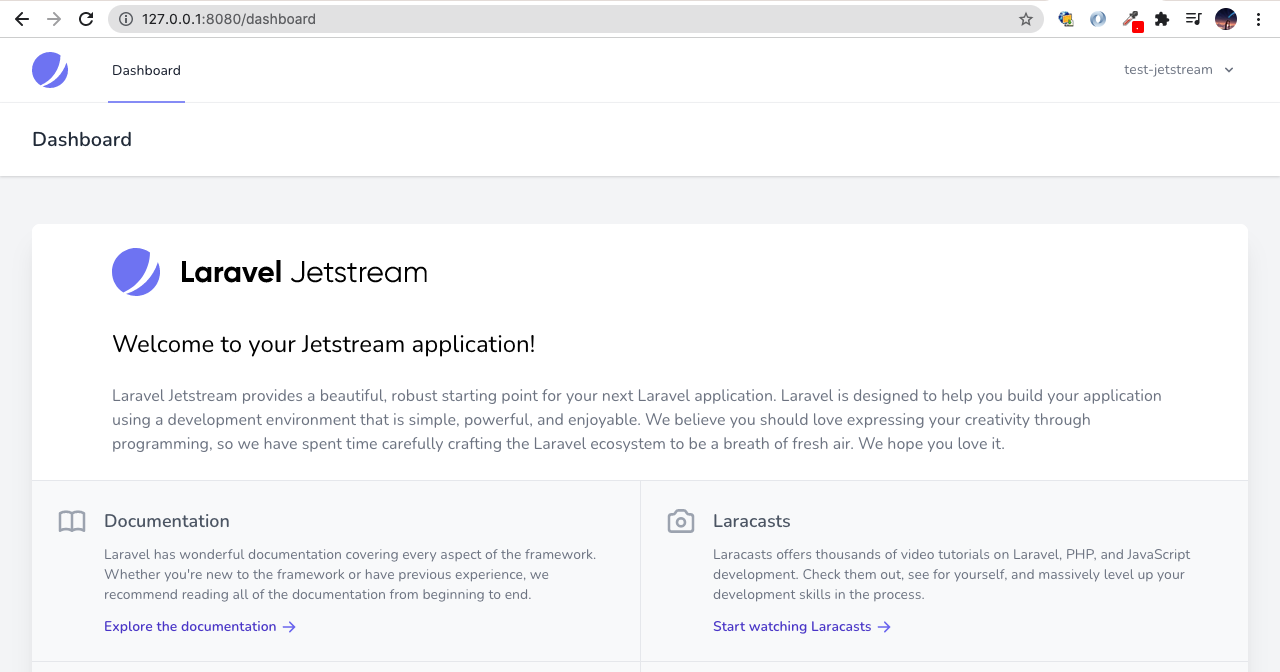
php artisan migrateAfter running all of the commands, there will be finished the installation using Jetstream. The last thing is need to start the development server to see the result.
php artisan serve --port=8080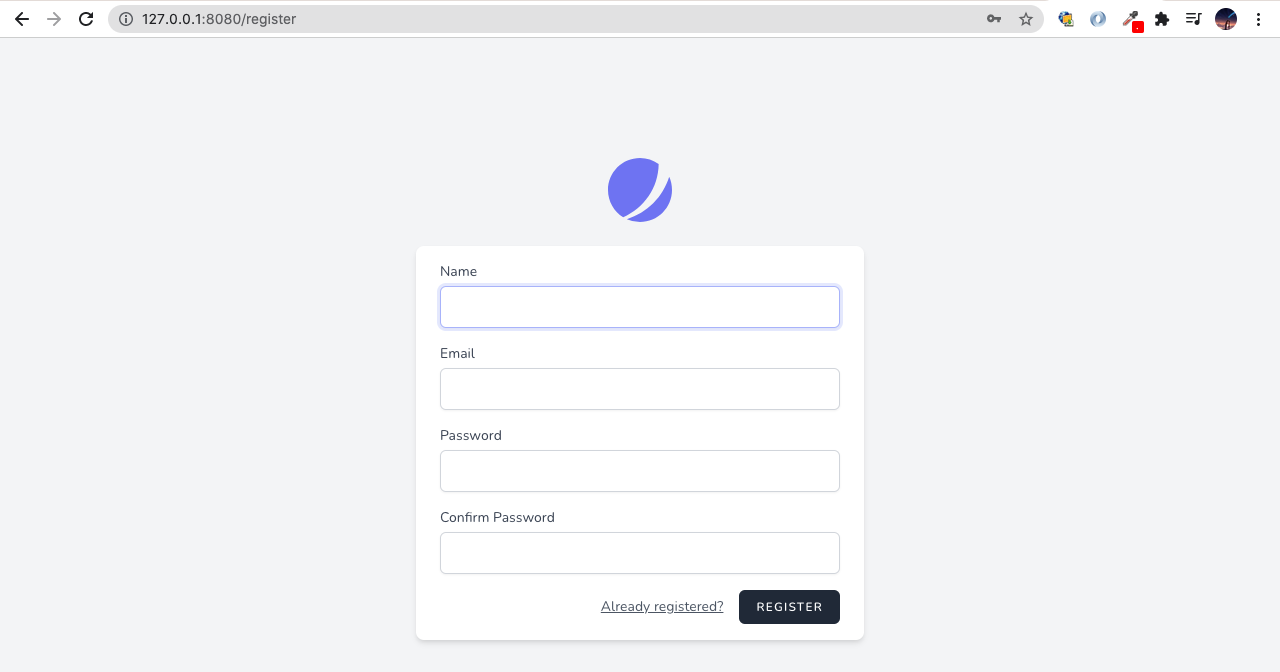
I hope you’ll enjoy reading it.
By Ami
asahi at 2021年10月01日 10:45:00
 大人が楽しめるヒーリング絵本河童のカパと静かな森
 パワースポット 日本三大神滝布引の滝
 佐藤・広幸ドイツ魂
 Himeji Castle姫路城
 ボイドタイムお知らせアプリVoid Time 〜月を無視できない〜
 撮った写真をカレンダーに撮りカレ