アプリ関連ニュース
- 2023年8月23日
- AI
BraveブラウザーのNightly版にもLeoという名前のAIアシスタント機能が搭載されたようです
tanaka at 2023年08月23日 10:00:00
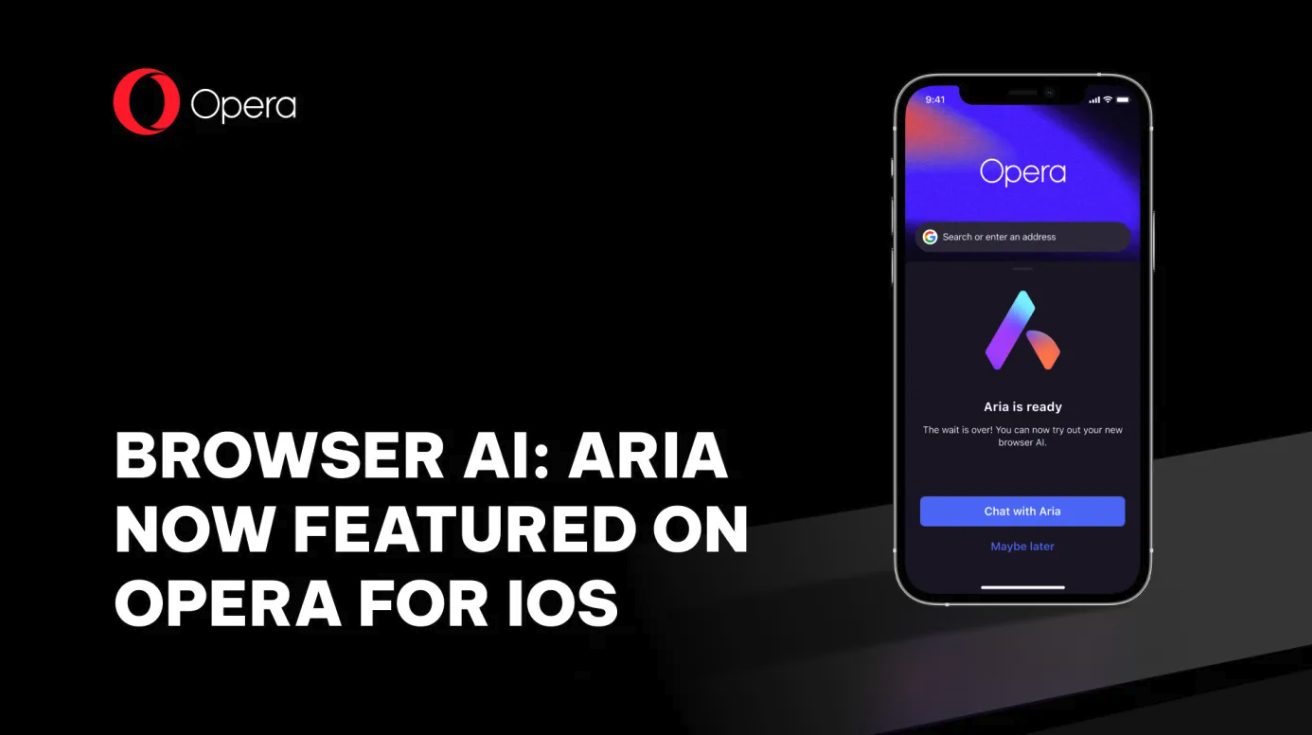
Opera’s iOS web browser with an AI companion, Aria
Opera’s web browser app for iOS will come with an artificial intelligence assistant. The company today announced that Opera for iOS will include Aria, a browser-based artificial intelligence product developed in collaboration with OpenAI. Aria integrates directly into your web browser and is free to all users.
This AI solution has so far been released in Opera for desktop and Opera for Android and now has over 1 million users. With the addition of iOS support, Aria is now available for all major platforms including Mac, Windows, Linux, Android and now iOS, the company said.
However, the use of Aria will vary for each individual user. If you want to experience our AI services, you can opt-in and there is no obligation for anyone. In doing so, Aria offers a range of knowledge and smart ideas, along with responsive voice commands. Users must also be signed in to an Opera account to use Aria. If you don’t have an account, you can create one from within the app.
Aria is based on Opera’s own “Composer” infrastructure and connects with OpenAI’s GPT technology. Composer will allow Aria to connect to multiple AI models and, in the future, will extend AI capabilities across search and AI services, including new moves such as Generative AI, which Opera plans to reveal at a later date. is planned to be extended.
Like other AI search partners, Opera on iOS has a chatbot-like interface that lets you ask questions and get answers instead of searching the web for answers.
Opera for iOS is a free download and includes useful features like built-in ad blocking, free VPN, tracking protection, crypto wallets, support for private browsing, and more.
yuuma at 2023年08月21日 10:00:00
ChatGPT 4 and its new capabilities
Today, I would like to share about ChatGPT 4 and its new capabilities. Let’s take a look.
GPT-4 or Chat GPT-4 is a large multi-modal model that combines artificial intelligence and natural language processing (NLP) to provide natural language answers to various queries, alongside other functionalities such as code writing, text translation, proofreading, article writing, and spreadsheet creation.
According to OpenAI, ChatGPT 4 exhibits capabilities that closely resemble human performance in numerous professional and academic benchmark tests, though it may fall short in certain real-world scenarios. Compared to its predecessor, GPT-3.5, ChatGPT 4 boasts enhanced speed, self-sufficiency, creativity, and stability.
Usage
Currently, ChatGPT 4 is exclusively available to subscribers of the paid ChatGPT Plus plan, while the free version continues to be based on GPT-3.5. Furthermore, developers can access GPT-4 through an API, allowing them to create applications and services utilizing this advanced language model.
For ChatGPT Plus subscribers, the process of using GPT-4 remains identical to GPT-3.5. Users can simply state their requirements and await the algorithm’s response, which now benefits from the improvements of GPT-4.
New Capabilities
OpenAI highlights three key areas where GPT-4 surpasses its predecessors. First, it demonstrates superior creativity, excelling in collaborative creative projects, including music composition, scripting, technical writing, and adapting to a user’s writing style. Secondly, GPT-4 exhibits a wider contextual range by processing up to 25,000 words of text from a user. Additionally, users can provide a web page link, enabling GPT-4 to interact with the content on that page, streamlining content creation and fostering lengthy conversations.
Lastly, a major innovation in GPT-4 is its ability to process visual input. Apart from textual queries, users can now present questions or requests by sending images, expanding the model’s utility and versatility.
Conclusion
OpenAI emphasizes that GPT-4 places a strong emphasis on safety. Internal testing reveals that GPT-4 produces 40% more objective responses and is 82% less likely to respond to inappropriate content requests. OpenAI collaborated with over 50 experts to gather initial feedback on AI safety and security, ensuring a safer user experience.
This is all for now. Hope you enjoy that.
By Asahi
waithaw at 2023年08月08日 10:00:00
GitHub Copilot can now show suggestions for match code in a public repository
GitHub has released a private beta version of the GitHub Copilot code browsing feature to give developers this option. When code referencing is enabled, Copilot will not automatically block the matching code it generates, but instead will show it to the developer in the sidebar and let the developer decide what to do with it. Over time, this feature will also be implemented in the Copilot chat.

GitHub previewed this feature last November, but it has clearly taken a long time to release.
GitHub CEO Thomas Dohmke told that Microsoft, GitHub, and most of his Copilot enterprise customers used the original locking feature, which he also said was a bit of a dull tool. said. “It gives you little control to decide for yourself whether you actually want to take that code and attribute it back to an open source license. It doesn’t actually let you discover that there might be a library that you could use instead of synthesizing code,” he told me. “It prevents you from exploring these libraries and submitting pull requests. You might be reproducing everything that already exists in some open source repo.”
Also, the code browsing feature tends to trigger more often when Copilot doesn’t have much context to operate. If Copilot can see a lot of context from the existing code you’re working with, it’s unlikely to generate hints that match public code. However, if you’re just starting out, your chances of generating matching code are greatly increased. You can read more detail about this topic from Github blog.
Yuuma
yuuma at 2023年08月07日 10:00:00
- 2023年8月02日
- AI
ローカル環境でChat AIを動かせるようです
text-generation-webui というアプリケーションを使用することで
一般家庭用のPCでもグラフィックカードを使って
Chat GPTのような大規模言語AIを比較的簡単に動かせるようです。
モデルのダウンロードやAIのキャラクラー性の設定も簡単にできるようです。
使用するモデルにもよるようですが、vramは16GBほど必要なようです。
グラフィックカードは最新世代のnvidia製のvramが12GBの物と、
1世代前のamd製のvramが16GBの物を所有しているのですが、
Windowsではamd製のグラフィックボードはサポートしていないようなので、
少ないvramでも動作するモデルを見つけられたら
Windows上で試してみたいなと思っています。
水曜担当:Tanaka
tanaka at 2023年08月02日 10:00:00
 大人が楽しめるヒーリング絵本河童のカパと静かな森
 パワースポット 日本三大神滝布引の滝
 佐藤・広幸ドイツ魂
 Himeji Castle姫路城
 ボイドタイムお知らせアプリVoid Time 〜月を無視できない〜
 撮った写真をカレンダーに撮りカレ