アプリ関連ニュース
- 2022年2月21日
- 技術情報
MySQL max_allowed_packet
max_allowed_packet is the maximum size of a MySQL network protocol packet that the server can create or read.
The maximum packet that can be sent and received from the MySQL8.0 server or client is 1 GB.
When the MySQL client or mysqld server receives a packet larger than max_allowed_packet bytes, it issues an ER_NET_PACKET_TOO_LARGE error and closes the connection. For some clients, if the communication packet is too large, the connection to the MySQL server may be lost during a query error.
Both the client and the server have their own max_allowed_packet variable, so if you want to handle large packets, you need to increase this variable.
Updating max_allowed_packet
You can change in the my.ini or ~/.my.cnf file depending on your OS and installation. For example
max_allowed_packet=500MYou can also update the value by running a query.
Firstly, you can check what’s the default value you have using this.
SHOW VARIABLES WHERE variable_name = 'max_allowed_packet'You can update the value using this.
SET GLOBAL max_allowed_packet=1073741824;These are the ways to update your max_allowed_packet config. But there is always a thing which is your code. You have to make sure your code is not doing anything wrong to exceed this value.
For example, if you are using session driver to mysql and you are adding large data to session once, there might have an exception , fatal error regarding with max_allowed_packet. Same concepts applied for the query cases.
To solve above kind of session issues, you can change your session driver or you can manage something else (Eg. tmp storage) to store your data.
I hope you get something from this article.
Yuuma
yuuma at 2022年02月21日 10:30:00
- 2022年2月18日
- 技術情報
Laravel9でTailwind cssを設定する方法
今回は、tailwind cssという美しいUIコンポーネントライブラリを使って、laravelプロジェクト内にシンプルなカレンダーを作成する方法をご紹介します。
新規プロジェクトの作成
Laravelのプロジェクトがまだない場合は、新規に作成することから始めます。最も一般的な方法は、Laravelインストーラーを使用することです。
laravel new example-app
cd example-app
Tailwind CSSのインストール
tailwindcssをnpmでインストールしたら新しいtailwind.config.jsファイルを作成したことを確認できます。
npm install -D tailwindcss postcss autoprefixer
npx tailwindcss init
Laravel Mixの設定にTailwindを追加する
webpack.mix.jsファイルに、tailwindcssを追加します。
mix.js("resources/js/app.js", "public/js")
  .postCss("resources/css/app.css", "public/css", [
    require("tailwindcss"),
  ]);
テンプレートパスの設定
tailwind.config.jsファイルに、すべてのテンプレートファイルへのパスを追加します。
module.exports = {
  content: [
    "./resources/**/*.blade.php",
    "./resources/**/*.js",
    "./resources/**/*.vue",
  ],
  theme: {
    extend: {},
  },
  plugins: [],
}
CSSにTailwindディレクティブを追加する
./resources/css/app.cssファイルに以下のことを追加します。
@import "tailwindcss/base";

@import "tailwindcss/components";

@import "tailwindcss/utilities";
ビルドプロセスの開始
npm run devでビルドプロセスを実行します。
npm run devプロジェクトでTailwindを使い始める
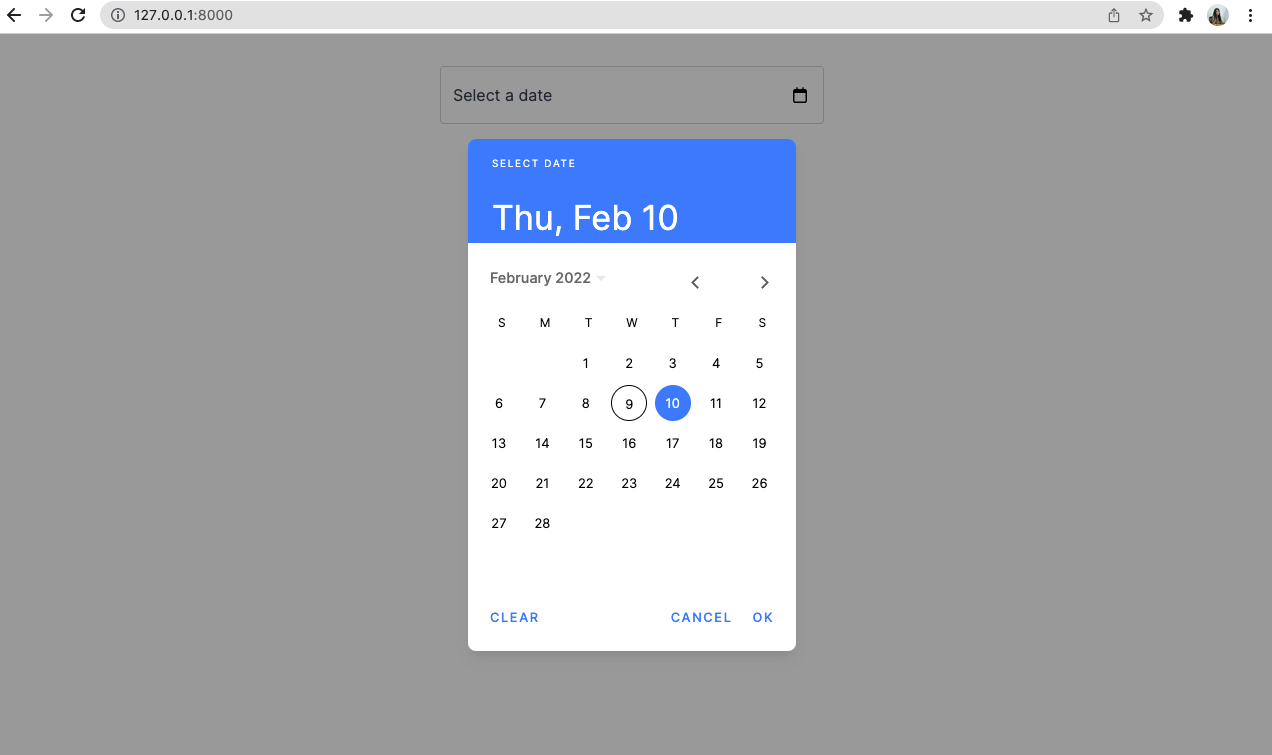
コンパイルされたCSSを<head>に追加します。以下はカレンダー用のシンプルなtailwindのcssです。
<div class="mt-8 flex items-center justify-center">
        <div class="datepicker relative form-floating mb-3 xl:w-96">
          <input type="text"
            class="form-control block w-full px-3 py-1.5 text-base font-normal text-gray-700 bg-white bg-clip-padding border border-solid border-gray-300 rounded transition ease-in-out m-0 focus:text-gray-700 focus:bg-white focus:border-blue-600 focus:outline-none"
            placeholder="Select a date" />
          <label for="floatingInput" class="text-gray-700">Select a date</label>
        </div>
      </div>
本日は以上となります。
最後までご高覧頂きまして有難うございました。
By Ami
asahi at 2022年02月18日 10:00:00
- 2022年2月17日
- Web Service
Advantages of Laragon
Laragon is a program that provides the WAMP environment (which stands for Windows, Apache, MySQL and PHP) and can completely replace XAMPP which has many current bugs. With Laragon, we can easily, quickly and conveniently set up the WAMP environment and manage them in local environment.
In addition to supporting PHP and MySQL, Laragon also supports other web programming languages such as Node.js, Python, Java, Go, Ruby and other database management systems like PostgreSQL, MongoDB. This software suite is extremely popular in the Laravel community, downloaded and loved by thousands of programmers around the world.
XAMPP and WAMP
Before talking about Laragon, I would like to first go through my development web server history. First, I always used Windows-based computers for all my development work. When I was starting, the only viable solutions for Windows development was to set everything manually or to use XAMPP or WAMP server software. For a while, I used WAMP, but for the most part, XAMPP was my preferred environment. And I had different versions of XAMPP installed until recently, each one with varying versions of PHP.
Laragon will allow switch between PHP versions, using Apache and Nginx, and maybe having support for different MySQL versions. Laragon is not easy to use as Local, but once we set it up, it is working as we expect it to. Most operations are done via the context menu for the application sitting in the taskbar notifications area.
The following are the benefits of laragon.
— PHP version support
— CMDER terminal support
— Laragon provides us a strong database management system with HeidiSql, optionally you can change it for phpmyadmin
— SSL activation
— Choosing Apache, Nginx for your web server
— Activating Memcache, Redis
— Quick app creating with GUI application
— Changing ports very quickly and easily
— Sharing your local site for the public with Ngrok on laragon
— Email management
— Powerful universal development environment for PHP, Node.js, Python, Java, Go, Ruby. It is fast, lightweight, easy-to-use and easy-to-extend
By Tsuki
tsuki at 2022年02月17日 10:00:00
- 2022年2月17日
- 技術情報
DataTablesを使用したテーブル生成とサーバーサイド連携(3)
今回はDataTablesを使用したテーブル生成方法とサーバーサイド連携方法をシェアしたいと思います。
前回の記事「DataTablesを使用したテーブル生成とサーバーサイド連携(2)」で作成した動作確認用のスクリプトを実行して動作確認をおこないます。
nishida at 2022年02月17日 10:00:00
- 2022年2月16日
- Windows
Windows11でAndroidアプリが使える機能のプレビュー開始
アメリカでWindows11でAndroidアプリが利用可能になる
Amazon Appstoreのプレビューの配信が開始されたようです。
Microsoft Storeを更新することで利用可能になるようです。
一般公開となるのは今年の後半以降になるようですね。
どのくらいのアプリが提供されて、
どのくらいスムーズに動作するのか気になります。
スムーズに動作するのであればSurface等のWindowsタブレットが
実質的にAndroidタブレットとして利用可能になるかもしれませんね。
水曜担当 Tanaka
tanaka at 2022年02月16日 10:00:00
 大人が楽しめるヒーリング絵本河童のカパと静かな森
 パワースポット 日本三大神滝布引の滝
 佐藤・広幸ドイツ魂
 Himeji Castle姫路城
 ボイドタイムお知らせアプリVoid Time 〜月を無視できない〜
 撮った写真をカレンダーに撮りカレ