アプリ関連ニュース
- 2022年2月15日
- 技術情報
Some Laravel Tips and Tricks
Today I would like to share some laravel tips and tricks. Let’s take a look.
Use Carbon with Only Hours
If you want to have a current date without seconds and/or minutes, use Carbon’s methods like setSeconds(0) or setMinutes(0).
echo now();
// 2022-02-14 02:12:34
echo now()->setSeconds(0);
// 2022-02-14 02:12:00
echo now()->setSeconds(0)->setMinutes(0);
// 2022-02-14 02:00:00
// Another way – even shorter
echo now()->startOfHour();
Generate Images with Seeds/Factories
Normally, We use Faker to generate fake text values in seeds and factories. But do you know that you can generate not only text values but also Images by Faker?
For example: See image field here – it will generate 100×100 image:
$factory->define(User::class, function (Faker $faker) {
return [
‘name’ => $faker->name,
‘email’ => $faker->unique()->safeEmail,
‘email_verified_at’ => now(),
‘password’ => bcrypt(‘password’),
‘remember_token’ => Str::random(10),
‘Image’ => $faker->image(storage_path(‘images’), 100, 100)
];
});
Simple Pagination
In pagination, if you need just “Previous/next” links instead of all the page numbers (and have fewer DB queries because of that), You can do this easily by changing paginate() to simplePaginate():
// Instead of
$products = Product::paginate(8);
// Now you can do this
$products = Product::simplePaginate(8);
Use @auth in Blade
Instead of an if-statement to check logged-in users, You can use the @auth directive in your blade file.
Old way:
@if(auth()->user())
// The user is authenticated.
@endif
Latest:
@auth
// The user is authenticated.
@endauth
The opposite is @guest directive:
@guest
// The user is not authenticated.
@endguest
Check the view file exists
You can check if the View file exists before actually loading it.
if (view()->exists(‘admin.dashboard’)) {
// Load the view
}
You can even load an array of views, and only the first existing will be loaded.
return view()->first([‘admin.dashboard’, ‘dashboard’], $data);
Create migration without underscore _ symbol
When you are running a make:migration command, you don’t necessarily have to write underscore _ symbol between parts, like create_users_table.
// with underscore _ symbol
php artisan make:migration create_users_table
You can enter the name into quotes and then utilize spaces instead of underscores.
// without underscore _ symbol
php artisan make:migration “create users table”
Use Auth::once()
Do you know that you c an log in with the user only for One Request? You can easily do this by utilizing the method Auth::once(). No sessions or cookies will be used, which indicates this method may be applicable when building a stateless API.
if (Auth::once($credentials)) {
//
}
Use @canany to check multiple permissions at once
Earlier, You use the @can directive to check if a user has a certain permission. Now, you can also check multiple permissions at once with the @canany directive.
@canany([‘update’, ‘view’, ‘delete’], $blog)
// The current user can update, view, or delete the blog post
@elsecanany([‘create’], \App\Blog::class)
// The current user can create a blog post
@endcanany
This is all for now. Hope you enjoy that.
By Asahi
waithaw at 2022年02月15日 10:00:00
- 2022年2月10日
- 技術情報
DataTablesを使用したテーブル生成とサーバーサイド連携(2)
今回はDataTablesを使用したテーブル生成方法とサーバーサイド連携方法をシェアしたいと思います。
本記事は「DataTablesを使用したテーブル生成とサーバーサイド連携(1)」の続きです。
nishida at 2022年02月10日 10:00:00
- 2022年2月08日
- 技術情報
6 VS Code Extensions for Laravel Developers
Today I would like to share about 6 VS Code extensions for Laravel developers. These extensions are so helpful and reduce wasting time. The followings are extension names and their uses. You can easily search and install by their names in VS Code. Let’s take a look.
1. Laravel Blade Snippets
The Laravel blade snippets extension adds syntax highlight support for Laravel Blade to your VS Code editor.
Some of the main features of this extension are:
- Blade syntax highlight
- Blade snippets
- Emmet works in blade template
- Blade formatting
2. Laravel Snippets
The Laravel Snippets extension adds snippets for the Facades like Request:: , Route:: etc.
3. Laravel Blade Spacer
The Laravel blade spacer extension automatically adds spacing to your blade templating markers like {{ }}.
4. Laravel Extra Intellisense
The Laravel Extra Intellisense extension provides autocompletion for Laravel in VSCode.
The extension comes with auto-completion for:
- Route names and route parameters
- Views and variables
- Configs
- Translations and translation parameters
- Laravel mix function
- Validation rules
- View sections and stacks
- Env
- Route Middlewares
5. Laravel goto Controller
The extension allows you to press Alt + click on the name of the controller in your routes file, and it will navigate you from the route to the respective controller file.
6. Laravel goto View
Similar to the Laravel goto Controller extension, the Laravel goto View VScode extension allows you to go from your Controller or Route to your view by pressing Ctrl or Alt + click.
This is all for now. Hope you enjoy that.
By Asahi
waithaw at 2022年02月08日 10:00:00
- 2022年2月07日
- 技術情報
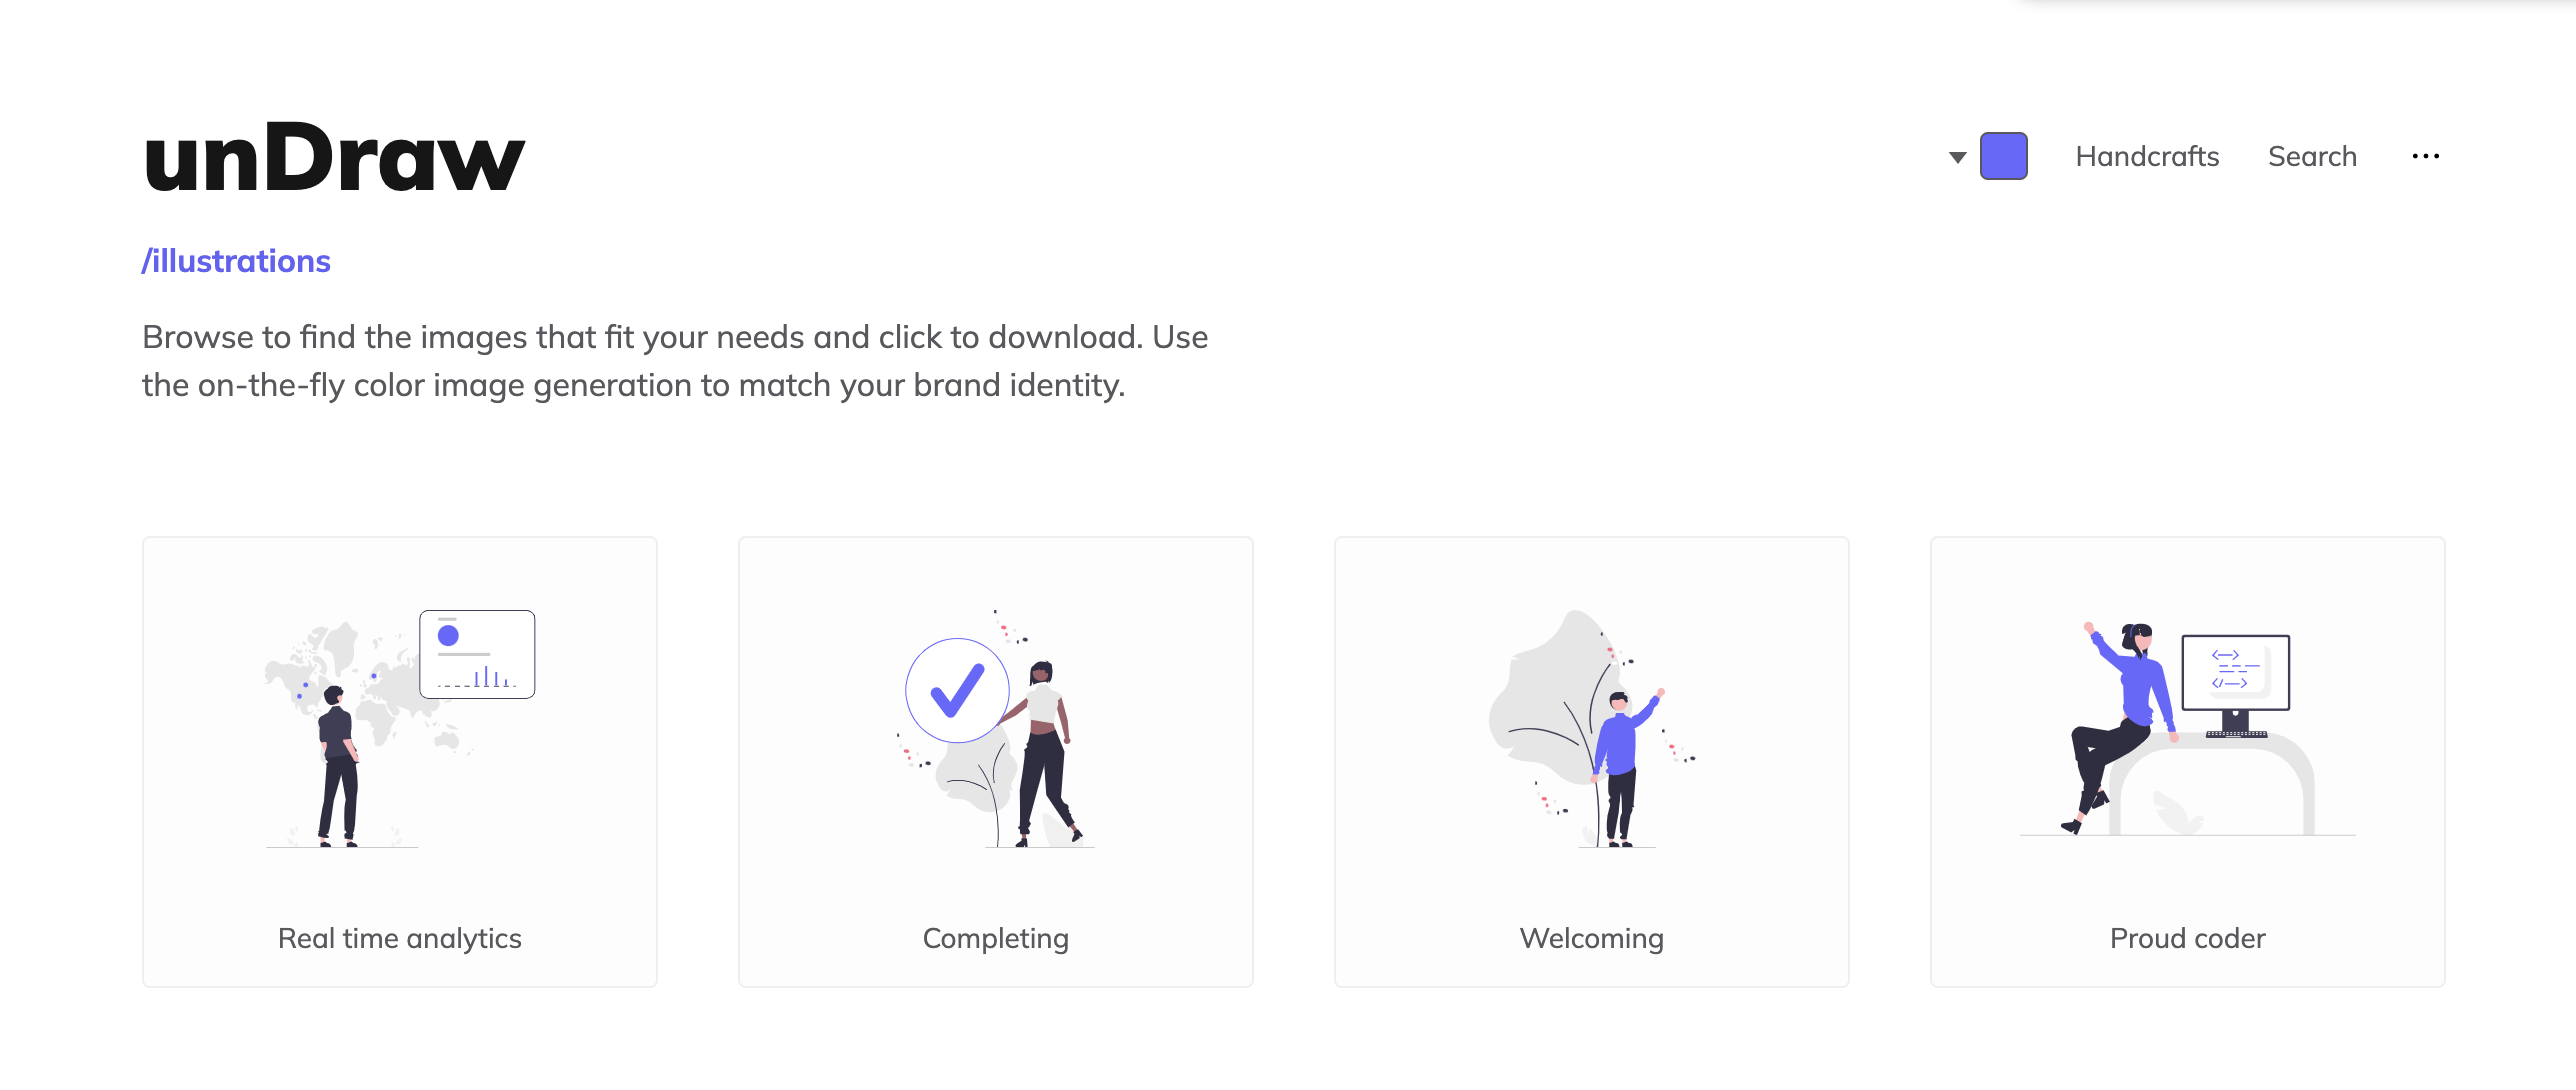
Illustrations for your projects
Illustrations are one of the most important things to design your applications. They look great, grab the user’s attention and get a nice impression. I will share a few sites for illustrations with you today.
UnDraw
A design project with beautiful SVG images that you can use for free. You can choose the main color of the illustration, so you can easily match it to your design.
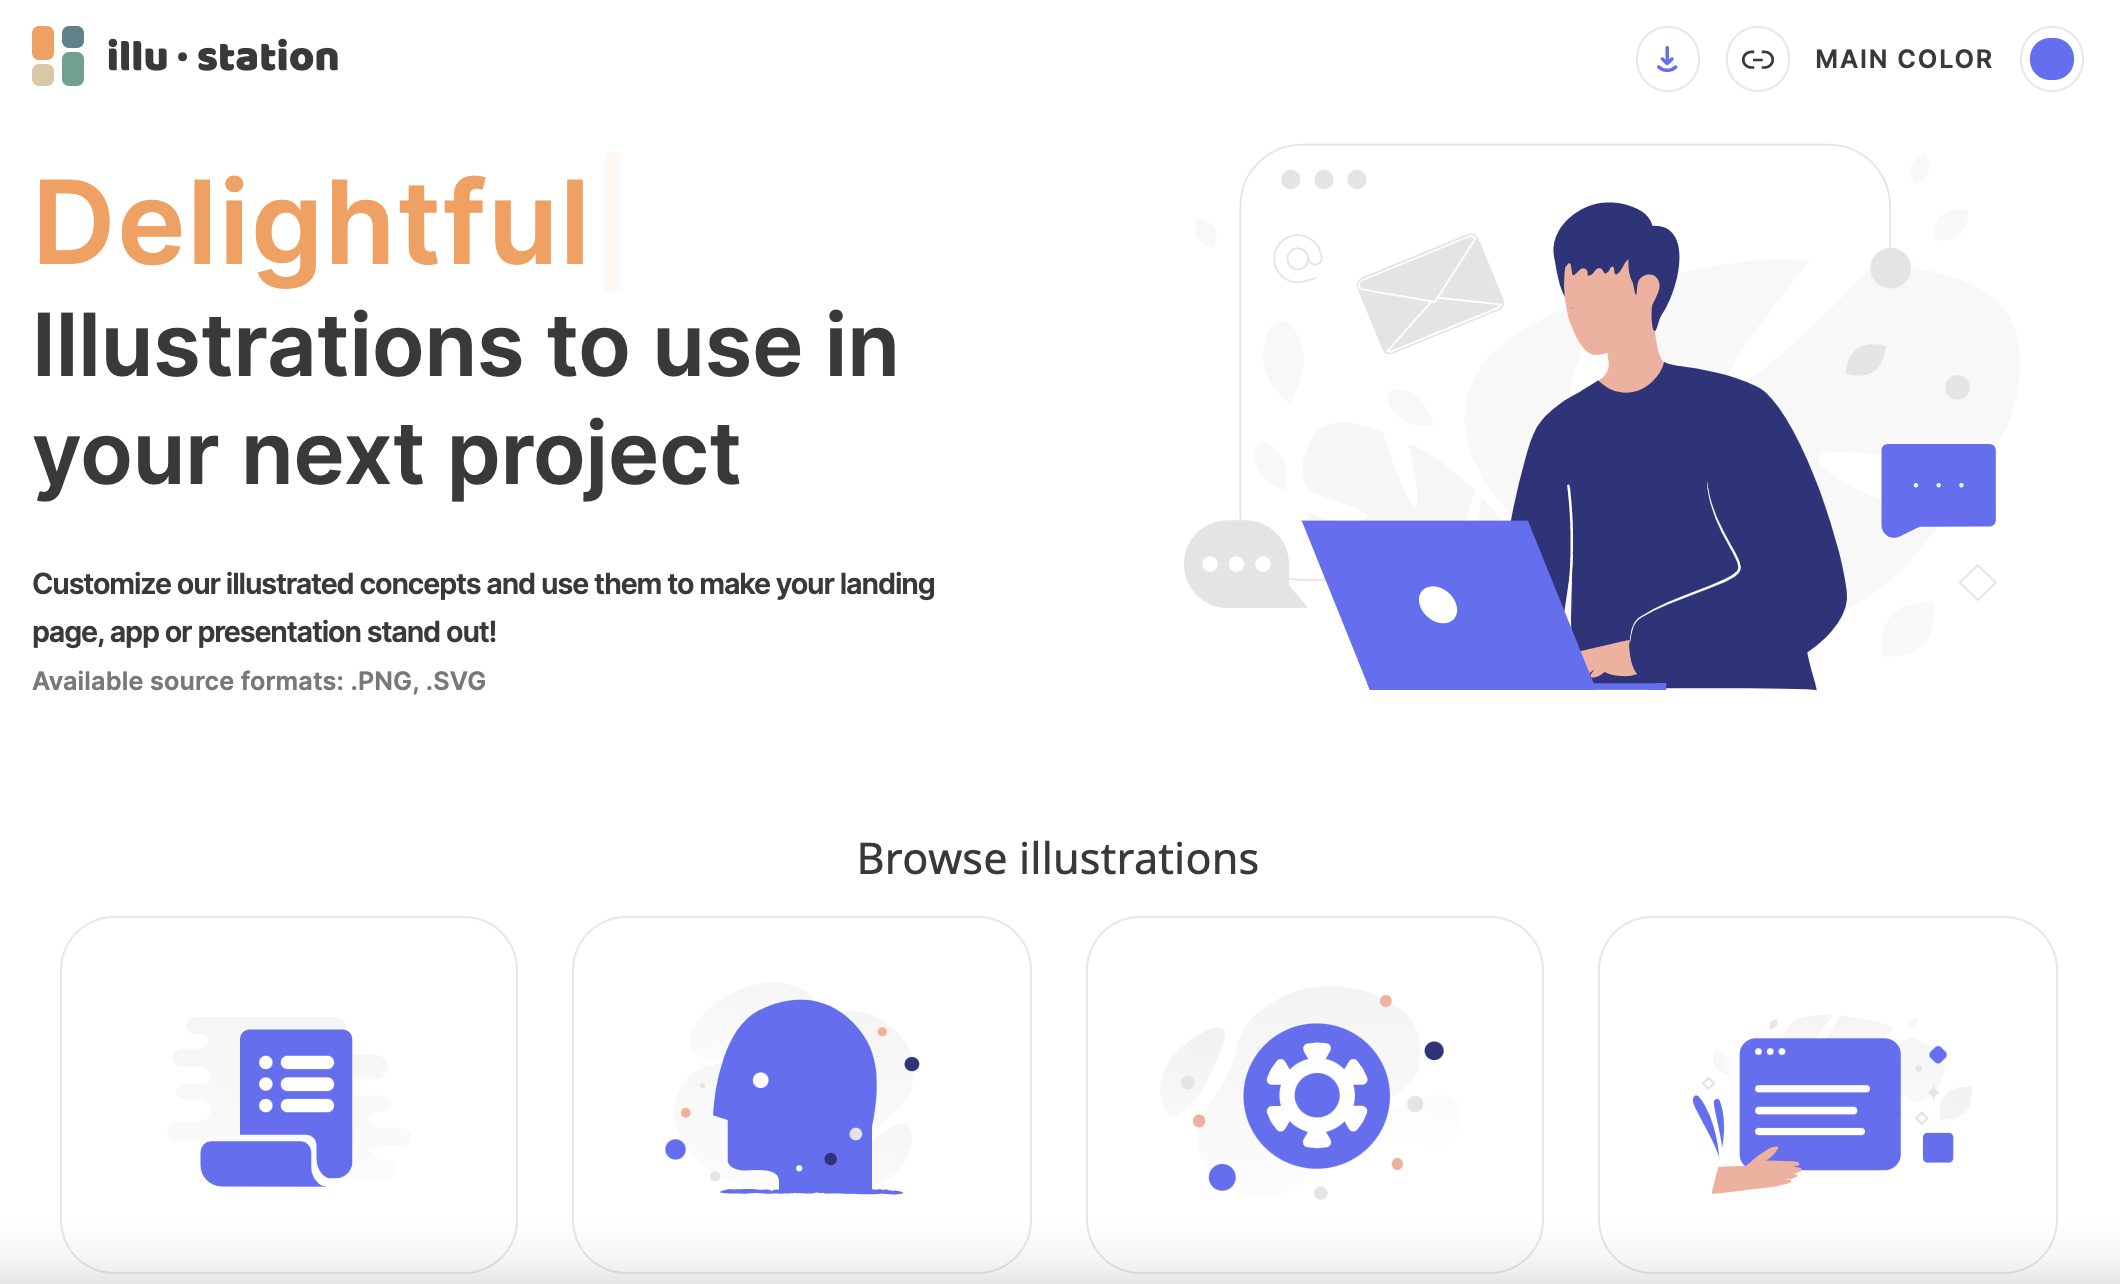
illu.station
An easy-to-use site with lots of high quality illustrations. Similar to unDraw, the user can also set the main color and adjust the illustration to the theme of the project.
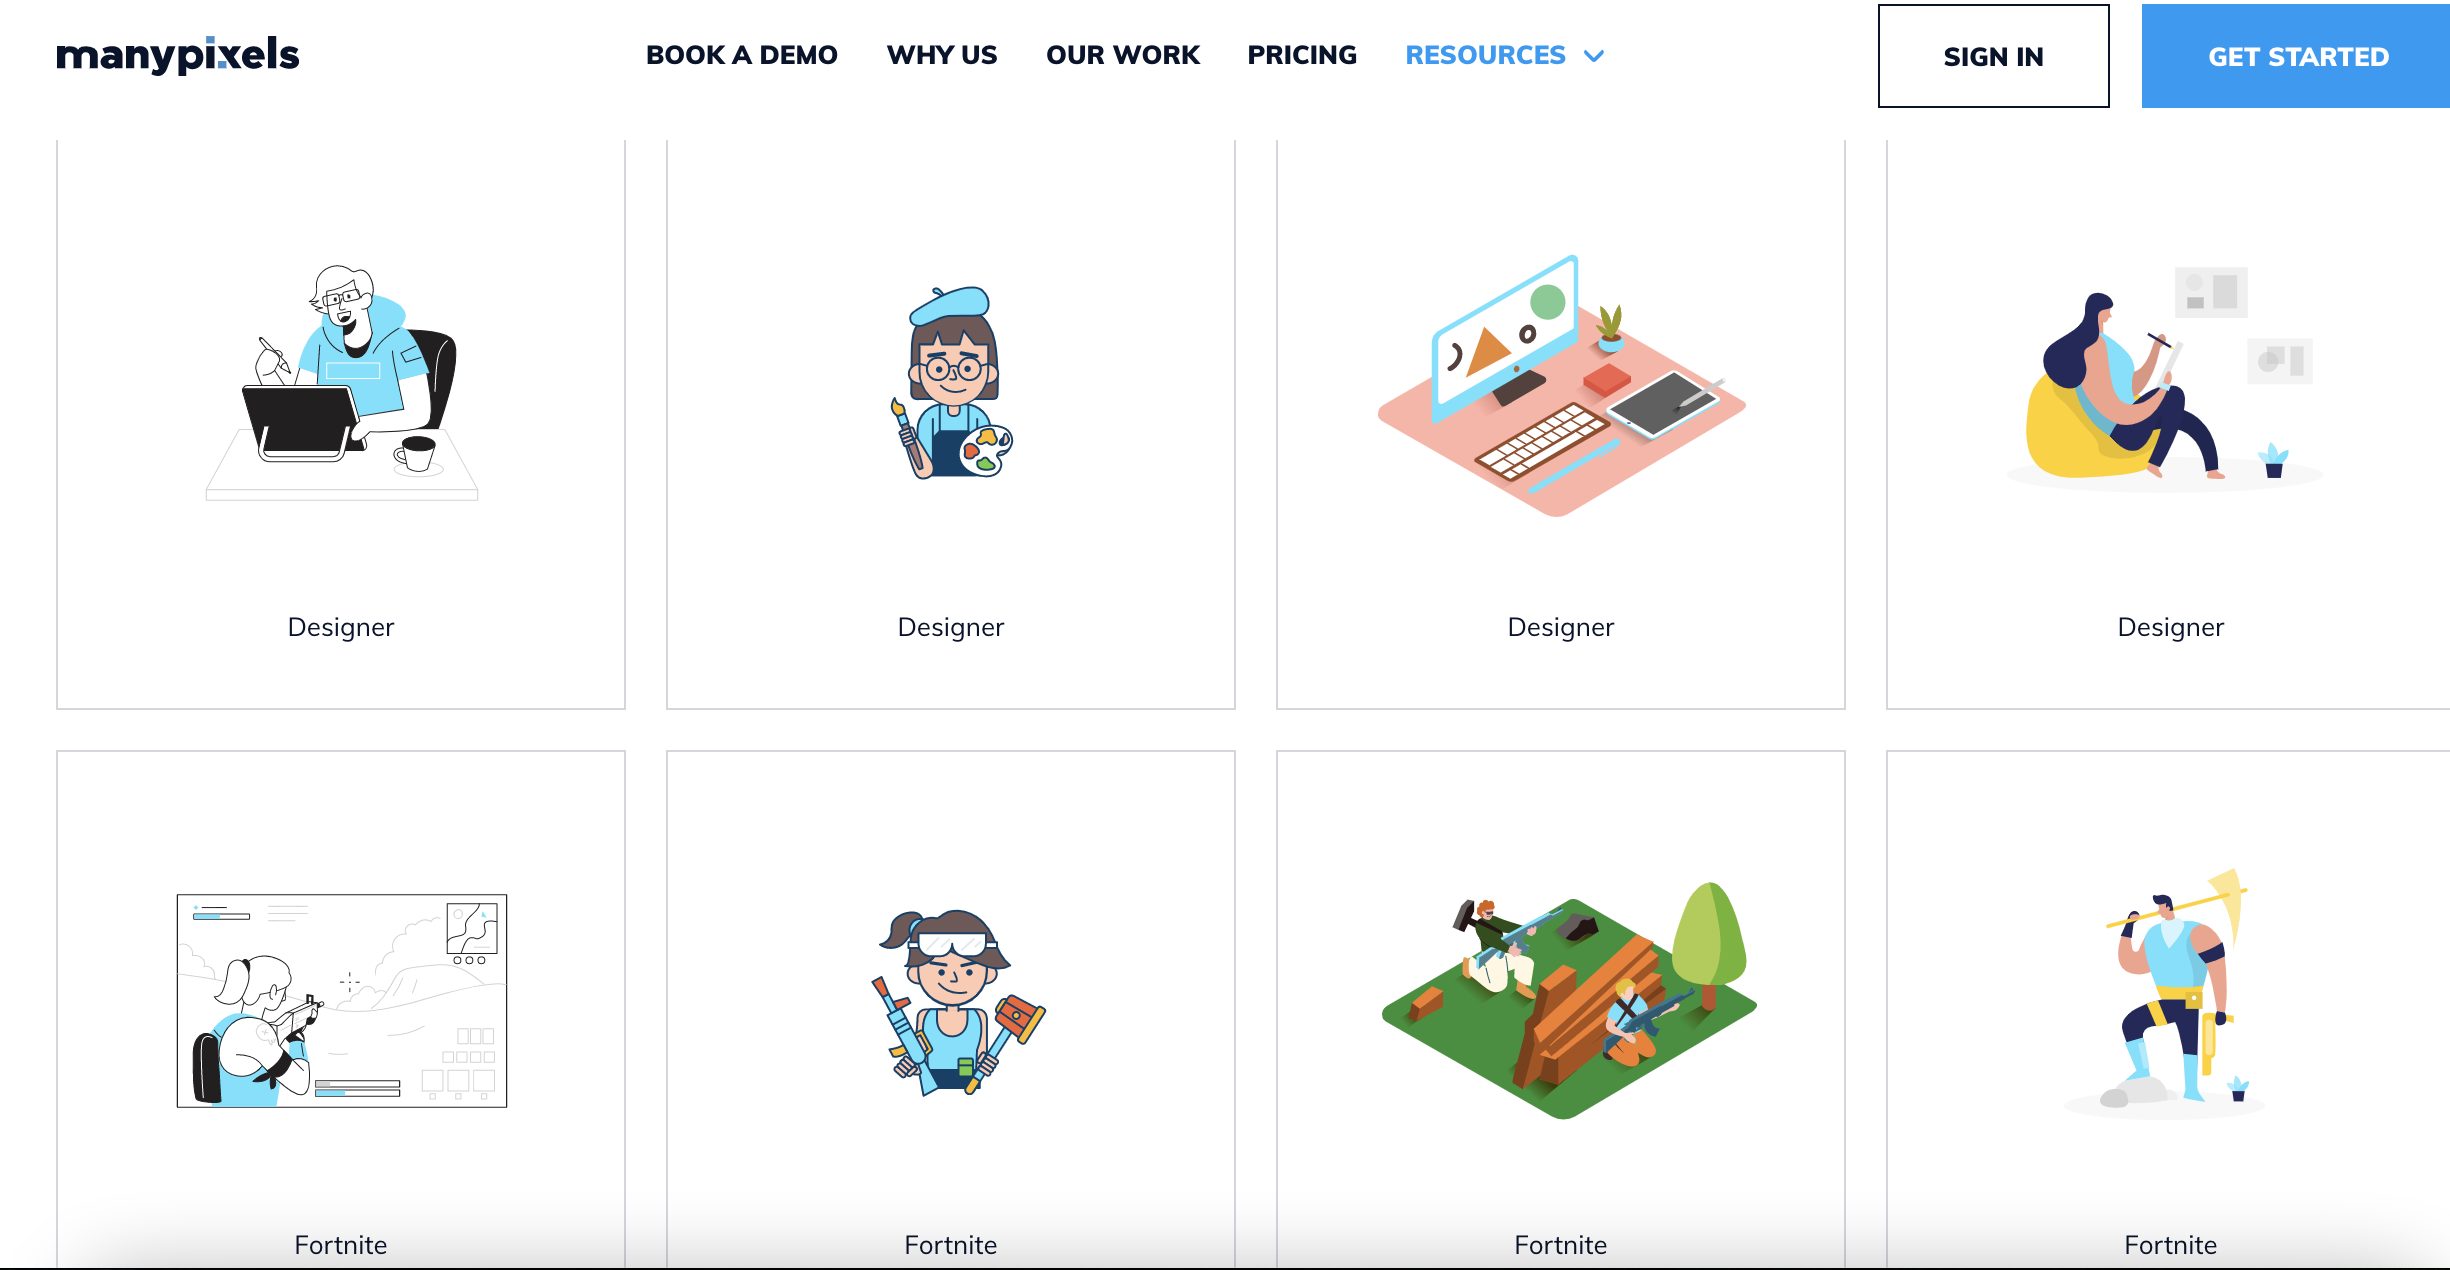
Manypixels
Various types of illustrations such as outline, monochrome, isometric, flat, and two colors. The user can set the main color of the illustration to suit a particular design.
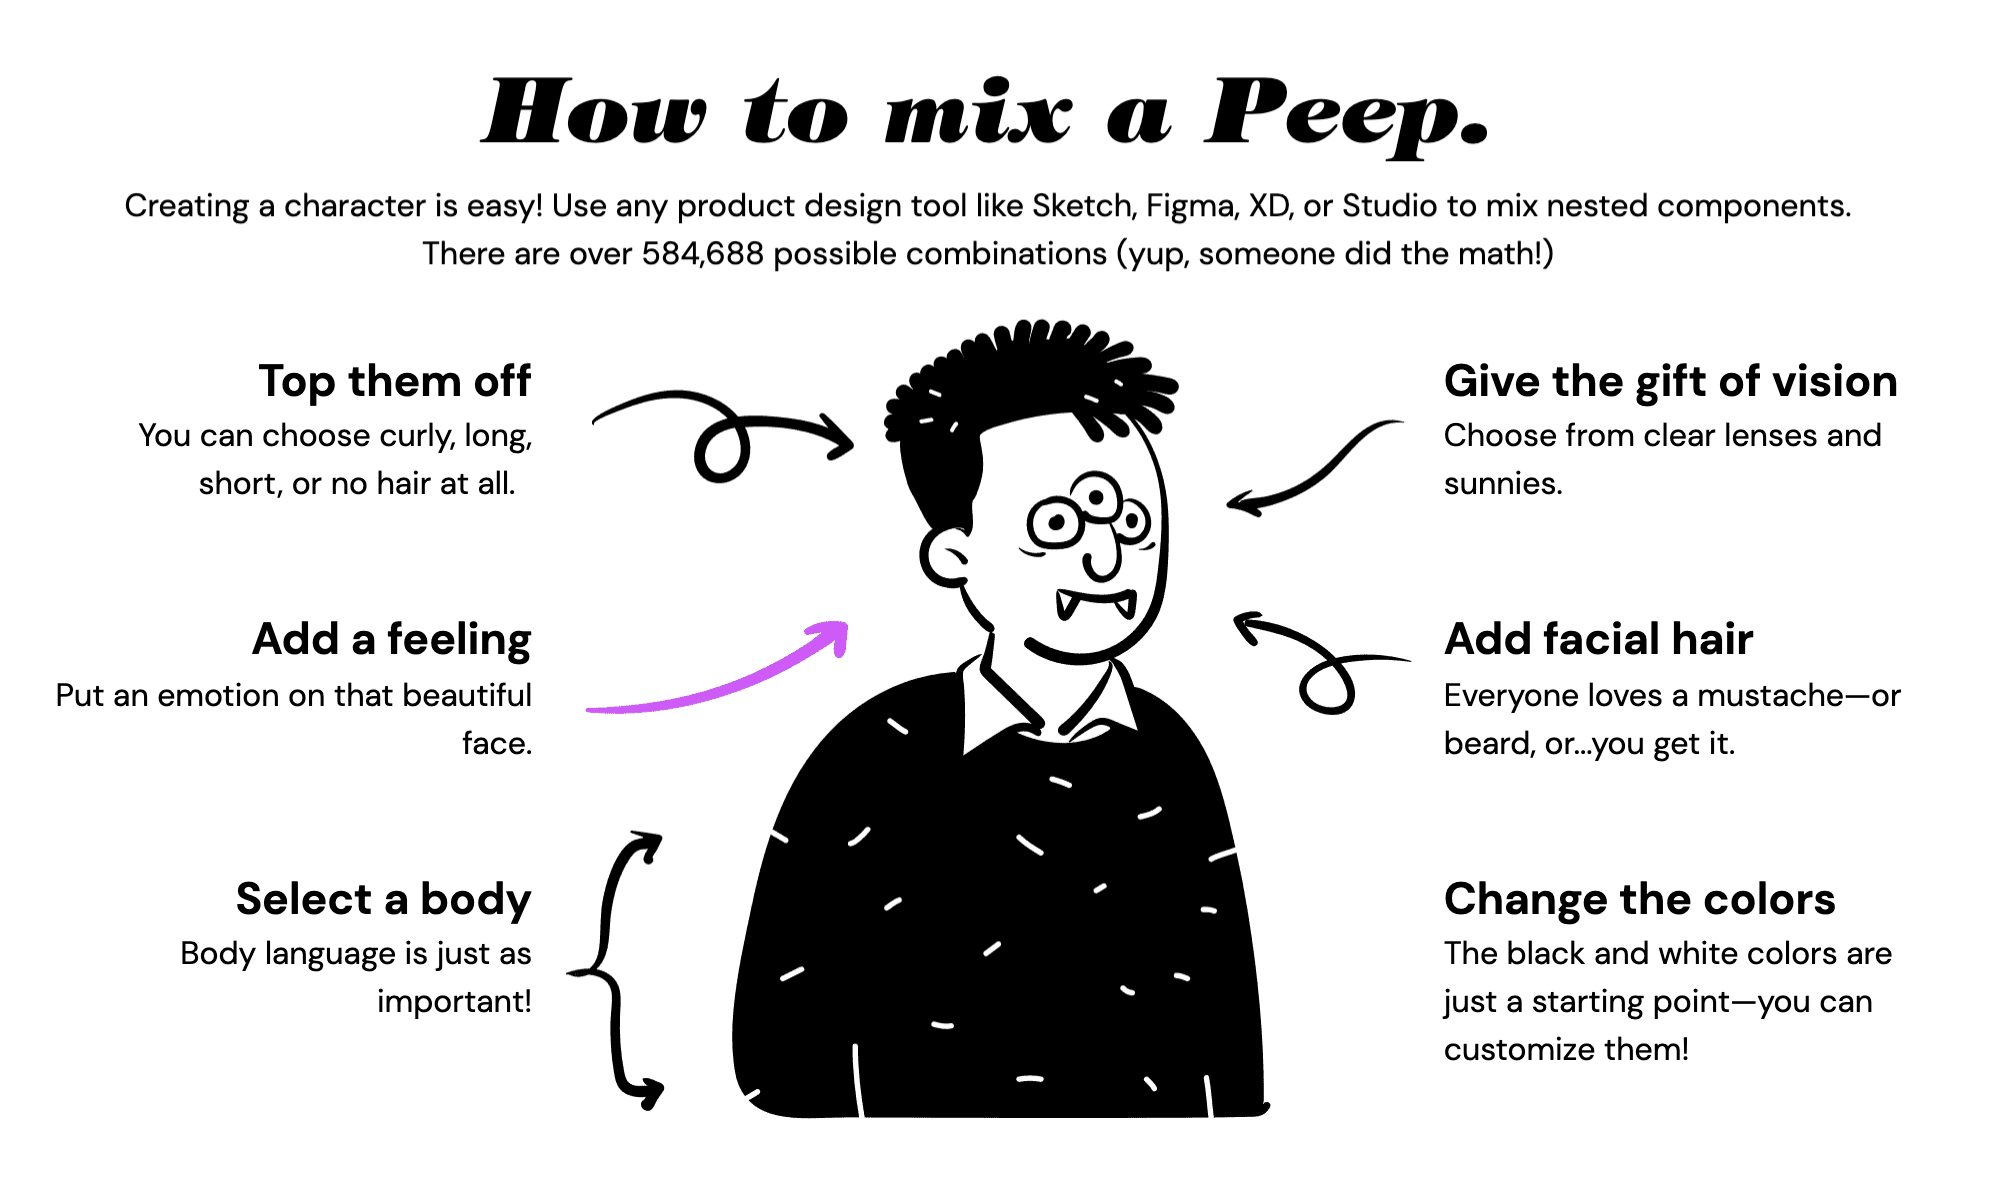
OpenPeeps
Illustration of hand-painted people. The library acts as a building block consisting of vector arms, legs and emotions. You can combine these elements to create a variety of peeps.
Icon8
You can also find interesting and useful illustrations on icon8. You can download free PNG and SVG illustrations from top Dribbble artists to enhance your product.
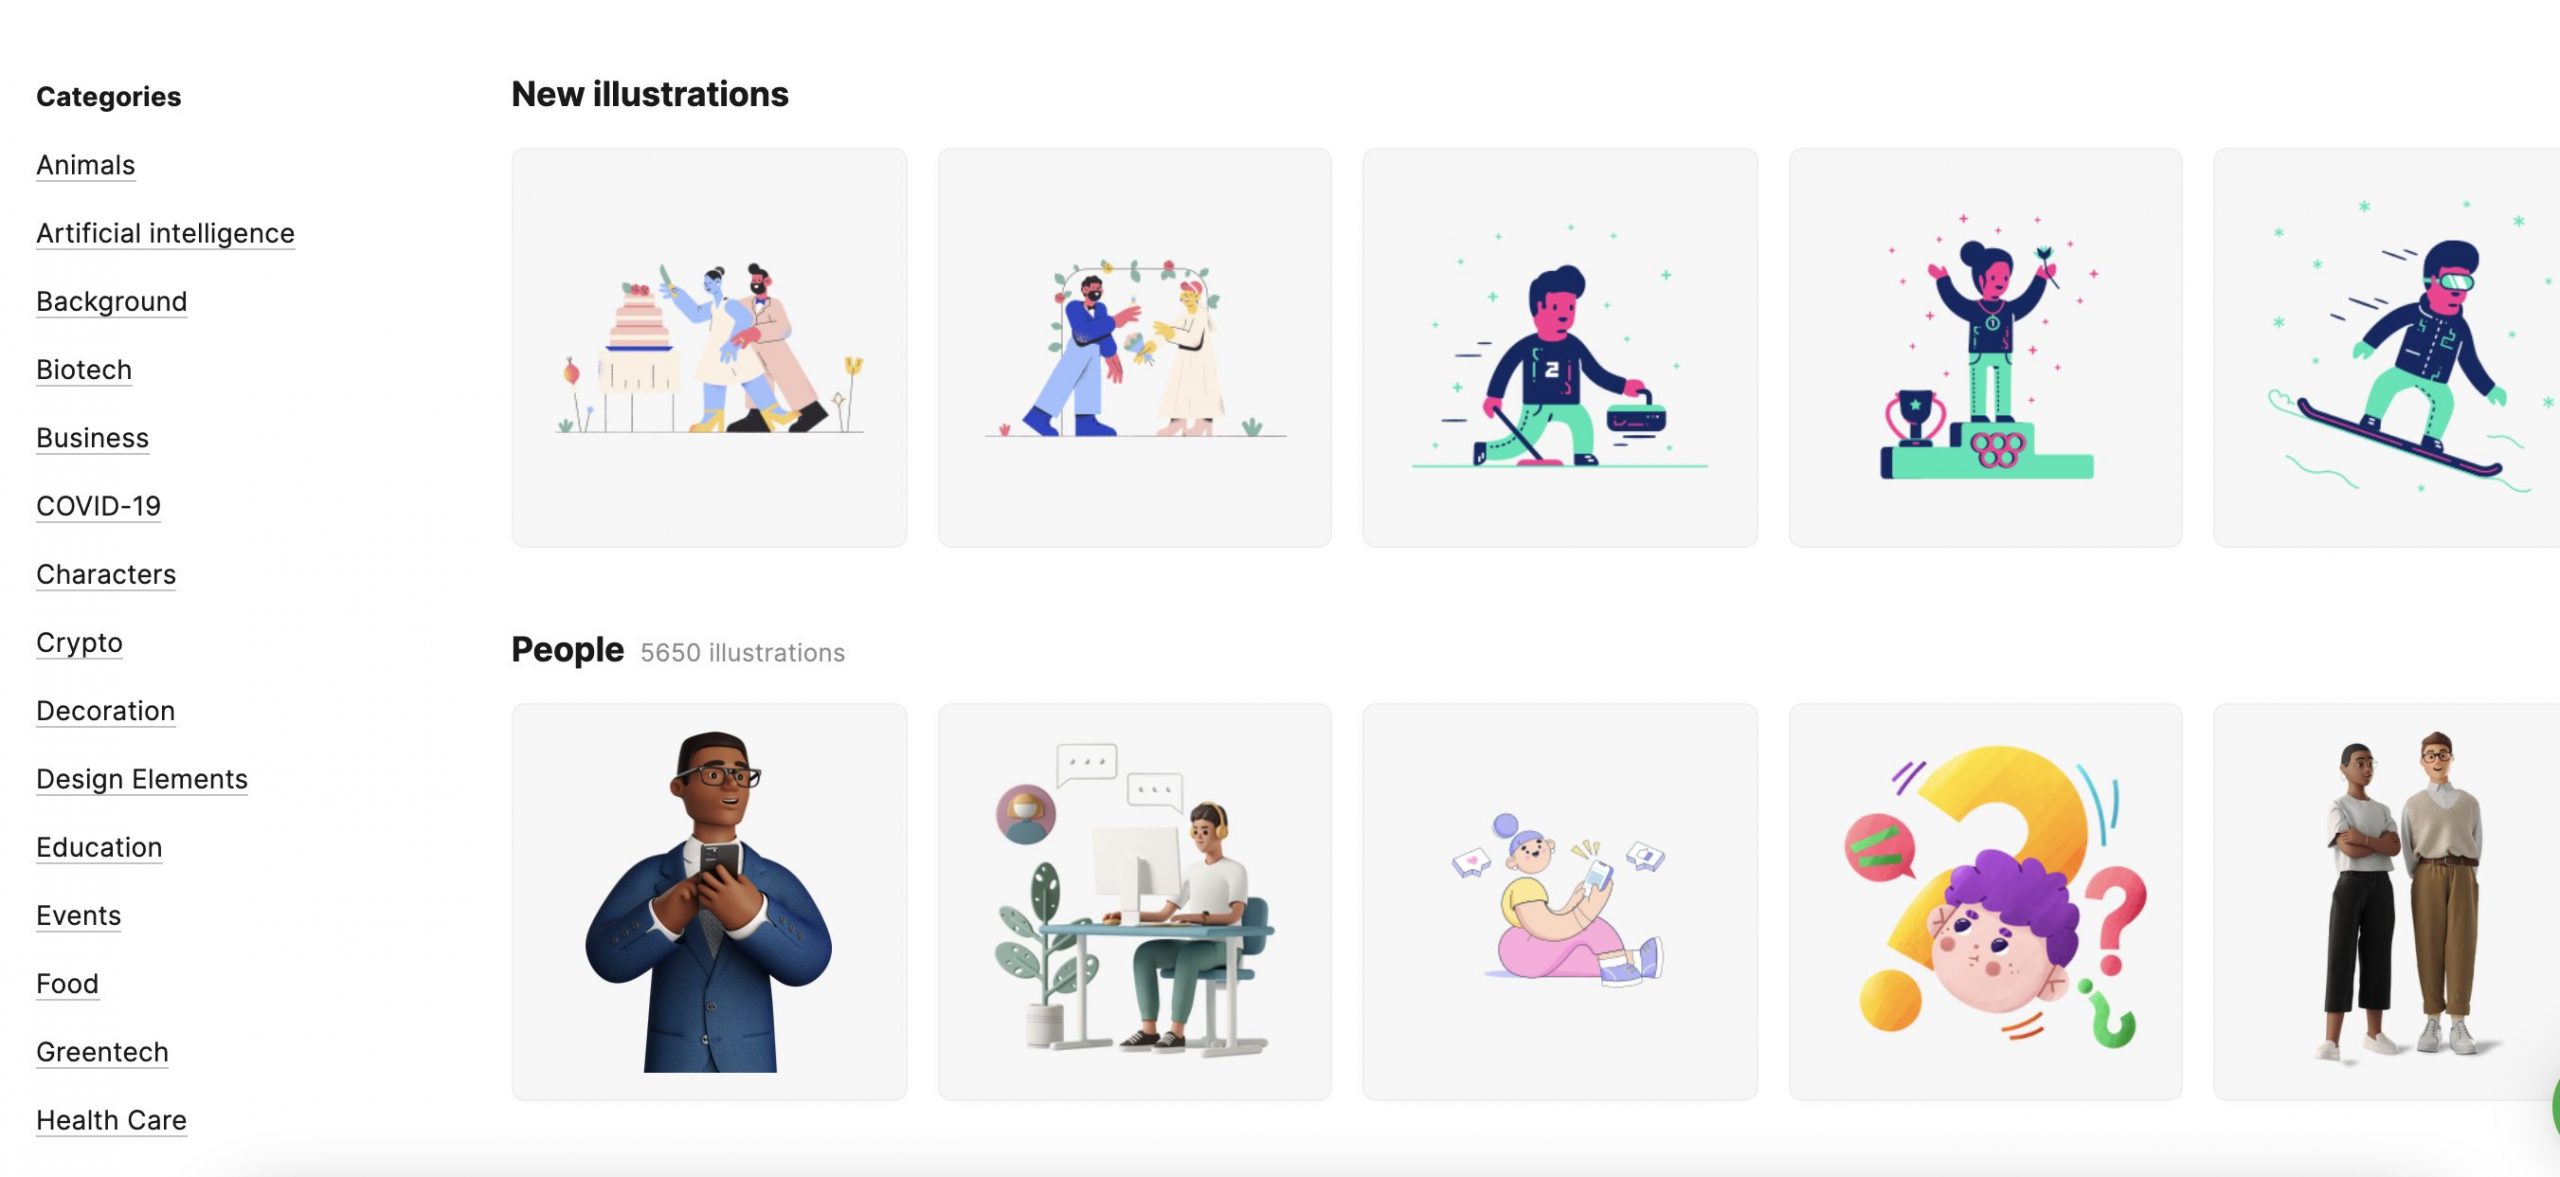
I am sure there are also many other popular illustrations site but here is the few lists that I like.
Yuuma
yuuma at 2022年02月07日 11:00:00
- 2022年2月04日
- 技術情報
Laravel の「One of Many」を使って最新と最高を取る方法
今回は、LaravelのOne of Manyを使って、最新と最高のデータを取得する方法についてご紹介します。
リレーションシップはpostとcommentの関係を作ることにします。そのため、新しいプロジェクトを作成し、このプロジェクトでマイグレーションとシーダーファイルをそれぞれ設定することにします。
以下のコメントは、マイグレーションファイルとシーダーファイルの作成を同時に使用することができます。
php artisan make:model Post -ms
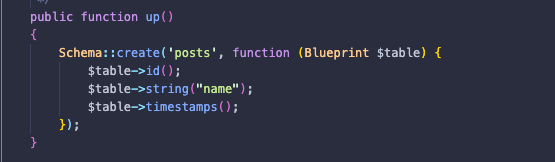
php artisan make:model Comment -msマイグレーションを変更
ファイル __create_posts_table に name カラムを追加する。
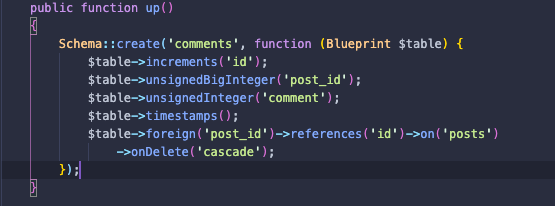
ファイル __create_comment_table にcommentと post_idカラムを追加する。
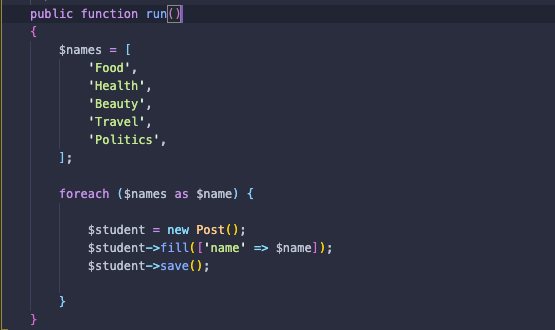
続いて、post とcomemntテーブルにテストするためSeederファイルを作ります。
postテーブルため
commentテーブルため

最後は、作成したファイルをDatabaseSeeder.phpにセットします。

続いて、今から「One of Many」の設定をしましょう!
今回は最初のidだけを使ってますが、他のことにも同じようにできます。
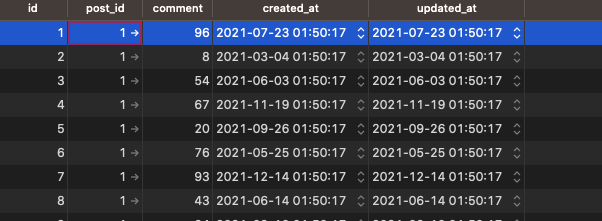
post id 1の最新コメントを取得しましょう!

呼び出し方は

このように設定すると、結果は
データベースにも、コメントID10が最後となります。
次は
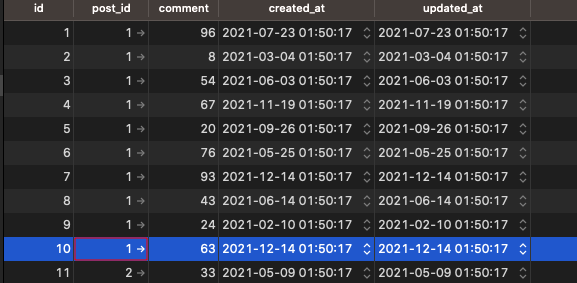
post id 1の最高コメントを取得しましょう!

今回はOfManyを使います。
以下のように呼び出します。

すると、結果は

データベースにも、96が一番高いコメント点のデータなので、Ok となります。
ということで今回は以上になります。
最後までご高覧頂きまして有難うございました。
By Ami
asahi at 2022年02月04日 10:00:00
 大人が楽しめるヒーリング絵本河童のカパと静かな森
 パワースポット 日本三大神滝布引の滝
 佐藤・広幸ドイツ魂
 Himeji Castle姫路城
 ボイドタイムお知らせアプリVoid Time 〜月を無視できない〜
 撮った写真をカレンダーに撮りカレ