アプリ関連ニュース
- 2021年10月06日
- Windows
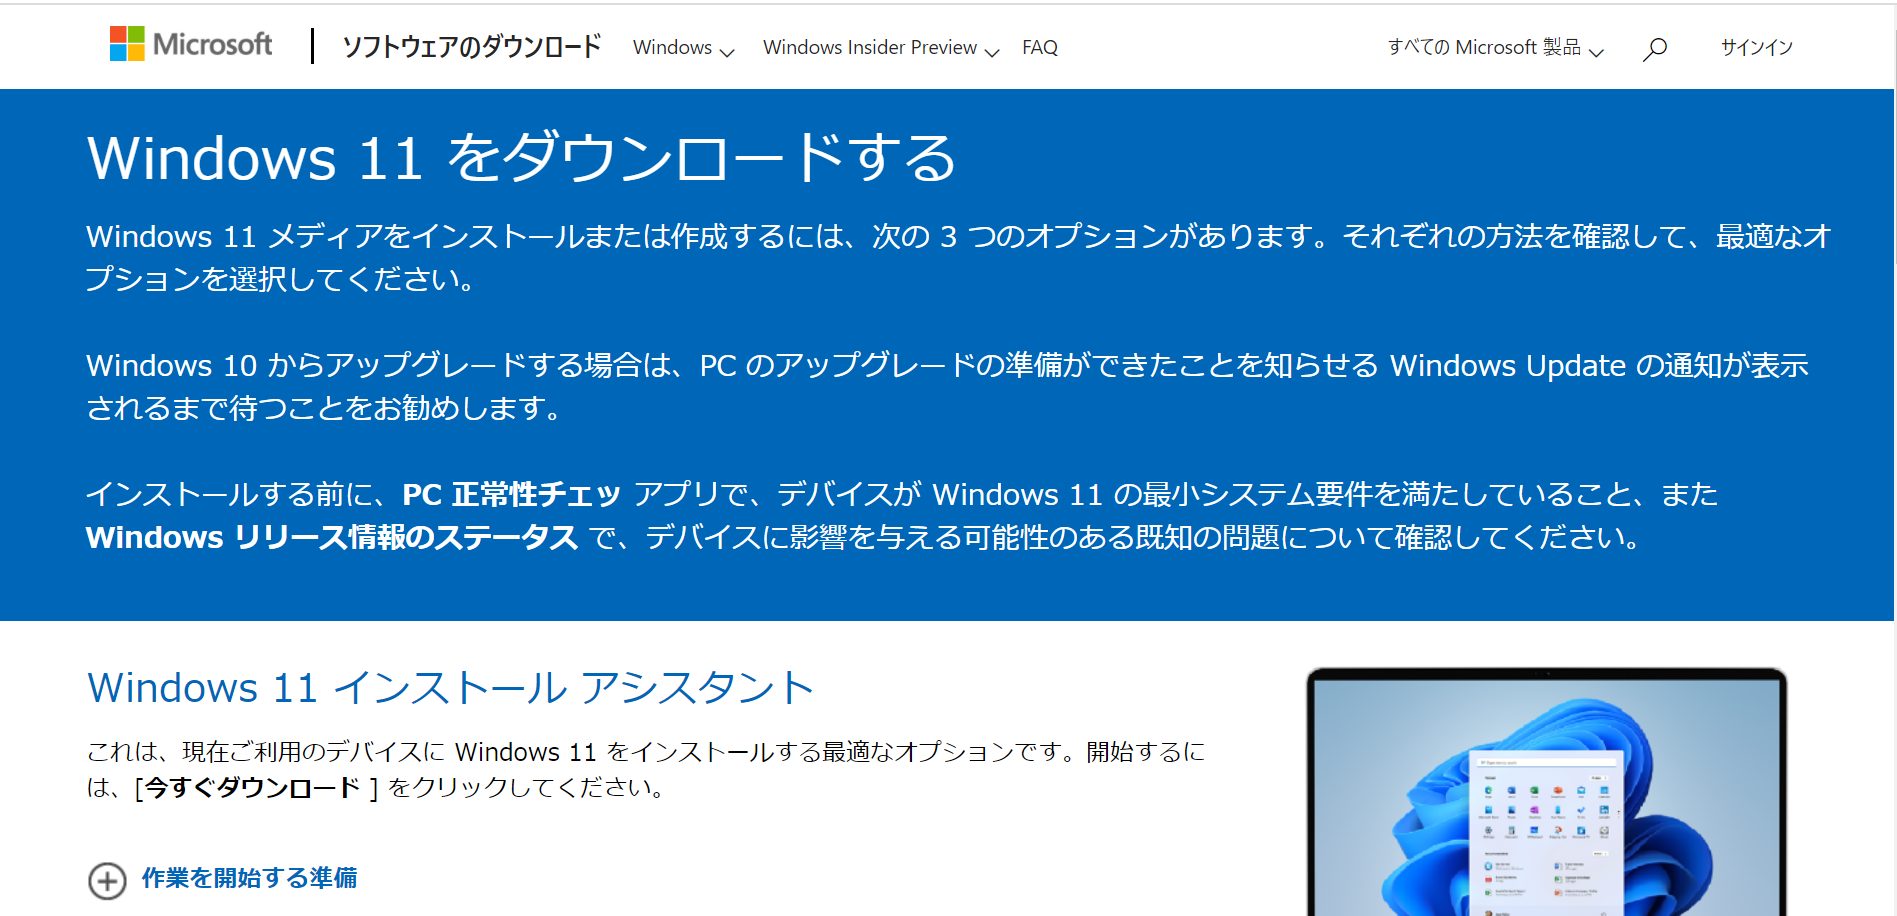
Windows11をインストールしました
Windows11が正式に公開されたので、
家のPCにインストールしてみました。
Windows11のページからダウンロードできるかと思ったのですが、ダウンロードページは別に存在していました。
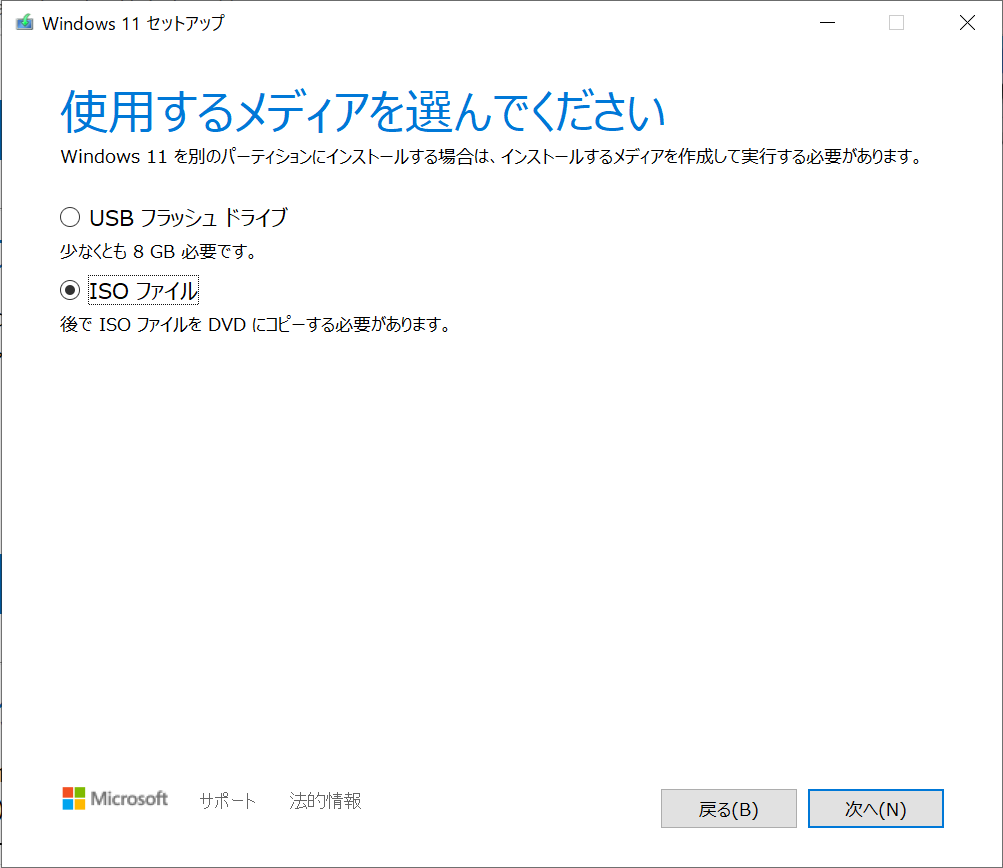
現在Windwos10がインストールされたドライブとは別のドライブに
インストールしたかったので、インストーラーは使用せず、
インストールUSBを作成して、新規インストールを行いました。
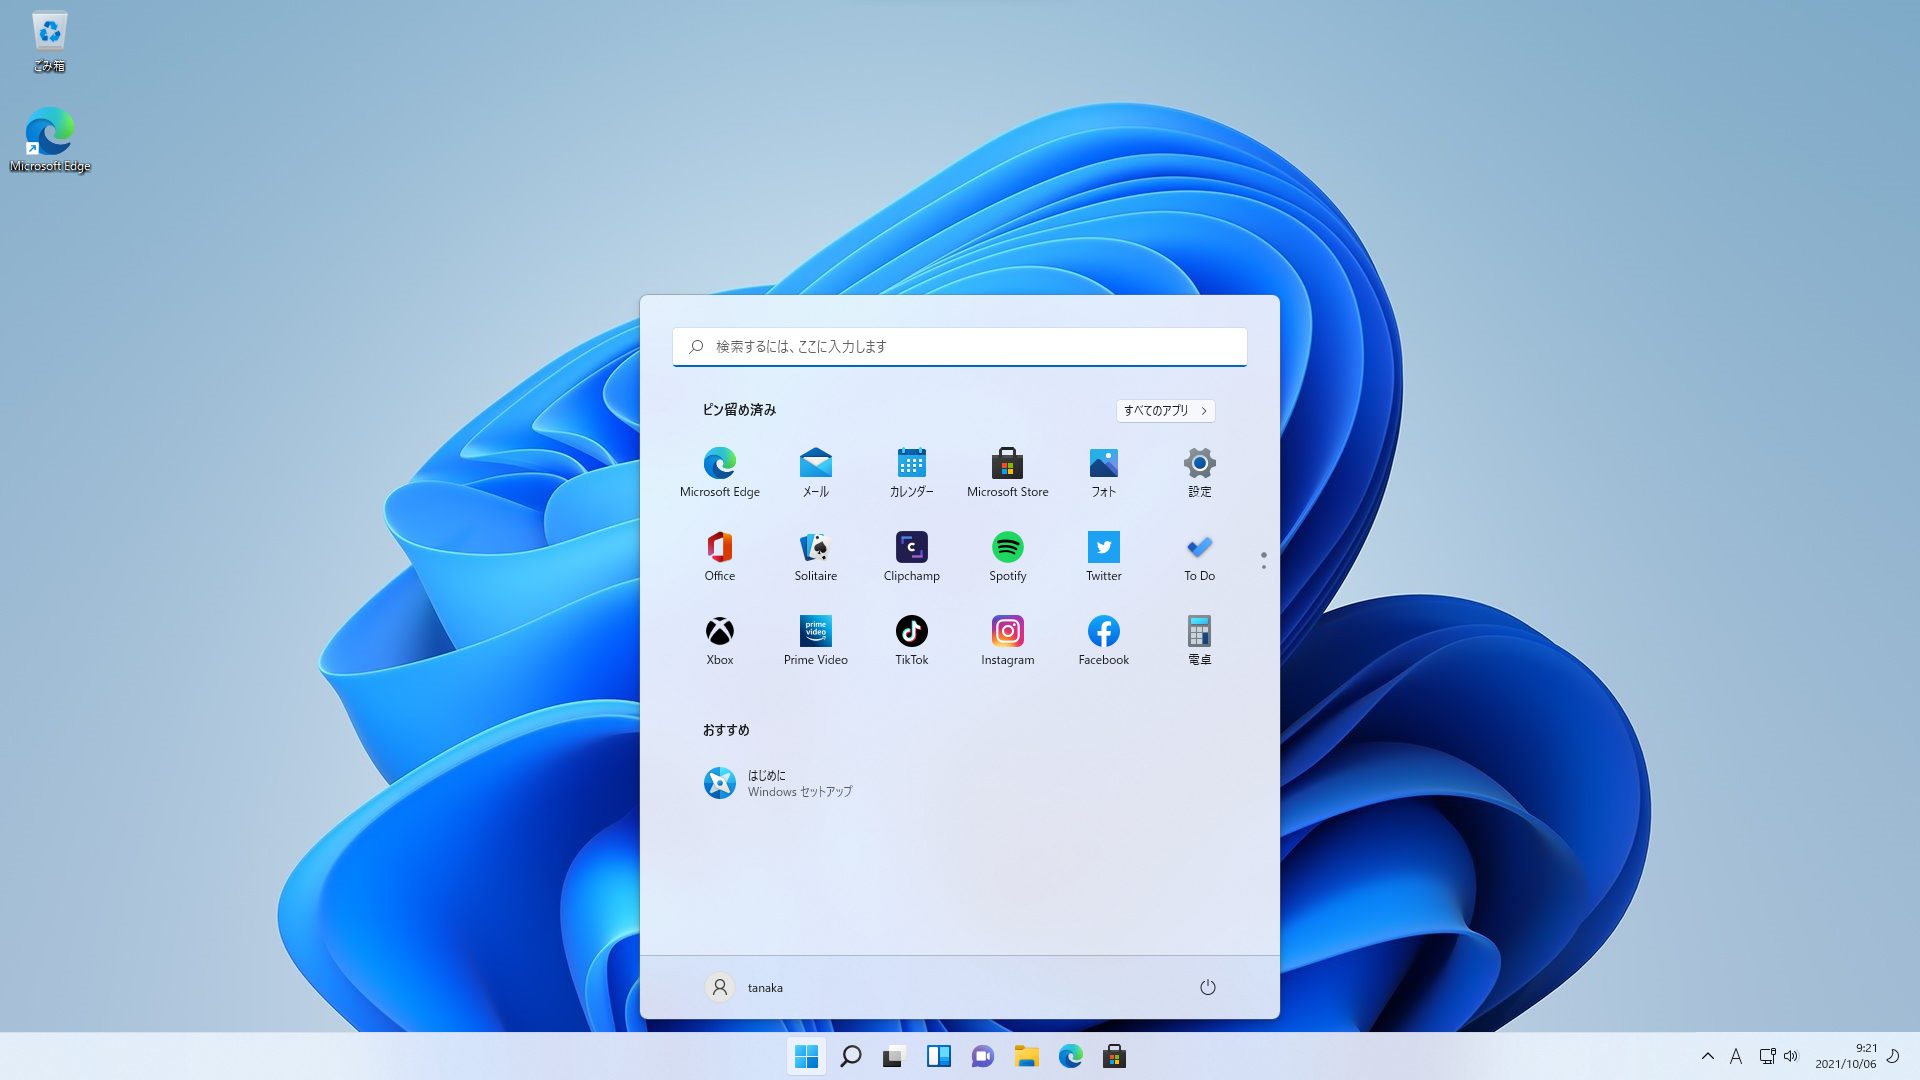
インストール中の画面はWindwos10とほとんど変わりは無く、
インストール後のセットアップ画面も、画面デザインの変更と、
コルタナの設定が無い事を除けばWindwos10と同じ内容でした。
スタートメニューはだいぶ変わっていたので、
慣れる必要がありますね
水曜担当:Tanaka
tanaka at 2021年10月06日 10:00:00
- 2021年10月04日
- AI
Introduction to Artificial Intelligence, AI – Part 1
Artificial intelligence can be illustrated as a machine. This technology has spread to become very famous in the modern world. It is the intelligent process of machines that is taught to learn, understand, and copy human behaviors. These machines can learn new things and act tasks like human without further instruction.
Technologies such as AI and ML are growing at a very high rate and have a great impact on our lives. In fact, everyone wants to connect to this technology anyway. We can say AI is a set of patterns and algorithms that can generate all the solutions without being explicitly instructed to do the job.
AI Types
AI cannot be categorized into a single category. Different types of AI are created to perform different tasks, and this is the difference. AI can be divided into two types based on how it works. I will talk about the type 1 first today.
AI Type I
- Artificial Narrow Intelligence (ANI)
- Artificial General Intelligence (AGI)
- Artificial Super Intelligence (ASI)
ANI
It is one of the most common forms of AI accessible on the market today. These artificial intelligence systems are programmed to resolve a single complication. In addition, the tasks you perform are performed efficiently enough. As the narrow name suggests, it has some limited features such as an mail spam filter system and production recommendations. This is the most demanding and popular form of AI available in the world today.

AGI
A form of AI with human-level cognitive tasks in various domains such as in-game bots like chess, computing functions, and systems. We all have to wait a long time to build the AGI ecosystem. This system can be created using a combination of thousands of ANI systems that communicate with each other to copy human inference and operate sequentially. AGI can complete all human tasks more efficiently in less time.

ASI
ASI may be an inference developed by AGI. Once the ASI is created, it will be possible to exceed the capabilities of all human beings. This includes decision making and more. It’s also like making better logical thinkings and better emotional connections. With the development of artificial general intelligence, AI systems will be able to quickly upgrade skills that no one has thought of. Also, the gap between AGI and ASI is relatively narrow.

That’s all for this week. Interesting , right ? I will talk about type II in coming week.
Yuuma
yuuma at 2021年10月04日 10:30:00
- 2021年10月01日
- 技術情報
Laravel – Jetstream

After Laravel version 7, Laravel version 8 introduced new features, this is the implementation of application’s login, registration, email verification, two-factor authentication, session management, and optional team management features.
This week I would like to share about using Jetstream how to set up in your project.
Firstly, it is better to install Jetstream into new Laravel project. Attempting to install Jetstream into an existing Laravel applicaiton will result in unexpected behavior and issues.
Installing Jetstream
You can install Jetstream via composer.
composer require laravel/jetstreamAfter installation is successful, you can choose one frontend stack from two of these Liveware and Intertia.js. This time I will set up using Liveware.
php artisan jetstream:install livewireAfter the installation is finished, you may install NPM dependencies and migrate the database. So, you may create new database, this name will be same from your .env file DB_DATABASE name.
npm install
npm run dev
php artisan migrate
After running all of the commands, there will be finished the installation using Jetstream. The last thing is need to start the development server to see the result.
php artisan serve --port=8080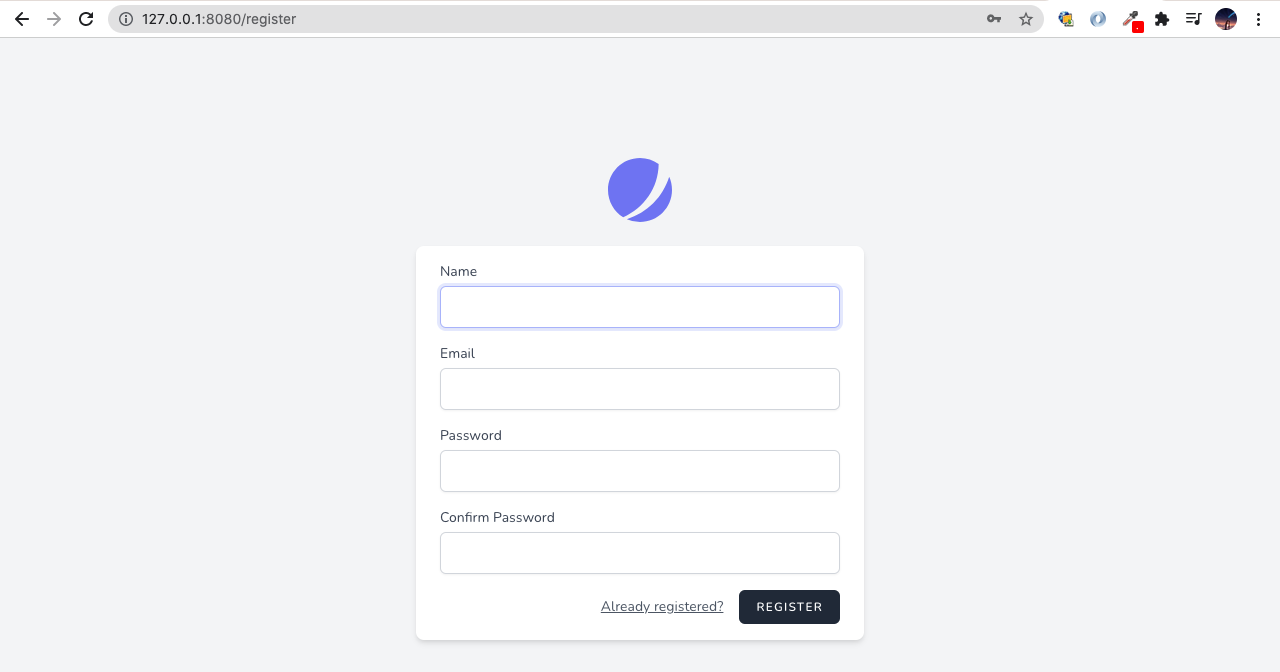
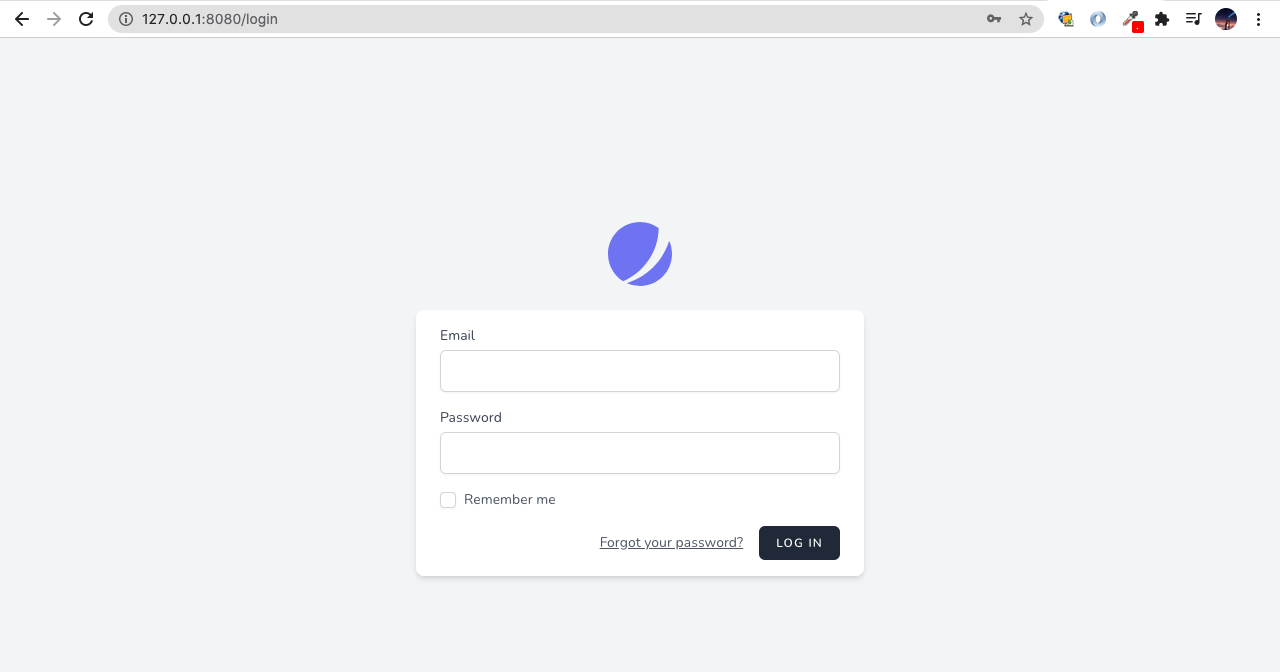
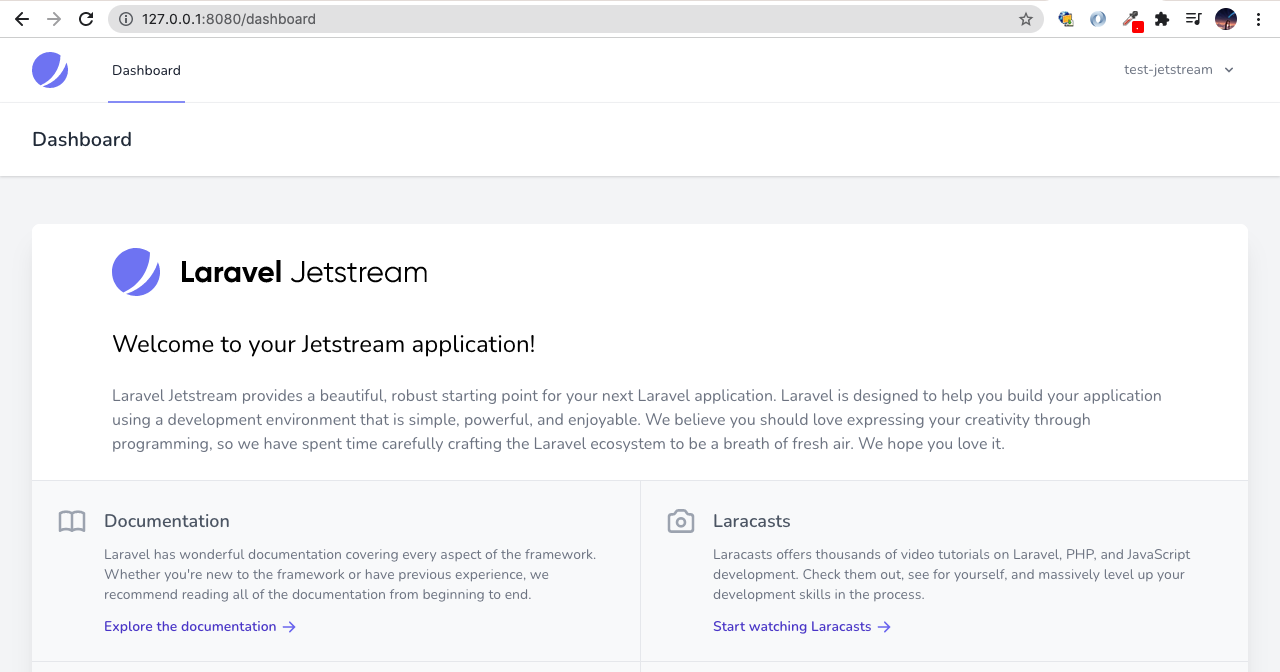
I hope you’ll enjoy reading it.
By Ami
asahi at 2021年10月01日 10:45:00
[Flutter] Windowsでの環境構築とエラーの対処方法(2)
nishida at 2021年09月30日 10:00:00
- 2021年9月27日
- 技術情報
Zero day attack
This is a common term for security vulnerabilities , discovered recently that attackers can use to attack systems. The term “zero-day” refers to the fact that the owner/developer has just become aware of the flaw which means there is zero day to fix the flaw.
If an attacker exploits a flaw before the developer addresses the issue, a zero-day attack will occur.
Zero-day is sometimes referred to as 0-day. The terms vulnerability, exploit, and attack are commonly used in conjunction with zero-days to help you understand the difference.
Zero day vulnerability
This is a software vulnerability discovered by an attacker before the vendor is aware of it. Since the vendor does not know, there is no patch for the zero-day vulnerability and the attack is more likely to be successful.
Zero day exploit
This becomes a method used by hackers to attack systems with previously unidentified vulnerabilities.
Zero day attack
A zero-day attack is the use of a zero-day exploit to damage or steal data from a vulnerable system.
How this happened
Attackers might be able to detect vulnerabilities before software developers. While the vulnerability is still open, they can write and implement code that exploits it. This is known as exploit code.
Exploit code can target software users, for example through the theft of personal information or other forms of cybercrime. Once an attacker has identified a zero-day vulnerability, they need a way to reach the vulnerable system. They often send this through socially designed emails, other messages that appear to be from known or legitimate correspondents, but are actually from attackers. This message attempts to convince the user to take actions such as opening a file or visiting a malicious website. By doing so, it downloads the attacker’s malware, breaks into user files and steals sensitive data.
If the vulnerability is known, the developer will try to patch it for the flaw. However, security vulnerabilities are often not immediately discovered. It can take days, weeks, or even months for developers to identify the vulnerability that caused the attack. Also, even after a zero-day patch is released, not all users are in a hurry to update the patch.
Exploits can be sold on the dark web for large sums of money. Once the exploit is discovered and repaired, it is no longer called a zero-day threat.
Zero-day attacks are especially dangerous because only the attacker knows the that flaw. Once they gain access, criminals can attack immediately or sit down and wait for the best time to get most advantages.
Identifying the zero day vulnerabilities
Zero-day vulnerabilities can take many forms, including missing data encryption, missing authorization, broken algorithms, bugs, and password security issues, and can be difficult to detect. Due to the nature of these types of vulnerabilities, detailed information about zero-day exploits will only be available after the exploit has been identified.
Organizations which had been attacked by zero-day exploits can experience unexpected traffic or suspicious scanning activity originating from customers or services. Machine learning is increasingly used to detect data from previously recorded exploits and to establish a safe system behavior baseline based on data from past and present interactions with the system.
Examples of zero day vulnerability
2021: Chrome zero-day vulnerability
In 2021, Google’s Chrome was hit by a series of zero-day threats, urging Chrome to publish updates. This vulnerability was caused by a bug in the JavaScript V8 engine which is used in web browsers.
2020: Zoom
A vulnerability has been found in a popular video conferencing platform. In this zero-day attack example, attacker was remotely accessing a user’s PC while running an older version of Windows. If the target is an administrator, attacker could completely hijack your machine and access all files.
2020: Apple iOS
Apple’s iOS is often said to be the most secure of the major smartphone platforms. However, in 2020, it was the victim of at least two sets of iOS zero-day vulnerabilities, including a zero-day bug that allowed an attacker to compromise the iPhone remotely.
Yuuma
yuuma at 2021年09月27日 10:38:00
 大人が楽しめるヒーリング絵本河童のカパと静かな森
 パワースポット 日本三大神滝布引の滝
 佐藤・広幸ドイツ魂
 Himeji Castle姫路城
 ボイドタイムお知らせアプリVoid Time 〜月を無視できない〜
 撮った写真をカレンダーに撮りカレ