アプリ関連ニュース
- 2022年4月21日
- Web Service
ウェブ開発者のためのベストブラウザ拡張機能
WhatFont
WhatFontは、Webページで使用されているフォントを知りたい開発者のための非常に便利なChrome拡張機能です。高速で効果的で、フォントファミリ、サイズ、太さ、色を識別します。
ColorPick Eyedropper
ColorPick Eyedropperは、あらゆるウェブページから色値を選択することができるシンプルなカラーピッカーツールです。
CSSViewer
CSS Viewerは、ウェブ開発者のためのシンプルで非常に効果的なChrome拡張機能です。その名前が示すように、このアドオンは、マウスがポイントされた場所ならどこでも、与えられたページのCSSプロパティを表示します。小さなポップアップウィンドウが表示され、ポイントされている要素を構成するCSSデータが表示されます。
Lorem Ipsum Generator
lorem ipsum ジェネレーターは、その名の通り、デフォルトのテキストを簡単に素早く作成することができます。デフォルトのテキストを簡単かつ迅速に作成する方法を提供します。プレースホルダーとしてデフォルトのテキストが必要な場合、間違いなく、これは手っ取り早い方法です。
Cookie Remover
このエクステンションは、開発者にとっても最高のエクステンションの1つになるでしょう。それは現在のサイトのためのすべてのクッキーを削除することができます。
壊れたクッキーをクリックすると、現在のサイトのすべてのクッキーが削除されます。
Window Resizer
Window Resizerは、ウェブ開発者向けの非常に便利なChrome拡張機能です。シンプルですが、特にレスポンシブデザインやアプリで作業するときに非常に効果的です。Chromeにインストールすると、作業中の画面を一般的な画面サイズの範囲にリサイズしてくれます。
By Tsuki
tsuki at 2022年04月21日 10:00:00
- 2022年4月21日
- 技術情報
DataTablesを使用したテーブル生成とサーバーサイド連携(9)
nishida at 2022年04月21日 10:00:00
- 2022年4月20日
- 他の話題
Unreal Engine 5 がリリースされました
tanaka at 2022年04月20日 10:00:00
- 2022年4月19日
- 技術情報
Ubuntu Budgie 22.04 LTS – New Features
Today I would like to share about some Ubuntu 22.04 features of the upcoming Ubuntu stable release. Ubuntu 22.04 Jammy Jellyfish release date is scheduled on April 21, 2022. So, let’s take a look at some new features.
GNOME 42
Ubuntu 22.04 LTS ships with the latest and greatest GNOME 42 desktop environment by default. Most of GNOME 42’s features are enjoyable.
New screenshot tool
One of GNOME 42’s features. Ubuntu 22.04 has a screenshot tool that also includes the screencast (video recording) option. And the screenshot of the selected area, entire screen or current application window can also be taken.
New Ubuntu installer
The installation prompts of Ubuntu 22.04 will look a little different because the installer has been revamped. It was created using Google’s Flutter UI development kit.
Raspberry Pi support
The new Ubuntu 22.04 will support Raspberry Pi models with as little as 2 GB of RAM.
Kernel 5.15
The Kernel 5.15 will come with new features which include a new NTFS file-system driver called NTFS3. This will make Ubuntu 22.04 more compatible with Windows NTFS formatted drives. The new Linux Kernel includes a new in-kernel SMB file service that will provide faster file sharing and more features. And also include support for Amazon’s DAMON (Data Access Monitor) which improves performance and new hardware support for AMD CPUs and GPUs, Apple’s M1 chip, Intel Alder Lake CPUs and so on.
New dock mode
Ubuntu 22.04 has a new addition where the size of the dock can be changed.
Accent Color Selection
With Ubuntu 22.04, a different accent color can be chosen. You can change the default orange theme as you want. The folder icons, notification bars, buttons, and other elements will reflect the selected accent color.
So this is all for now. Hope you enjoy that.
By Asahi
waithaw at 2022年04月19日 10:00:00
- 2022年4月18日
- 技術情報
Turning Wi-Fi password into a QR code
If your friends come to your house, you may need to tell them your WiFi password. For complex passwords, you will need to enter the password.
Having more than a few friends at home can be tedious and annoying. However, you can speed up the entire process by using a QR code that your friends can scan and connect to your network.
Methods as below.
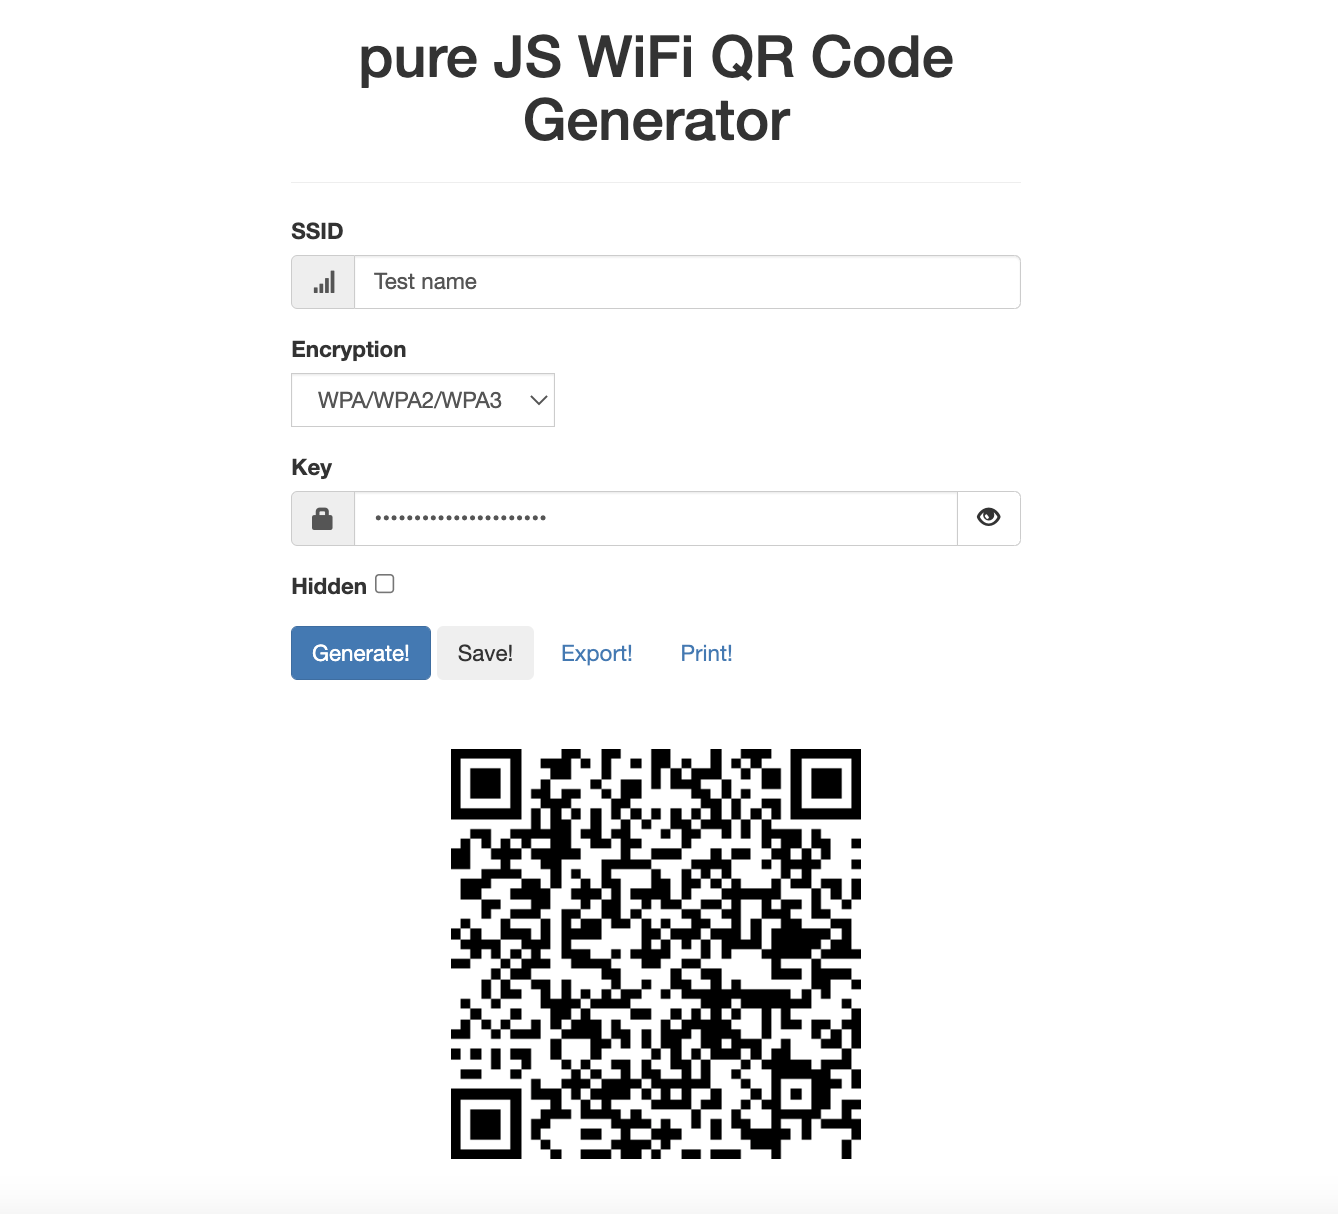
Visit qifi.org from a browser.
Enter the SSID, encryption type and password for your WiFi connection.
Generate a QR code, print it out, and stick it at the wall or something.
Below is a sample screenshot of qifi.org result.
Of course, there might be other tools as well to do the same function. But the above one is relatively quick and easy.
If you don’t want to use websites and you are on smartphones. I think you can also generate QR code of your WiFi by going through the WiFi setting and tap on the one you are connecting.
By Yuuma
yuuma at 2022年04月18日 10:30:00
 大人が楽しめるヒーリング絵本河童のカパと静かな森
 パワースポット 日本三大神滝布引の滝
 佐藤・広幸ドイツ魂
 Himeji Castle姫路城
 ボイドタイムお知らせアプリVoid Time 〜月を無視できない〜
 撮った写真をカレンダーに撮りカレ