アプリ関連ニュース
- 2021年12月23日
- 未分類
4 Reasons Why We Need Code Reviews
Code reviews are necessary as they offer multiple benefits that help improve your code and your team. These benefits include:
- Helping reduce bugs and logic errors
- Providing an opportunity for training
- Spreading knowledge across areas and teams
- Revealing new ideas and techniques
Code reviews help reduce bugs and logic errors
One of the main things a reviewer should be looking for when reviewing code is that the code does the right thing without any errors.
It may seem like it would be hard to find bugs while reading code, but as developers become more experienced reviewing code, issues will start to stand out.
Even with QA and automated testing, finding bugs during a code review is helpful. Reviews help verify the code and tests are both correct. A code review can direct the developer to the exact area of the problem, making it easier to debug and fix. Reviews are just one more step we can use to help avoid stressful after hour bugs.
Reviews offer opportunities for training
We all know how quickly the technology around us changes. there is a new language, tool, or framework every day. We also learn new best practices, standards, and ways to do things as we gain more experience.
How do we keep all the developers on the team up to date with these changes? Of course, there are courses, tutorials, blogs, the team wikis, and guides out there. But do we have time for every developer on our team to always go through a course? Developers should continue to use these resources and learn from them. However, none of these resources have come close to what we learned by working with the team and having code reviewed. Good code has come from code reviews.
Code reviews spread knowledge across areas and teams
If we had two teams of developers who always worked together and reviewed each other’s code versus two groups of developers who never reviewed the other team’s code, who do you think will have better code in the long run?
It probably will be the teams that review each other’s code. Those two teams will be passing knowledge back and forth about their specific areas and the best way to do things. They will be learning from different experiences and projects.
Code reviews also reveal new ideas and techniques
Reviews will teach the same team new things the same way they will teach multiple teams. But new ideas and techniques often come up in code reviews even among the same team members.
Think about most of the code we write. How often do we research different design patterns, consider different architectures or attempt multiple solutions before deploying code? At most places, we don’t have the time to pair program on everything or always meet about how to code every feature. Once a team implements a review process, these suggestions happen without extra steps.
Tsuki

tsuki at 2021年12月23日 10:00:00
Flutterで生体認証等を行えるライブラリ local_auth
tanaka at 2021年12月22日 10:00:00
- 2021年12月21日
- 技術情報, Web Service
PHP Zipper package using PHP ZipArchive
Today I would like to share a PHP package that I wrote last weekend. This was written to make Zipping processes easily and automatically using PHP ZipArchive. Let’s take a look.
First of all, install the package with composer.
composer require waithaw/phpzipperAfter creating Zip Object, you can use the following methods.
include_once "vendor/autoload.php";

use WaiThaw\PhpZipper\Zip;

$zip = new Zip();
These are the example file lists.
$filelists= [
    'D:\testfolder\test1.txt',
    'D:\testfolder\test1folder\test2.txt'
];

$file = 'D:\testfolder\test1.txt';
Creating a Zip file from Single file or multiple files
You can create an archive zip file from single file or multiple files.
1st parameter – output zip path
2nd parameter – a file or files to be zipped
3rd parameter – setting a password
- Zipping a single file or mutiple files with no password
$zip->createFromFiles('backup.zip', $file);

//OR

$zip->createFromFiles('backup.zip', $filelists);
- Zipping a single file or mutiple files with password
$zip->createFromFiles('backup.zip', $file ,'password');

//OR

$zip->createFromFiles('backup.zip', $filelists,'password');
Creating a Zip file from a directory including sub directories.
You can archive all files and subfolders in a directory into a zip file.
- Zipping a directory with no password
$zip->createFromDir('backup.zip','D:\testfolder');- Zipping a directory with password
$zip->createFromDir('backup.zip','D:\testfolder','password');Extracting a simple or password-protected zip file
- Extracting a simple zip file.
$zip->extractTo('backup.zip','D:\outputpath');- Extracting a password-protected zip file
$zip->extractTo('backup.zip','D:\outputpath', 'password');Downloading zip files
You can download the zip file at once archiving.
$zip->createFromFiles('backup.zip', $file)->download();

$zip>createFromDir('backup.zip','D:\testfolder')->download();
And you can also delete the zip file after downloaded, by passing ‘delete’ string in download() method.
$zip->createFromFiles('backup.zip', $file)->download('delete');

$zip>createFromDir('backup.zip','D:\testfolder')->download('delete');
This is all for now. I will continue to update this package for more features and details.
Hope you enjoy that.
By Asahi
waithaw at 2021年12月21日 10:00:00
- 2021年12月20日
- 技術情報
Github Wrapped
Developers normally code a lot just for a month but think for a year. If we want to see our history of our git commits, PRs, reviews etc through out a year , there is a newly service website called Github Wrapped.
You just need to login your github account and go to this website.
You may be asked for authorization to use the website from your Github account. After giving authorization this home screen will appear. I used my personal Github account for testing purpose.
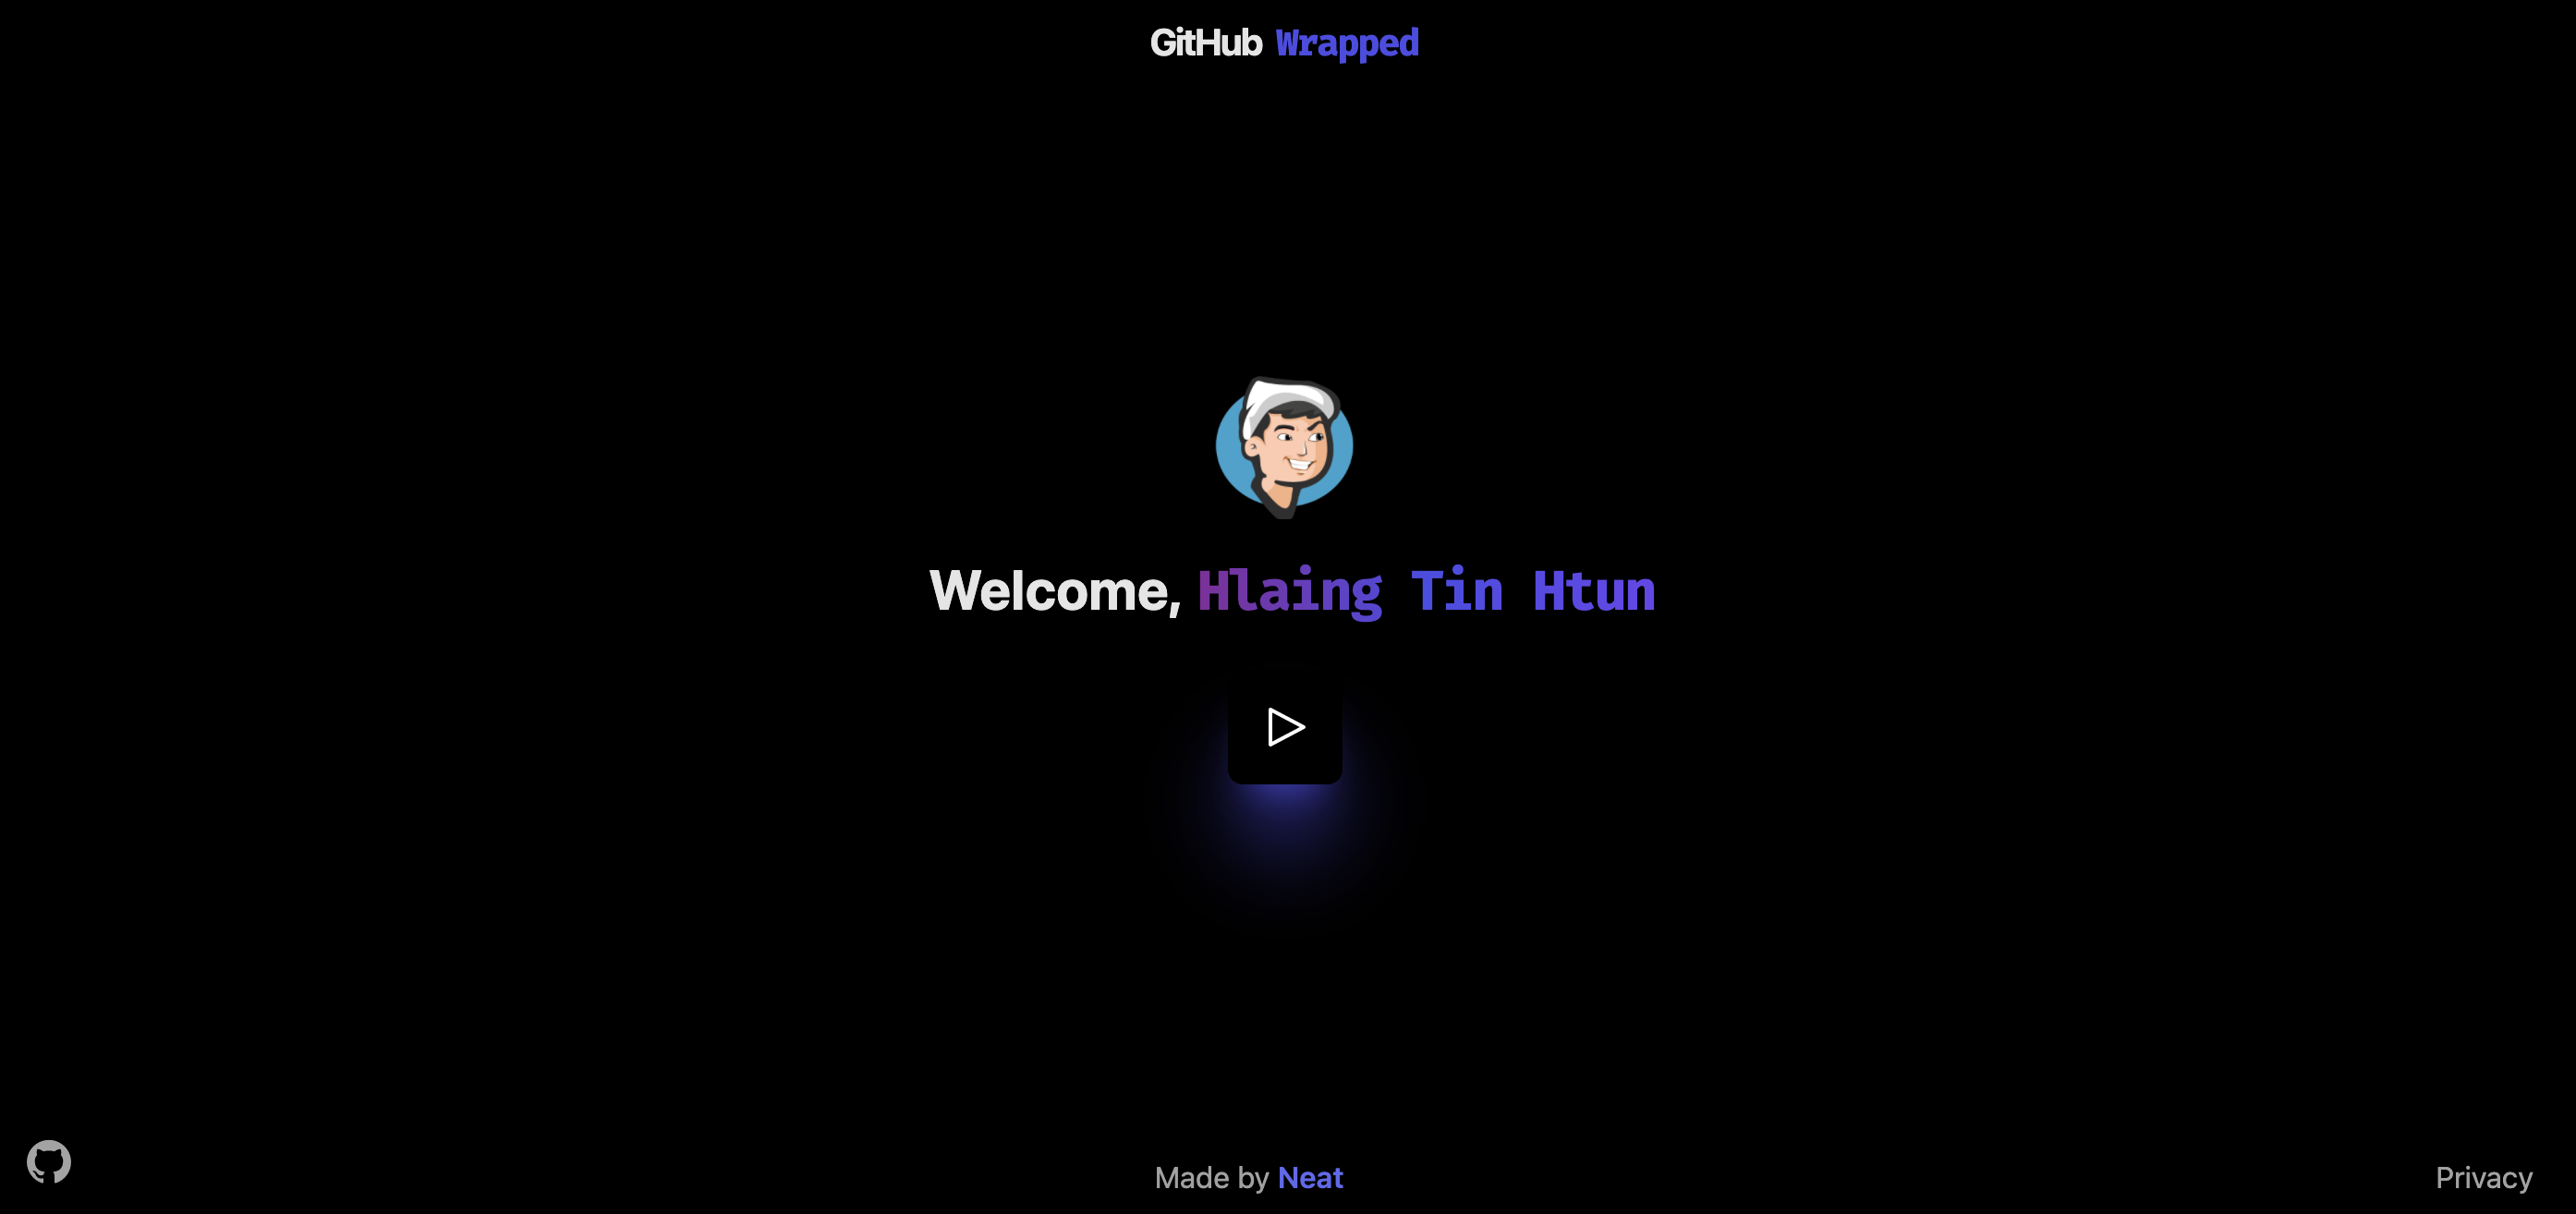
Then you just need to go on by clicking the play button, these are my results.
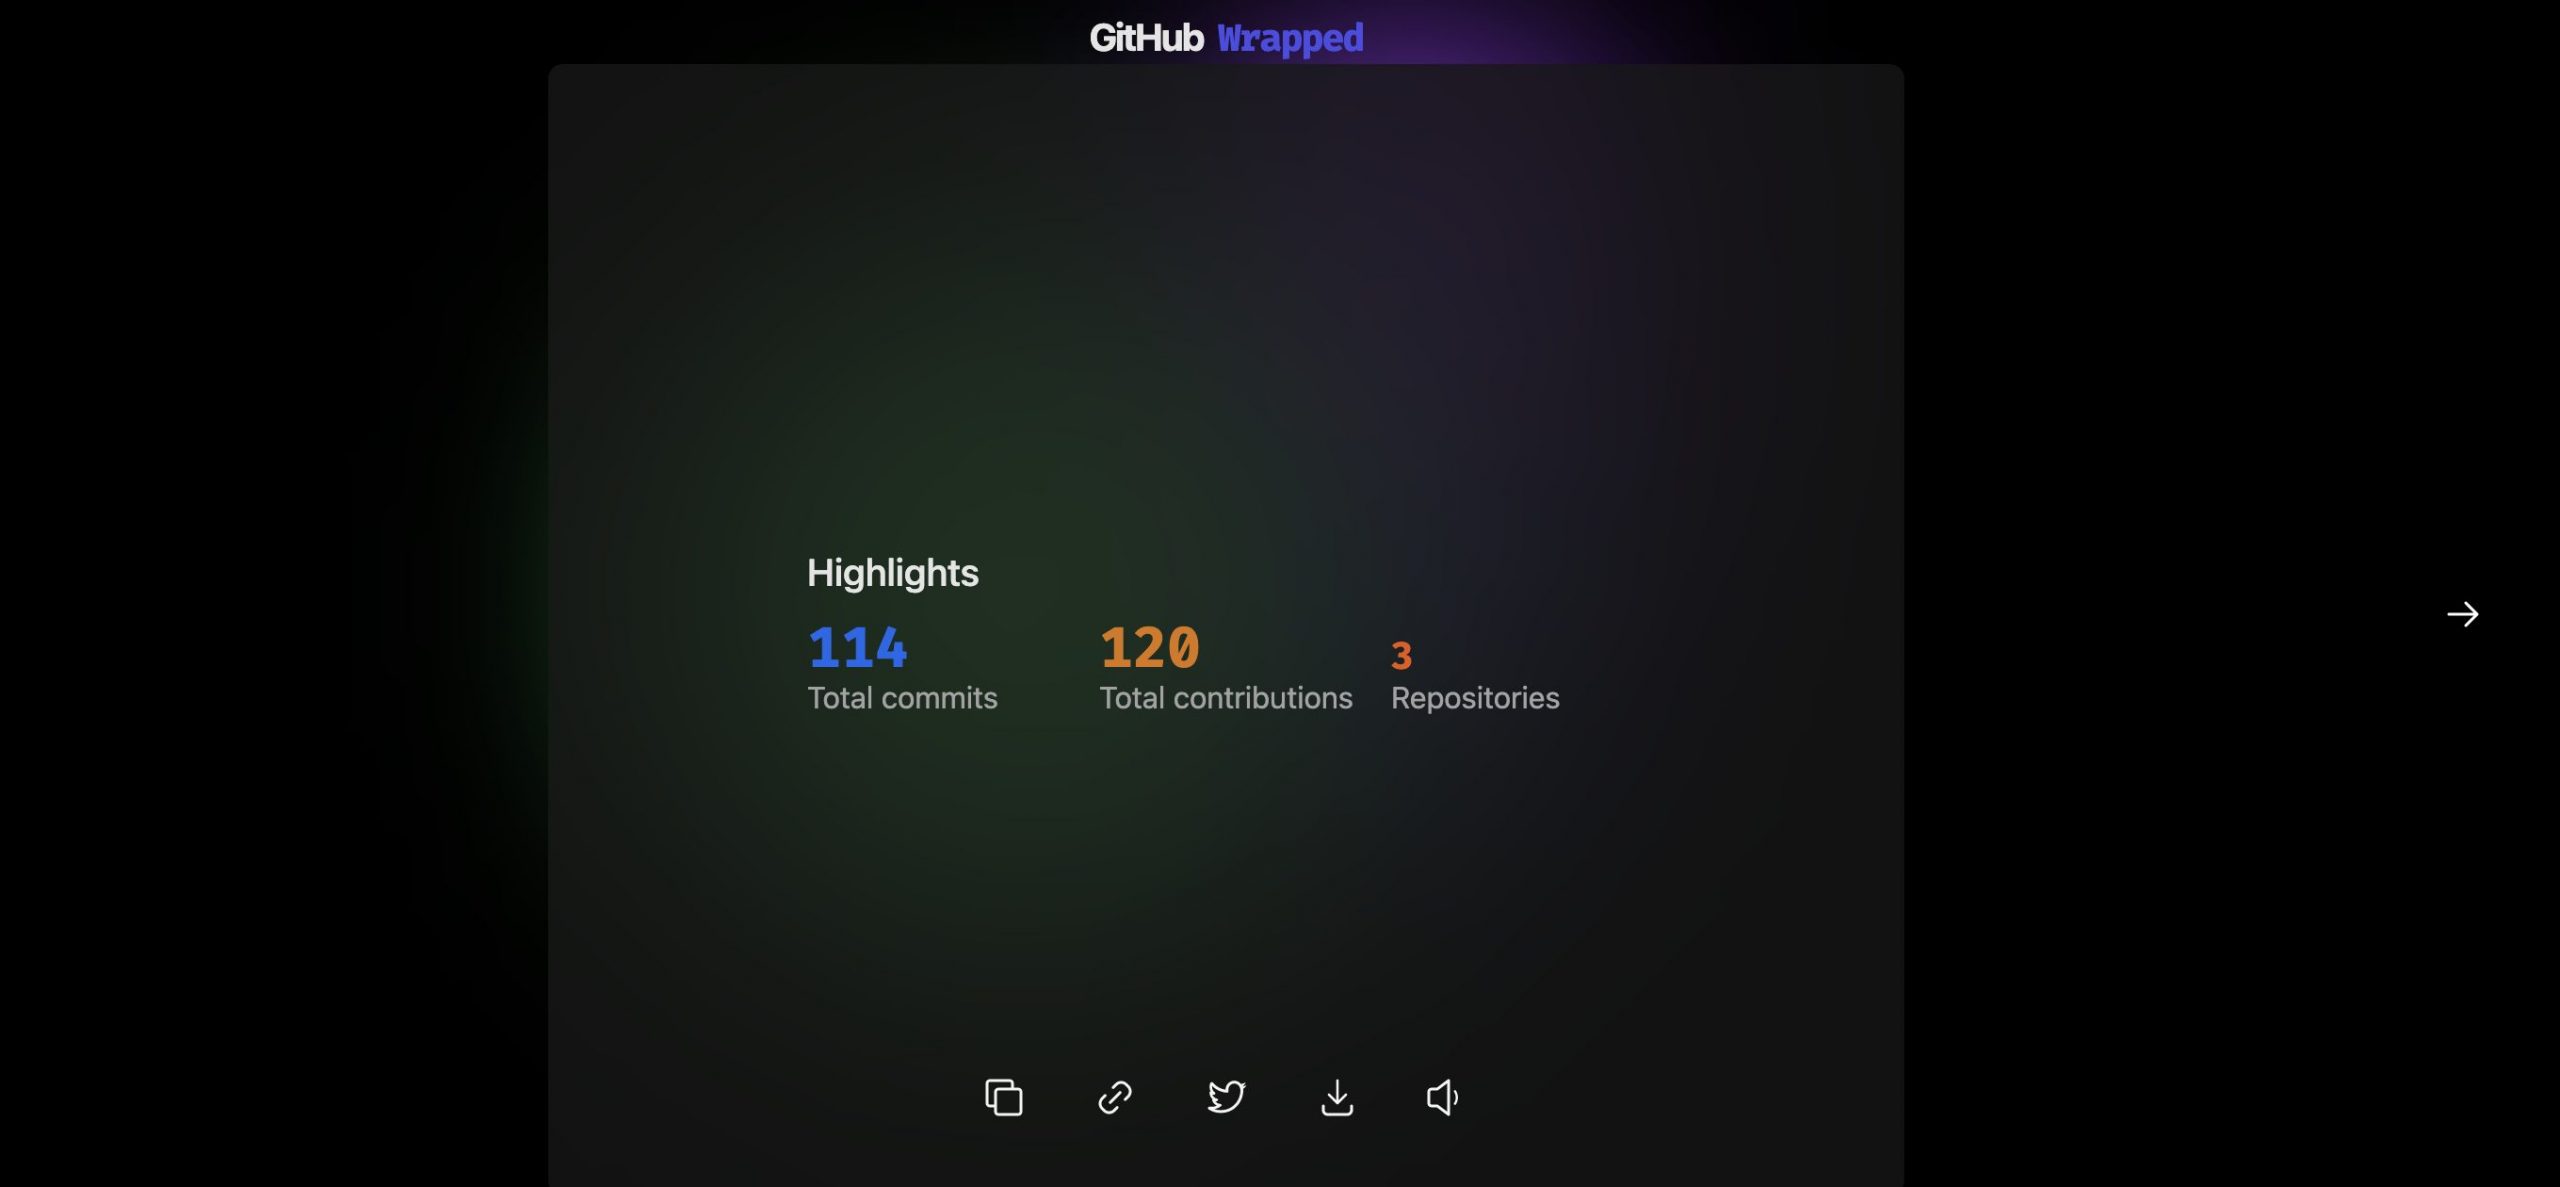
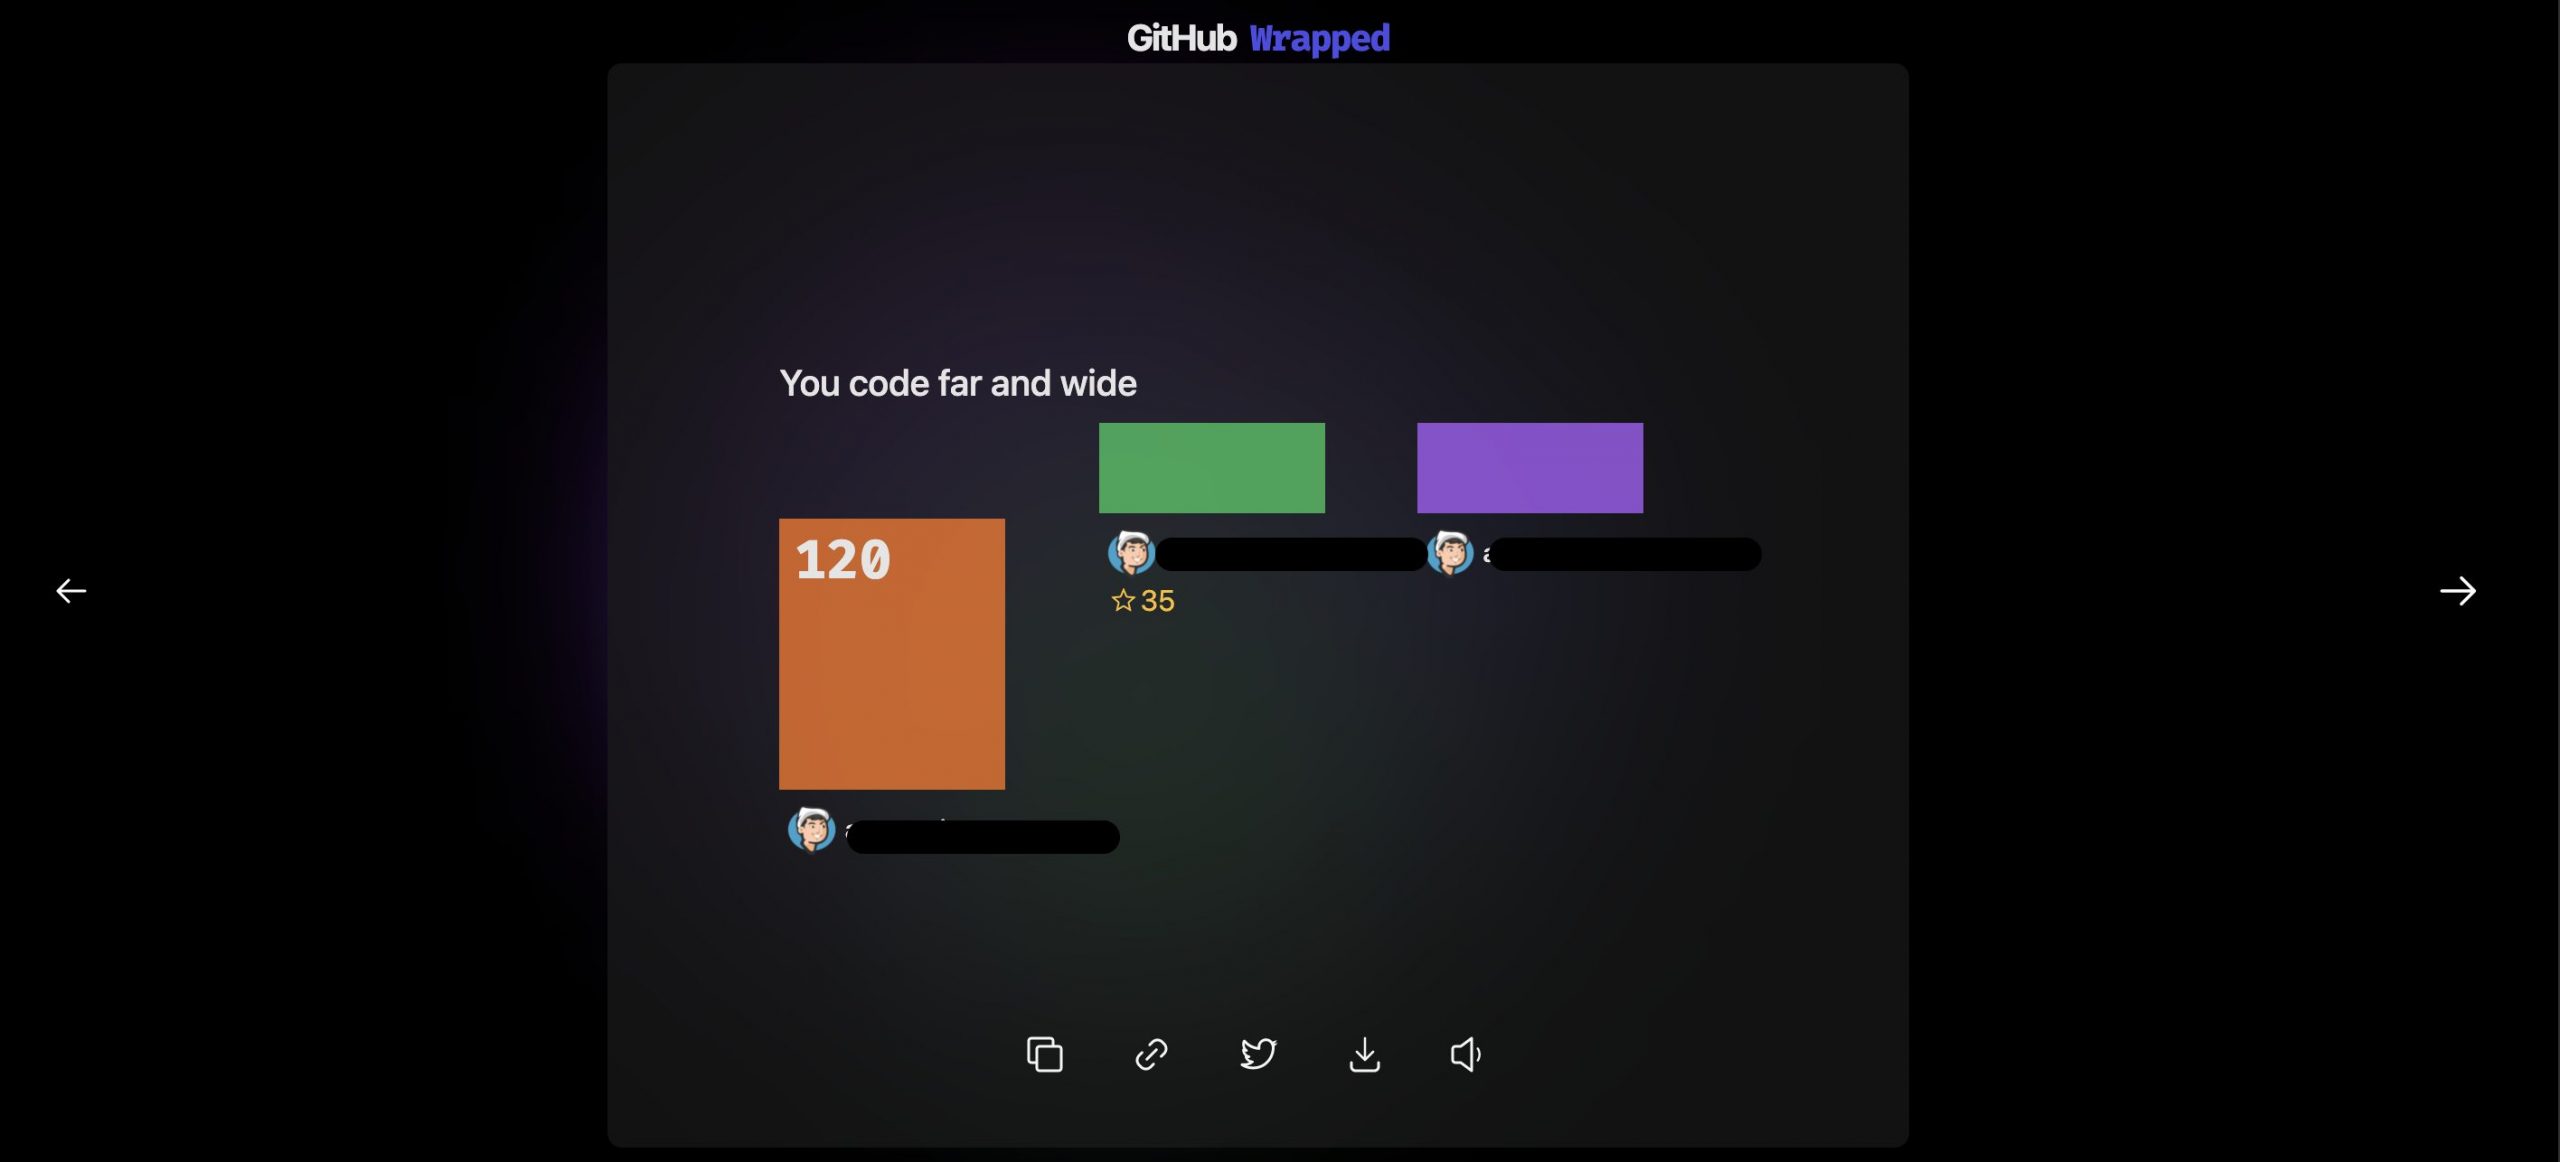
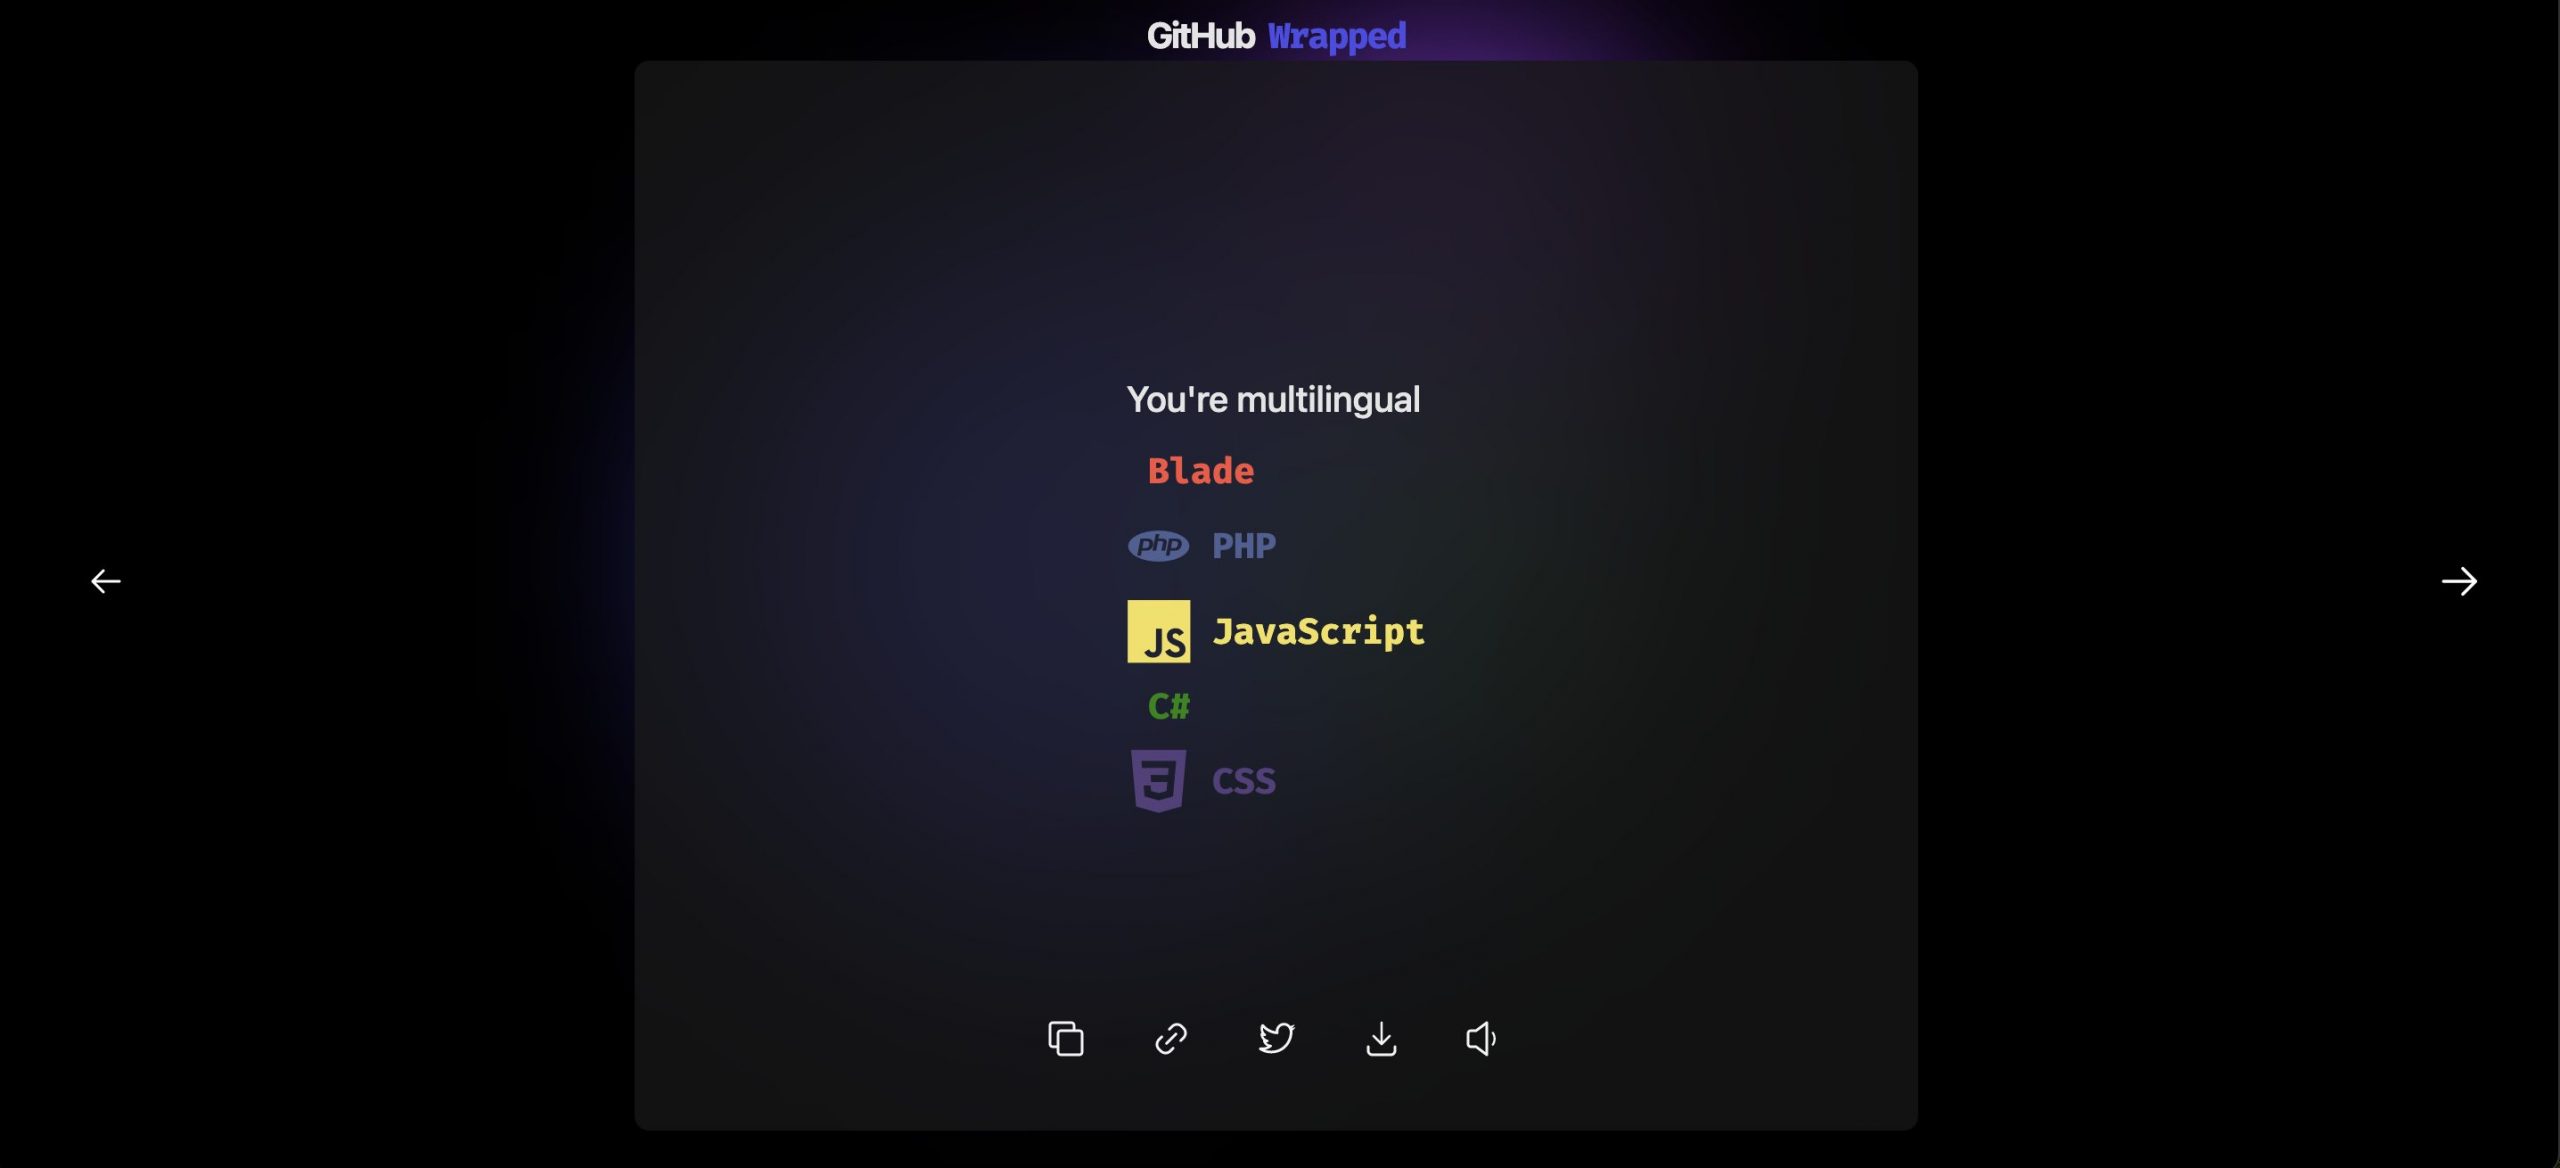
You will also see a bunch of your activities like followers, stars etc.
But for the final result, you will get a pretty home page for your activity history through out the year (2021).

You can even copy/download your final image to save on your disk or share on twitter. I think this is a nice and pretty way to see your Github activity history for a year.
Yuuma
yuuma at 2021年12月20日 10:00:00
- 2021年12月17日
- 技術情報
Javascriptを使用して、Excelのセルにファイルアップロードを挿入する方法
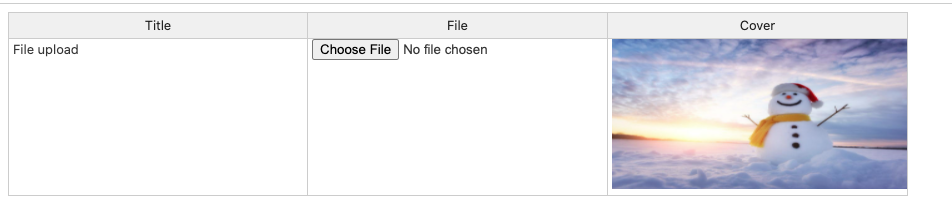
今回は、Handsontableを使って、ファイルアップロードボタンを挿入する方法と、セル内に画像を表示する方法を紹介したいと思います。
Handsontableは、デフォルトで11個のエイリアスを提供することができます。
- time
- text
- select
- password
- numeric
- handsontable
- dropdown
- date
- checkbox
- base
- autocomplete
しかし、file editorでは、これまで提供できませんでした。ファイルアップロードボタンをセルに挿入することは、自分自身で発見しました。4つの方法があるのですが、今日はそのうちの1つ、cells内で呼び出されるrenderer関数を使った方法を紹介します。
今回は、rendererの呼び出し方と、ファイルアップロードボタンと画像の表示方法を中心に説明します。
まず、htmlファイルを作成し、必要なスクリプトファイルを挿入します。
<div id="example1" class="hot "></div>

<script src="https://cdn.jsdelivr.net/npm/handsontable@11.0/dist/handsontable.full.min.js"></script>
<link type="text/css" rel="stylesheet" href="https://cdn.jsdelivr.net/npm/handsontable@11.0/dist/handsontable.full.min.css" />
次に、Handontableを作成し、cells内にrendererを呼び出すための条件をいくつか作成します。commentsとcoversにcustom renderer関数を呼び出すことにします。
const hot = new Handsontable(container, {
                data,
                colWidths: [100, 100, 200],
                colHeaders: ['Title', 'File', 'Cover'],
                colWidths: 300,
                renderer: 'html',
                height: 200,
                columns: [
                    { data: 'title' },
                    { data: 'comments', renderer: safeHtmlRenderer },
                    { data: 'cover', renderer: coverRenderer }
                ],
                cells: function (row, col, prop) {
                    var cellProperties = {};
                    if(col === 1){
                        cellProperties.renderer = safeHtmlRenderer
                    }
                    if(col === 2){
                        cellProperties.renderer = coverRenderer
                    }
                },
                licenseKey: 'non-commercial-and-evaluation'
            });
renderer関数の内部では、カスタムhtmlのデザインを作成し、innerHTMLプロパティでtdに挿入することができます。
function safeHtmlRenderer(instance, td, row, col, prop, value, cellProperties) {

                Handsontable.renderers.TextRenderer.apply(this, arguments);
                    td.innerHTML = '<div><input type="file" id="filechange" name="file[]" class="filebutton"></div>';

                return td;
 }
また、rendererで画像を表示することもできます。
function coverRenderer(instance, td, row, col, prop, value, cellProperties) {

                Handsontable.renderers.TextRenderer.apply(this, arguments);
                    td.innerHTML = '<img src="imges/winter.jpg" width="300" height="150" >';

                return td;
            }
ここまでお読みいただき、ありがとうございました。
By Ami
asahi at 2021年12月17日 10:00:00
 大人が楽しめるヒーリング絵本河童のカパと静かな森
 パワースポット 日本三大神滝布引の滝
 佐藤・広幸ドイツ魂
 Himeji Castle姫路城
 ボイドタイムお知らせアプリVoid Time 〜月を無視できない〜
 撮った写真をカレンダーに撮りカレ
 ライブ壁紙竹田城ライブ壁紙
 赤ちゃんにっこりBaby+Smile
 電子書籍[for iPhone]ターラのアストロロジー
 Vue.js コンパイルするときのポイント
 翻訳や文字起こしを視界の中へ――AIスマートグラス「INMO GO3」が国内発売