アプリ関連ニュース
- 2022年12月22日
- 技術情報
正規表現基礎(2)
nishida at 2022年12月22日 10:00:00
- 2022年12月15日
- 技術情報
正規表現基礎(1)
nishida at 2022年12月15日 10:00:00
- 2022年12月13日
- 技術情報
Useful VS Code extensions for node js
Today, I would like to share about useful VS Code extensions for Node JS. Let’s take a look at the following lists. They are mostly for Node JS and some are generally useful extensions.
2. ESLint
5. DotENV
7. JavaScript (ES6) code snippets
10. MarkdownLint
This is all for now. Hope you enjoy that.
By Asahi
waithaw at 2022年12月13日 10:00:00
- 2022年12月12日
- 技術情報
Google Chrome gets memory- and power-saving modes
Google Chrome browsers have a weakness on memory systems, especially when multiple tabs are open, but the most popular browser in the world today got an upgrade to optimize both device battery power and memory use.
With Chrome’s latest version on the desktop, Google will present two new performance settings: Saver by memory and saver of energy. When used, Google said Chrome will consume up to 30% less memory and extend the battery from a device when it is running out.
They said “We’ll be rolling out both Memory Saver and Energy Saver modes over the next several weeks globally for Windows, macOS and ChromeOS,” Mark Chang, group product manager for Chrome.
When the new features arrive, they will run natively until users choose to turn them off manually or mark “important websites” to make them exempt from Memory Saver.
The features will be available with the release of Chrome 108, globally for Windows, macOS, and ChromeOS in the coming weeks.
Yuuma
yuuma at 2022年12月12日 10:00:00
- 2022年12月09日
- 技術情報
flutterでminSdkVersionとtargetSdkVersionを変更する方法
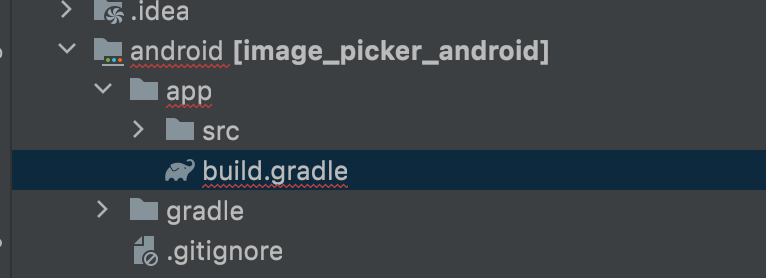
今回はFlutterでAndroidのminSdkVersionとtargetSdkVersionを変更する方法を共有します。
android/app/build.gradleを開きます。そして、以下のコードを見つけます。

defaultConfig {
        minSdkVersion flutter.minSdkVersion
        targetSdkVersion flutter.targetSdkVersion
}
defaultConfig {
minSdkVersion 16
targetSdkVersion 28
}minSdkVersionとtargetSdkVersionのところで変更したい値を変更することができます。
金曜担当 – Ami
asahi at 2022年12月09日 10:00:00
 大人が楽しめるヒーリング絵本河童のカパと静かな森
 パワースポット 日本三大神滝布引の滝
 佐藤・広幸ドイツ魂
 Himeji Castle姫路城
 ボイドタイムお知らせアプリVoid Time 〜月を無視できない〜
 撮った写真をカレンダーに撮りカレ