A touch to serverless framework part 2
- 2021年6月28日
- Web Service
I talked about setting up IAM user and creating credentials on our computer. Today I will talk about creating our serverless project and start deploying to AWS cloud.
If you haven’t read part 1 , feel free to check it out here. So lets get started.
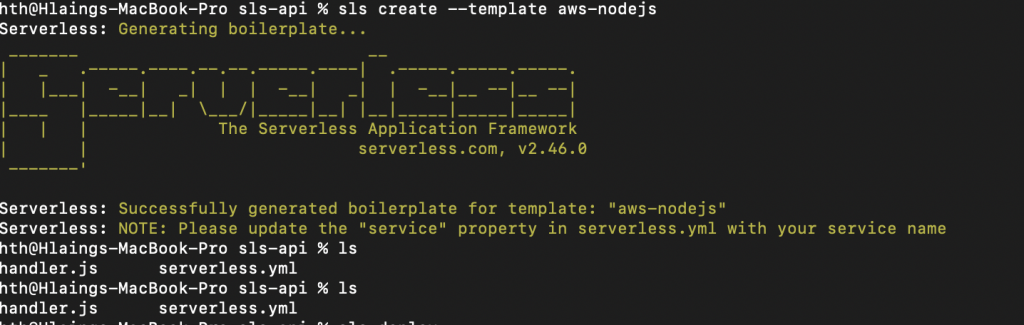
First lets build a folder, I will call it sls-api but you can name it whatever you want. Then lets go to our project , sls-api in my case and type this.
sls create --template aws-nodejsThis means we will create a node js project template for our serverless application. I told you we are going to use node js for this series in article1. After running this command , we will get an output.
We will have to update the code configuration before deploying. Open serverless.yml which is the core configuration file of our serverless project. We will add a stage and region to connect with our AWS like this

But be aware of the region of AWS. If the regions don’t match, the deployment will not work. Then Type sls deploy and wait for the result. This will start deploying our application to AWS cloud and create the necessary things.
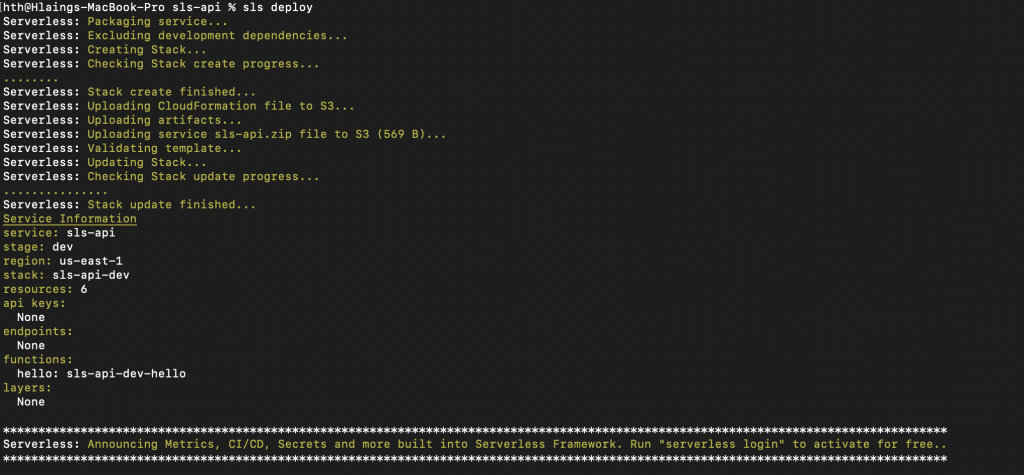
As a result , our deployment will create a stack and lambda at AWS. As you see here, you have to know about AWS services a bit to understand these tutorial series because you are seeing stack and lambda etc. So If you don’t understand AWS, I recommend to read some articles about these services as we are focusing only on the serverless at the moment.
Firstly it will create a stack. A stack is a collection of AWS resources that you can manage as a single unit. In other words, you can create, update, or delete a collection of resources by creating, updating, or deleting stacks.Lets go and checkout on AWS stack console what the deployment build.
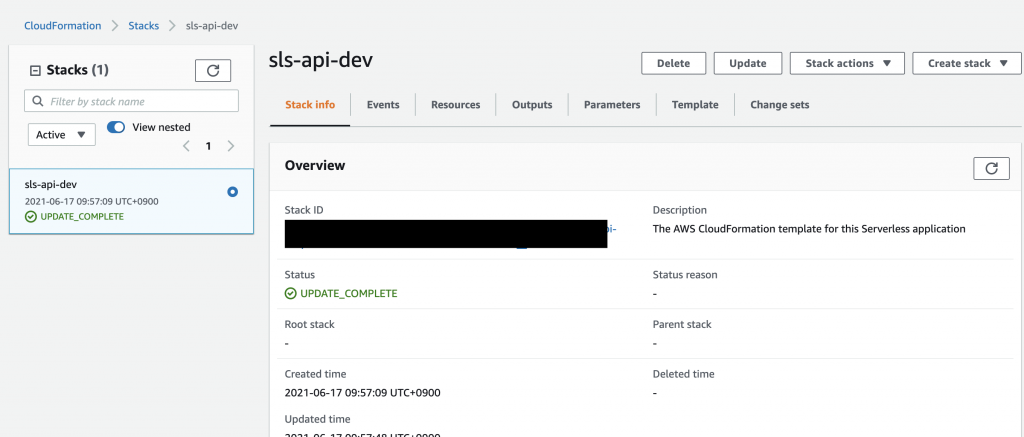
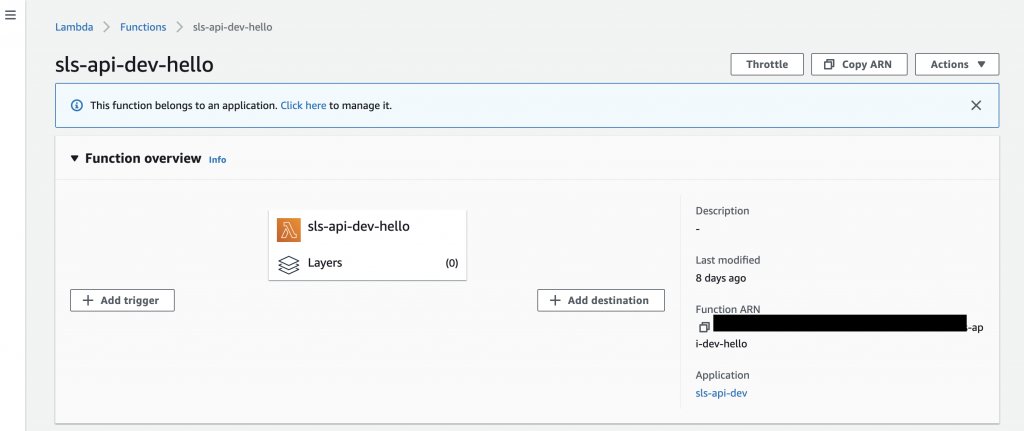
The name called sls-api is our project name and dev is the environment which we used to deploy our project. Furthermore, it will also create a lambda function. Lambda is a compute service that lets you run code without provisioning or managing servers. Lets go to Lambda console and you will get a function like this.
That is all for this week. I will talk about invoking our functions and creating endpoints in our project next week.
Yuuma
yuuma at 2021年06月28日 11:00:19
 大人が楽しめるヒーリング絵本河童のカパと静かな森
 パワースポット 日本三大神滝布引の滝
 佐藤・広幸ドイツ魂
 Himeji Castle姫路城
 ボイドタイムお知らせアプリVoid Time 〜月を無視できない〜
 撮った写真をカレンダーに撮りカレ